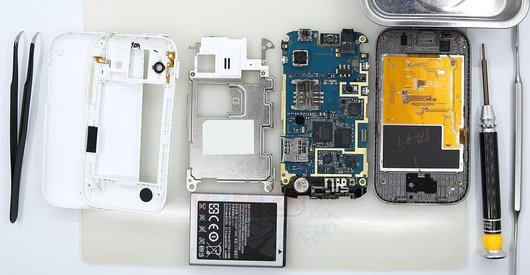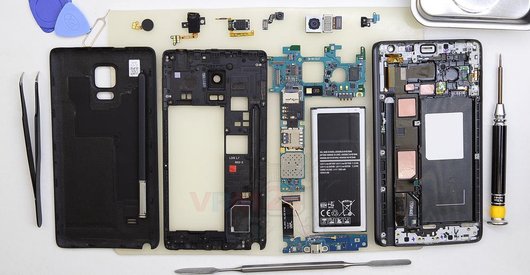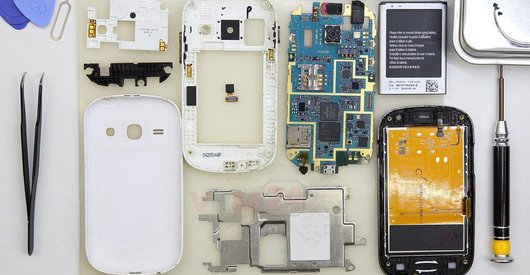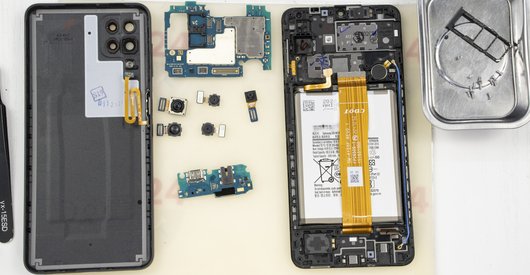

Recommended tools
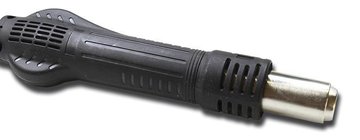
Heat gun
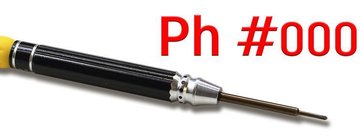
Screwdriver Phillips #000
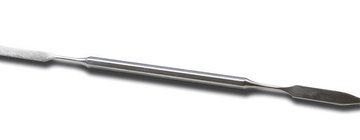
Opening tool / Spudger
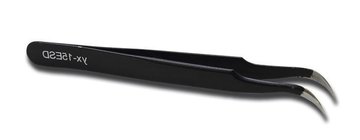
Tweezers
Disassembly/Repair of the mobile device Samsung Galaxy A9 (2018) SM-A920 (Samsung Galaxy A9 Star Pro, Samsung Galaxy A9s, Samsung SM-A920F/DS (Global); SM-A9200 (China)) with each step description and the required set of tools.
18698
Views
6
Likes
—
Share
5
Questions

Step 1.
Open the back cover
Open the back cover.
⚠ Warning!
For careful separation, we recommend using a heat gun. At the same time, it is necessary to heat carefully in order, not to damage the surface of the device.
Step 2.
Remove the trays
Using the key tool, open the SIM and Micro SD cards tray and remove it.
⚠ Warning!
Do not push too hard this may cause damage.
Step 3.
Unscrew the screws
Using a screwdriver (Phillips 1.5 mm PH000), unscrew 15 bolts in the frame of the phone.
Step 4.
Disconnect the connector
Pry up the fingerprint sensor connector.
Step 5.
Open the mid-frame
Pry and remove the middle frame.
Step 6.
Disconnect the battery connector
Disconnect the battery connector.
⚠ Warning!
We strongly recommend disconnecting the connector to avoid a possible short circuit during disassembly.
Step 7.
Remove the fingerprint sensor
Remove the fingerprint sensor.
Step 8.
Unscrew the screws
Using a screwdriver (Phillips 1.5 mm PH000), unscrew 3 bolts.
Step 9.
Remove the loudspeaker
Pry and remove the buzzer (speaker) assembly.
Step 10.
Disconnect the connectors
Disconnect connectors on the PCB.
Step 11.
Unscrew one screw
Using a screwdriver (Phillips 1.5 mm PH000), unscrew 1 bolt in the daughter card.
Step 12.
Remove the sub-board
Remove the daughterboard.
Step 13.
Remove the interconnect cable
Pry up the connector and remove the inter-board cable.
Step 14.
Remove the interconnect cable
Pry up the connectors and remove the inter-board cable.
Step 15.
Remove the front camera
Disconnect the connector on PCB, and remove the front (selfie) camera.
Step 16.
Disconnect the connectors
Disconnect connectors on the PCB.
Step 17.
Unscrew one screw
Using a screwdriver (Phillips 1.5 mm PH000), unscrew 1 bolt in the PCB.
Step 18.
Remove the motherboard
Remove the PCB.
Step 19.
Remove the cameras
Disconnect the connectors on PCB, and remove the assembly of four rear cameras.

If you have a question, ask us, and we will try to answer in as much detail as possible. If this article was helpful for you, please rate it.

18698
Views
6
Likes
—
Share
5
Questions
Related Instructions
Related Reviews
Related Blog
Popular Questions

Samsung Galaxy A9 (2018) SM-A920
How to glue the back cover
kajratbajgaliev093
M
Samsung Wave 2 GT-S8530
Can you tell me that how to remove screen lock of that phone
Md Yusuf18
Samsung Galaxy S21 SM-G991
Issue: Significantly reduced Wi-Fi range after screen replacement I recently replaced the screen on my Samsung Galaxy S21 5G with a replacement OL…
repo
P
Samsung Galaxy J8 (2018) SM-J810
why isopropil instead of heat? pro/cons?
Patricio Romero2
L
Samsung Galaxy Tab S3 9.7'' SM-T820
When I opened my samsung m20 There is no warranty sticker on any screw then I just disassembled it. Will my device comes under warranty ?
Laxman Sirsat15Top instructions
Check our
Top Samsung instructions most liked by readers
New instructions
Check our
New Samsung brand instructions on vrm24.com