

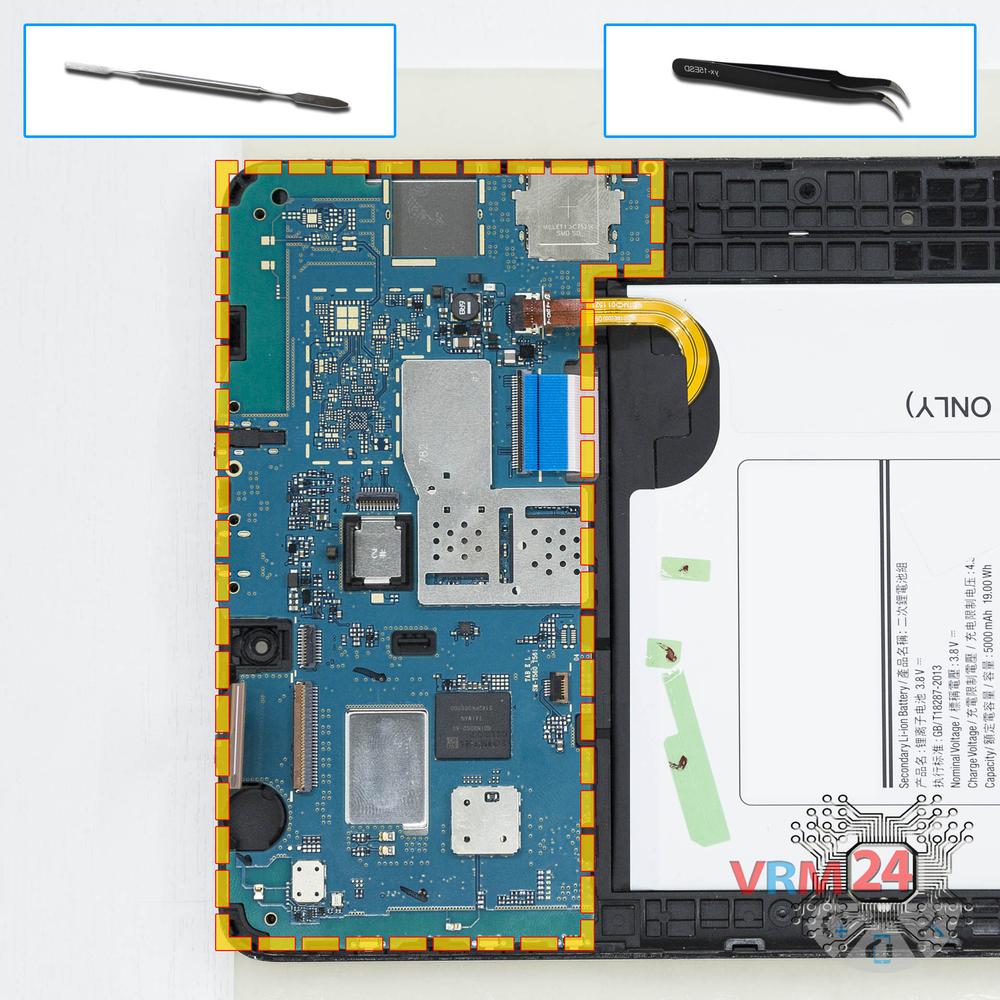

Recommended tools
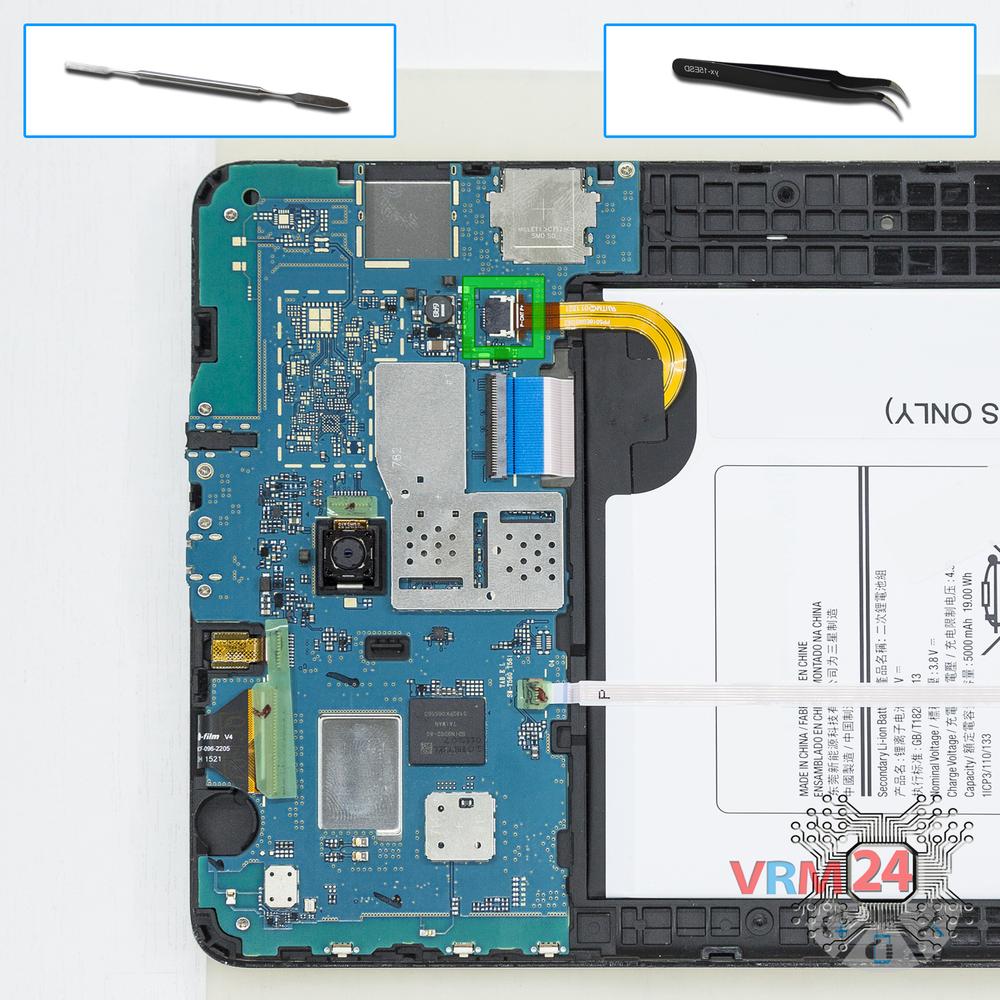
Screwdriver Phillips #000

Opening tool / Spudger

Tweezers

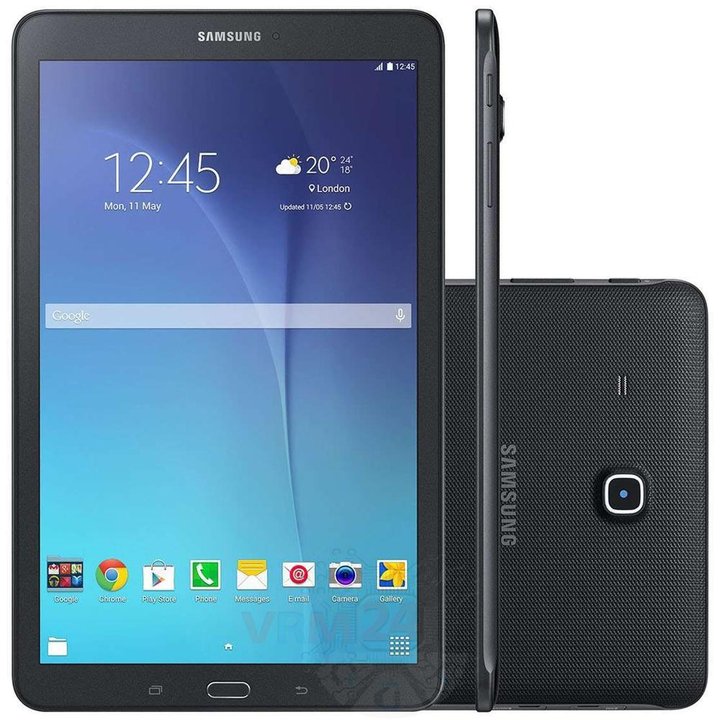
Disassembly/Repair of the mobile device Samsung Galaxy Tab E 9.6'' SM-T560 (Samsung Galaxy Tab E 9.6'' SM-T561) with each step description and the required set of tools.
19114
Views
1
Likes
—
Share
18
Questions

Step 1.
Open the back cover
Open the back cover.
Step 2.
Disconnect the battery connector
Disconnect the battery connector.
⚠ Warning!
We strongly recommend disconnecting the connector to avoid a possible short circuit during disassembly.
Step 3.
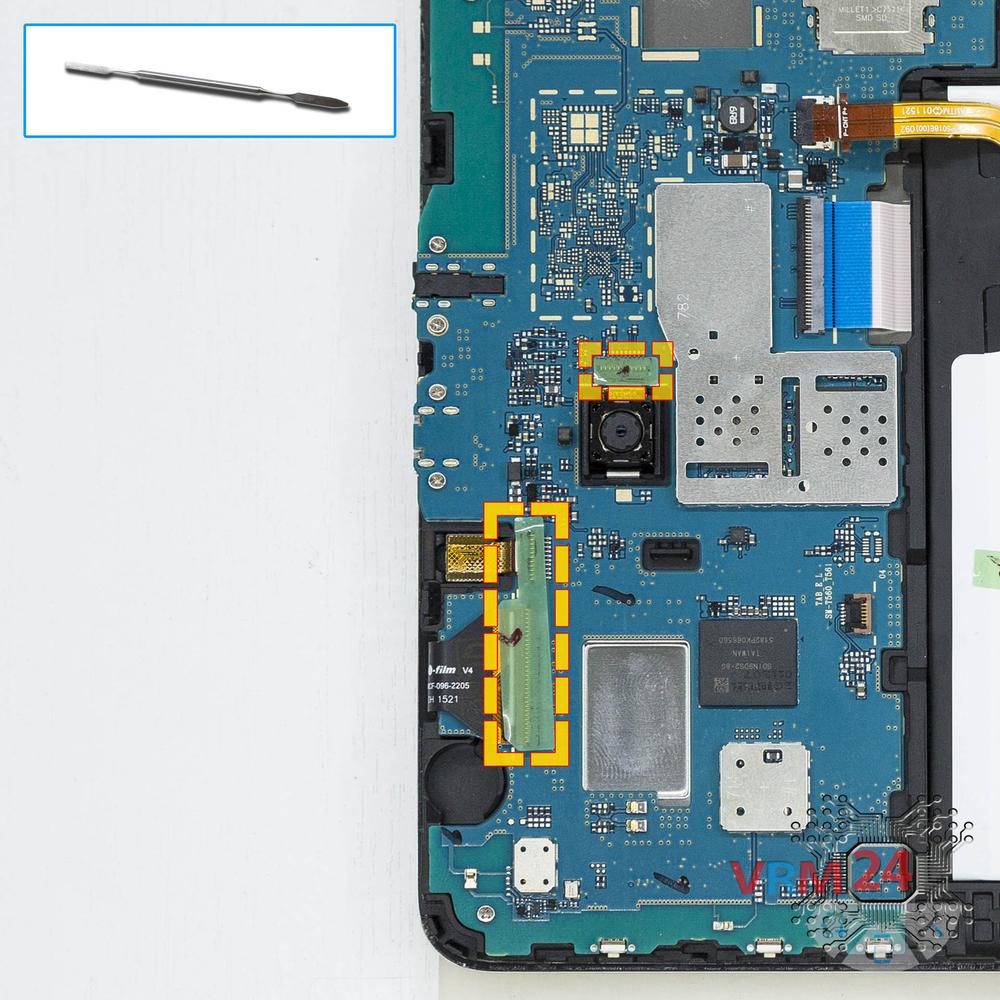
Remove the protective film
Peel off the protective stickers, pry up the connectors and remove inter-board cable.
Step 4.
Remove the protective film
Remove the protective stickers.
Step 5.
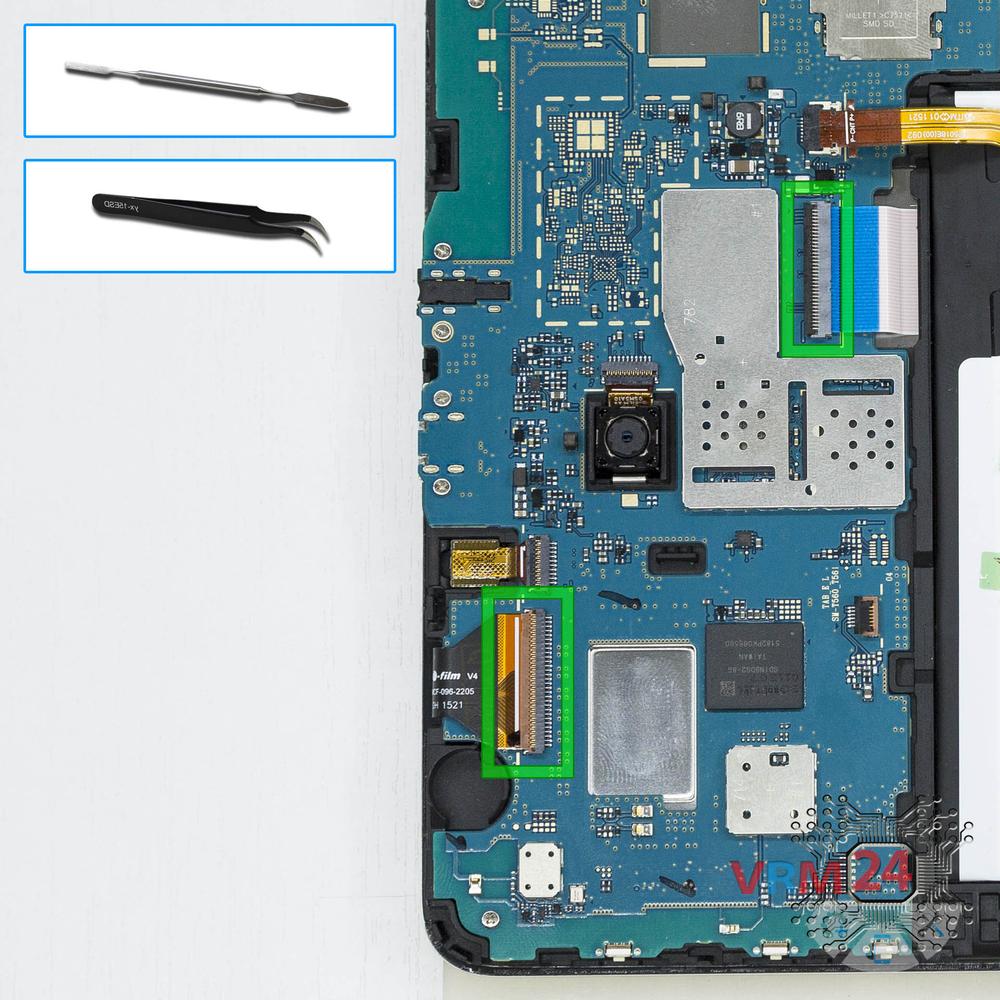
Disconnect the connectors
Disconnect connectors on the PCB.
Step 6.
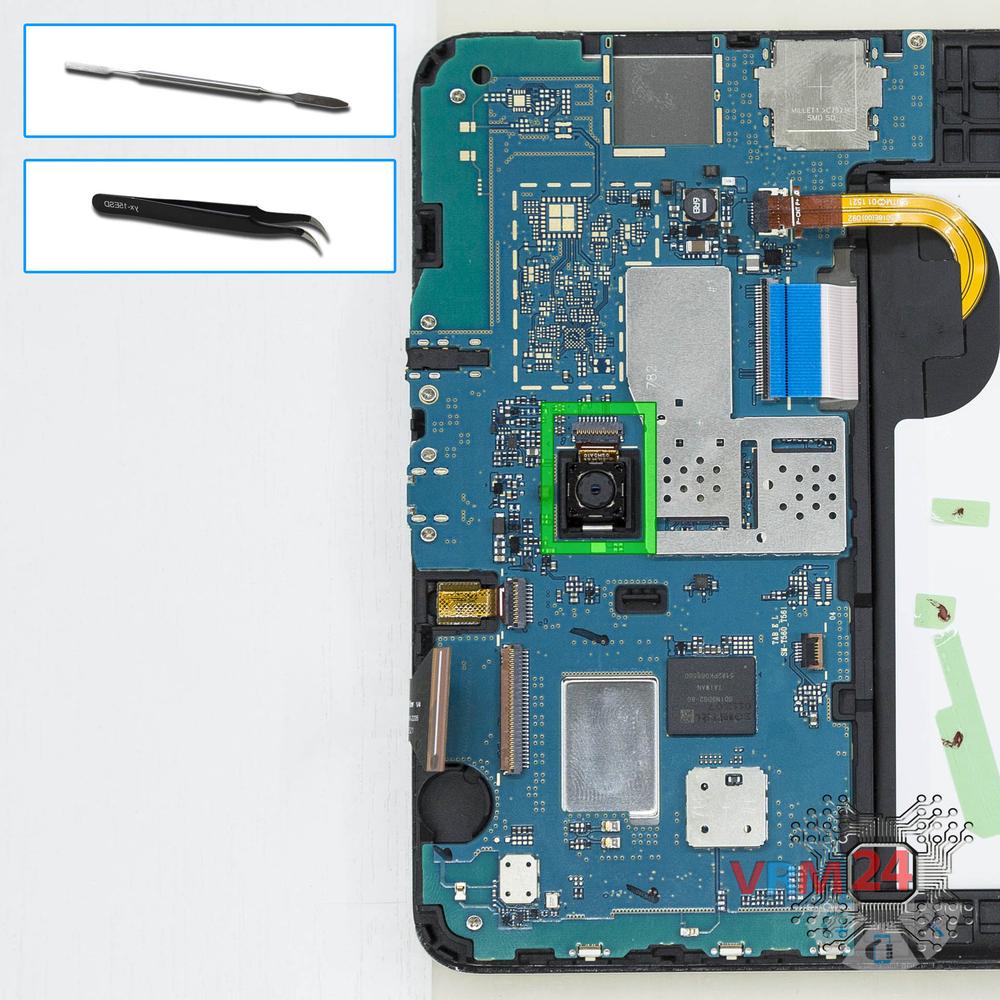
Remove the rear camera
Disconnect the connector on PCB, and remove the main camera.
Step 7.
Remove the front camera
Disconnect the connector on PCB, and remove the front (selfie) camera.
Step 8.
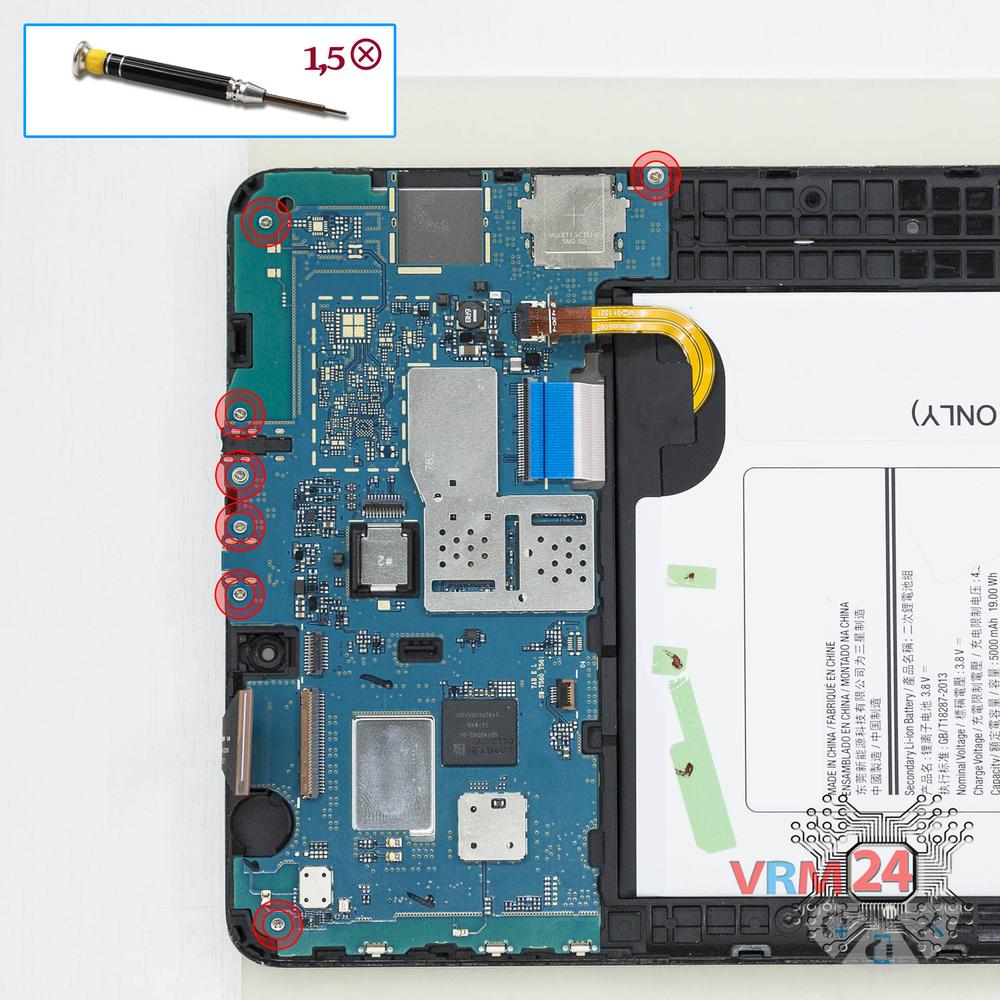
Unscrew the screws
Using a screwdriver (Phillips 1.5 mm PH000), unscrew 7 bolts in the PCB.
Step 9.
Remove the motherboard
Remove the PCB.
Step 10.
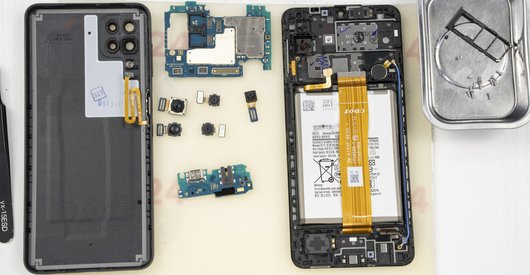
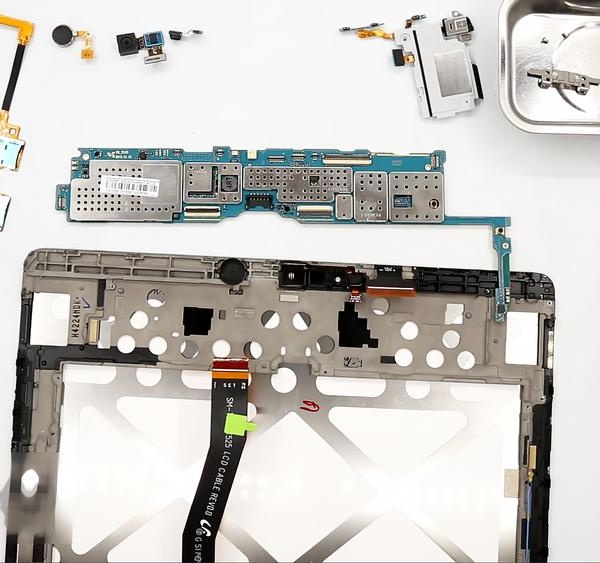
In the display frame remained
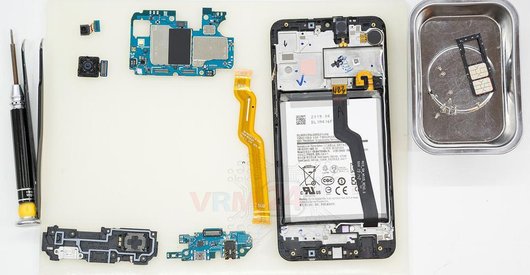
Parts are in the frame of the display module.

If you have a question, ask us, and we will try to answer in as much detail as possible. If this article was helpful for you, please rate it.

19114
Views
1
Likes
—
Share
18
Questions
Related Instructions
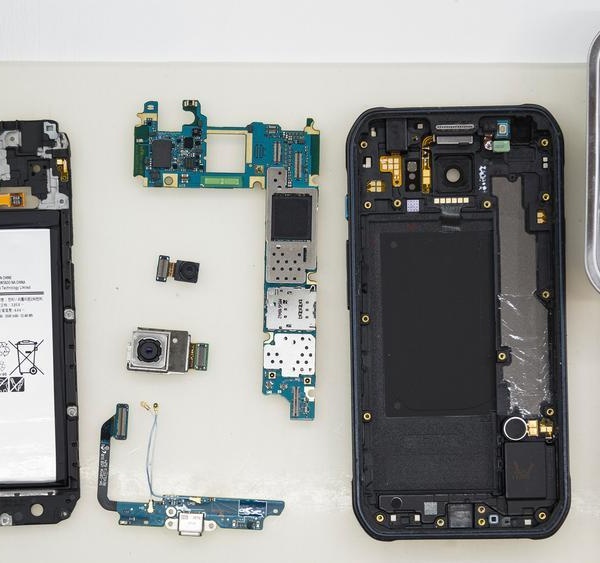
Related Reviews
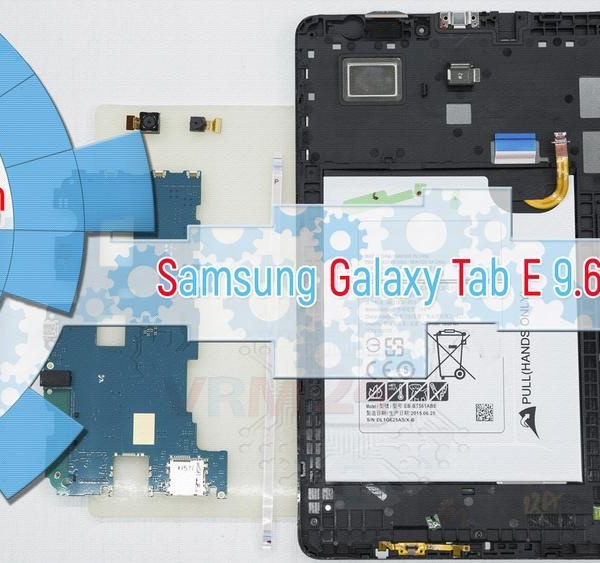
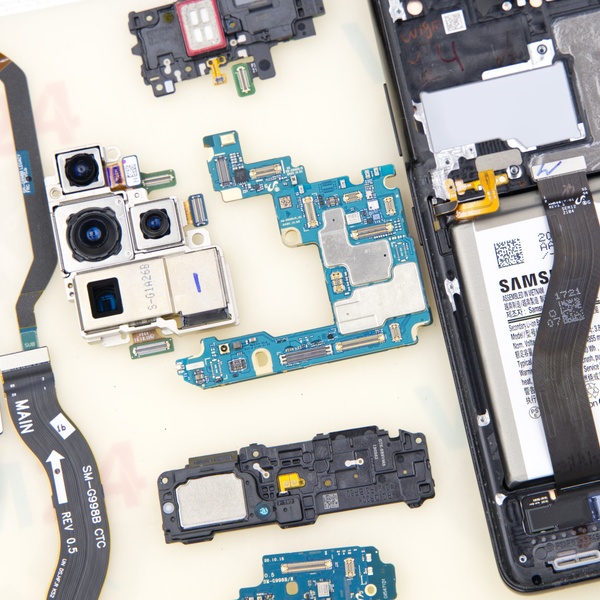
Related Blog
Popular Questions
G
Samsung Galaxy Tab E 9.6'' SM-T560
Hi, on my T561 the menu and back keys don't work, what should I replace? Thanks
Giulio Andreotti10
Samsung Galaxy Tab E 9.6'' SM-T560
how do I open the back cover
ikechukwu
A
Samsung Galaxy Tab E 9.6'' SM-T560
Hello, I do not know if you can tell me what happens with my samsumg tablet, it is the same as in the video. The problem is that when the charge beg…
Ale5
J
Samsung Galaxy Tab S2 9.7'' SM-T819
Well I ordered all the things I needed from Amazon and got up the very first corner as shown in your video and now my screen is flashing lightning-li…
Jeanne Stumpf8
S
Samsung Galaxy J1 (2016) SM-J120
a question where is the cell phone's wifi located in part it's Porf
Saúl P.3Top instructions
Check our
Top Samsung instructions most liked by readers
New instructions
Check our
New Samsung brand instructions on vrm24.com