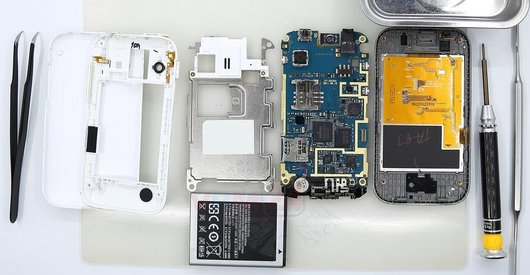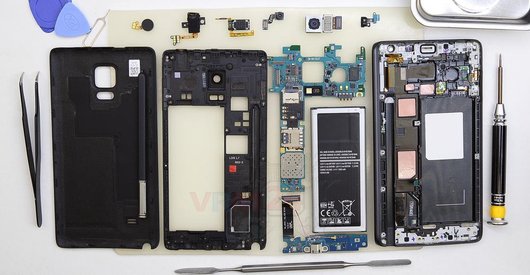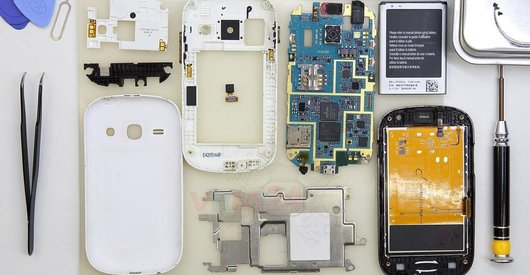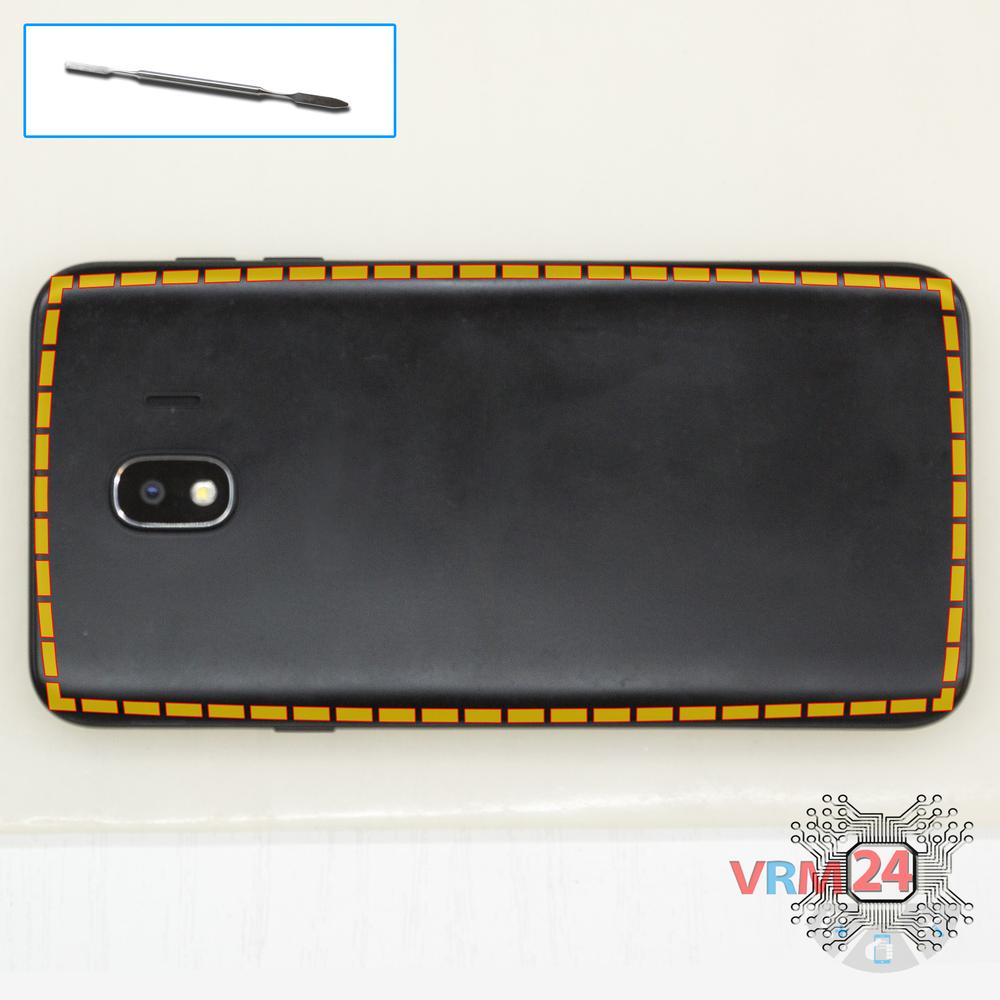





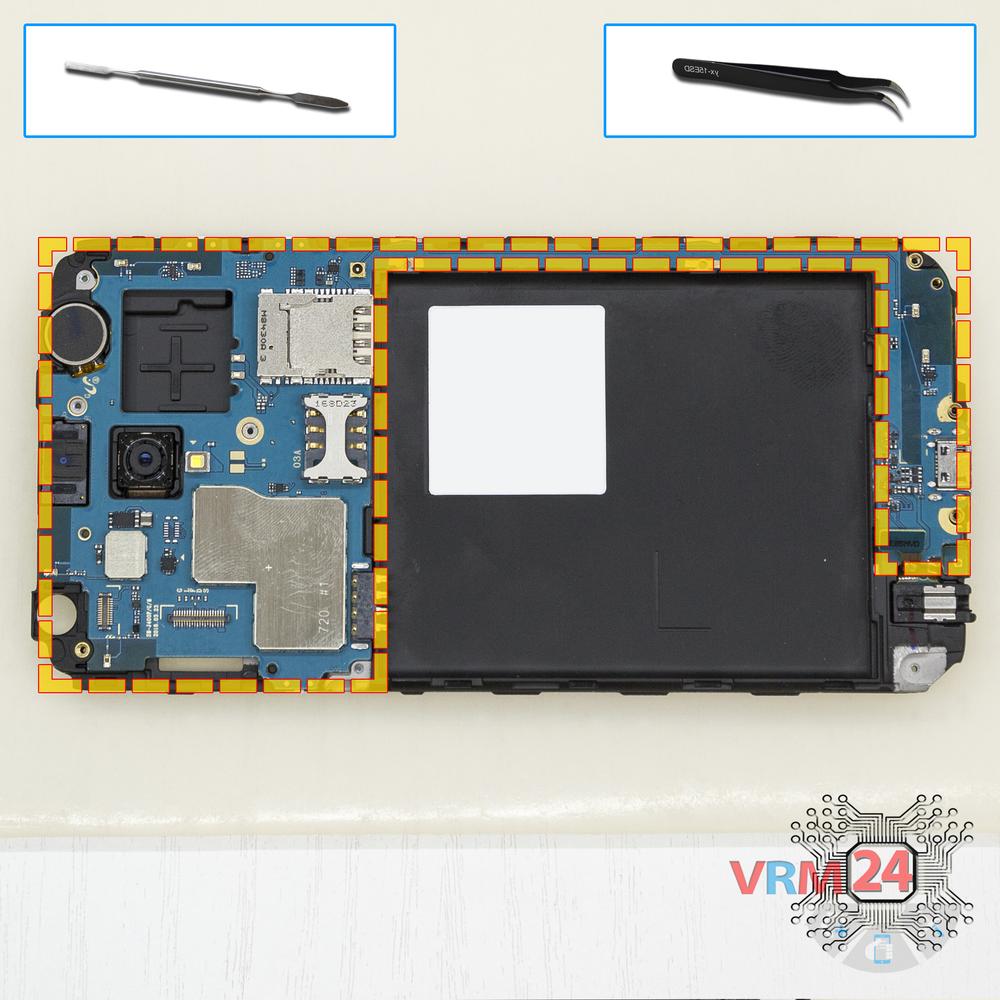
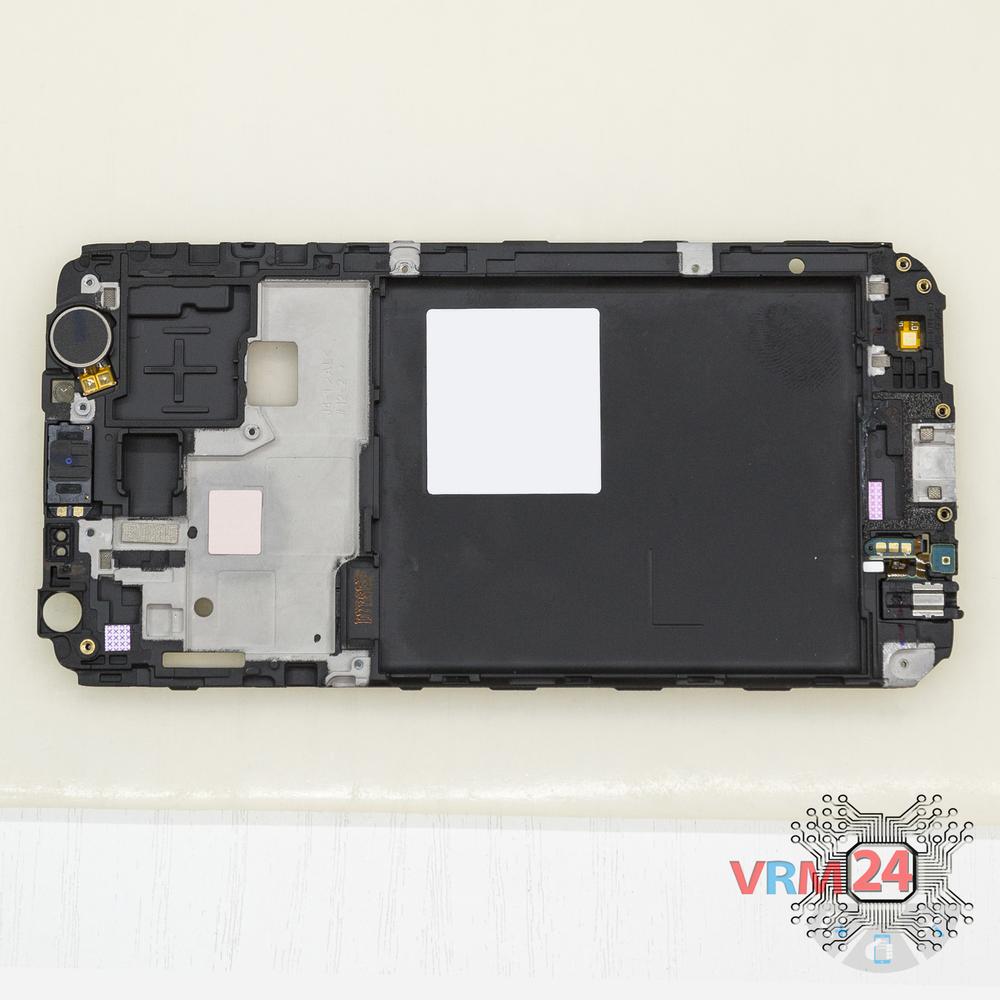
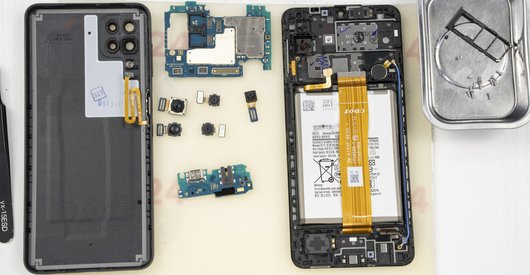
Recommended tools
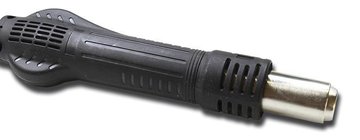
Heat gun
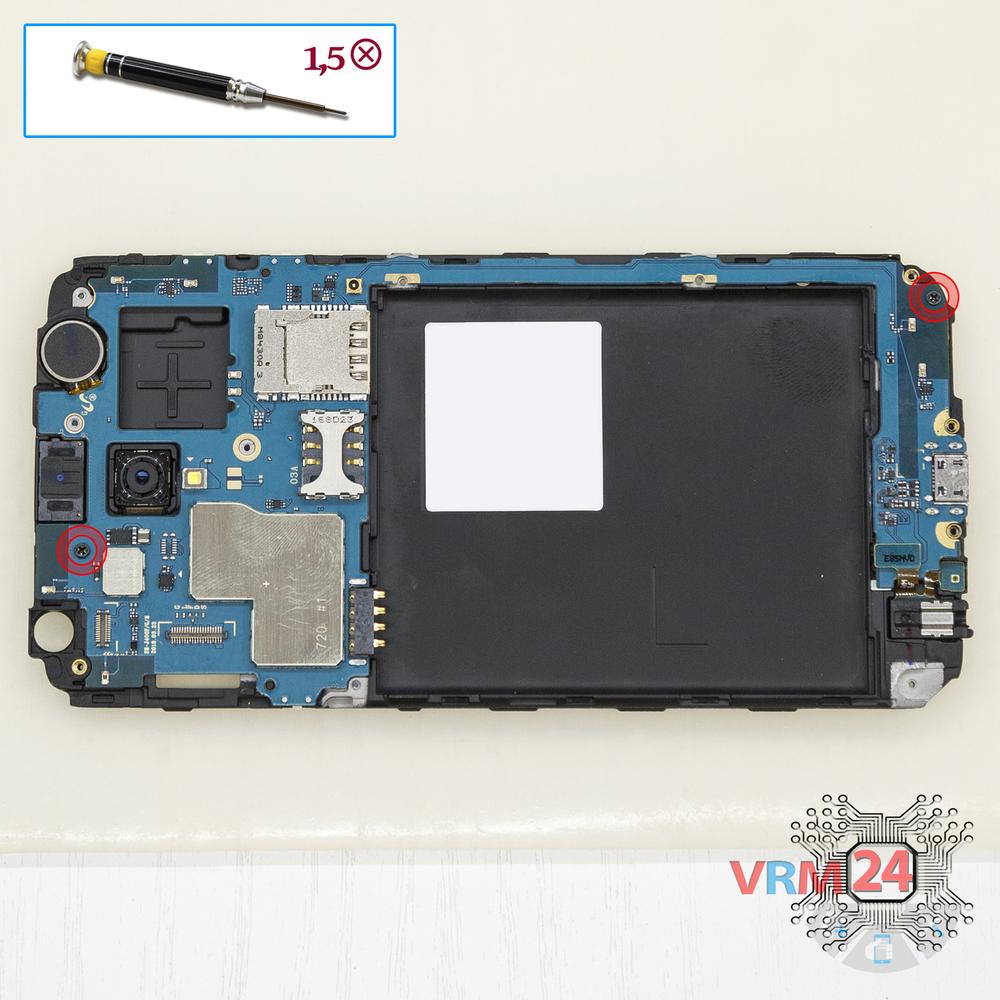
Screwdriver Phillips #000

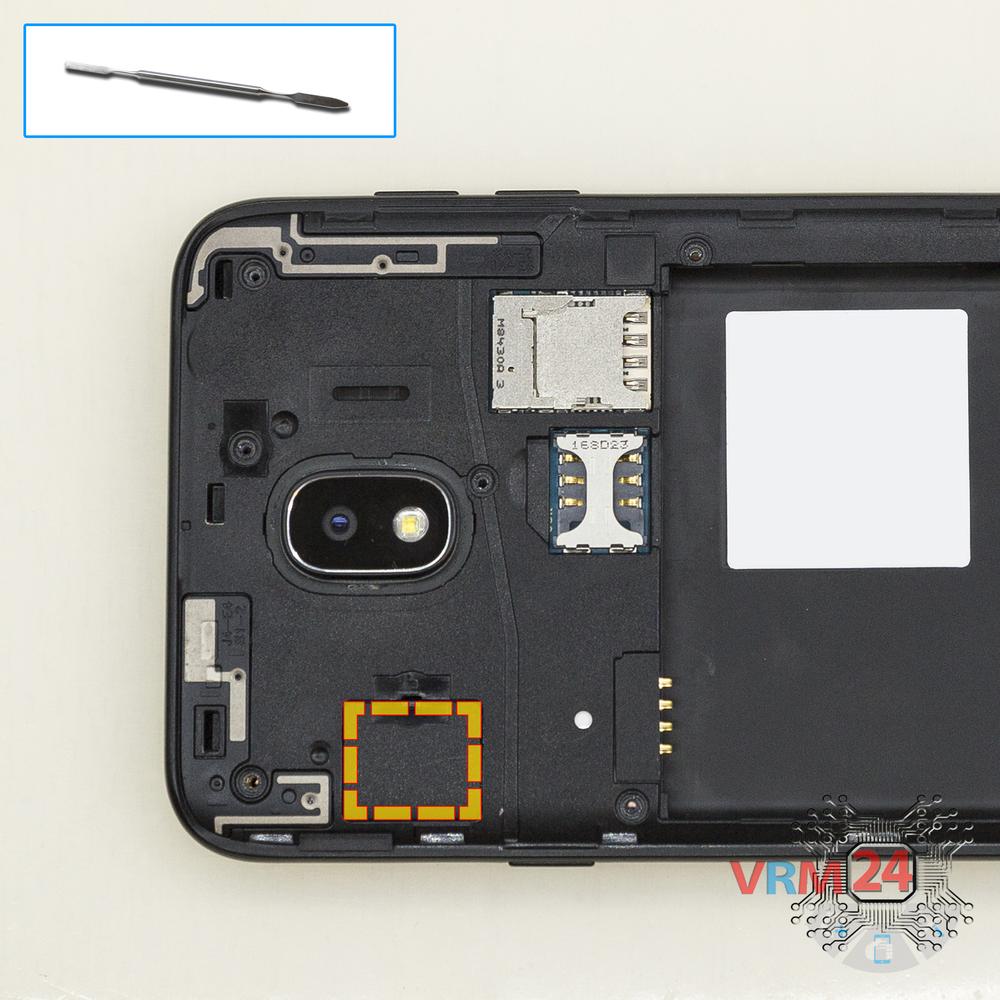
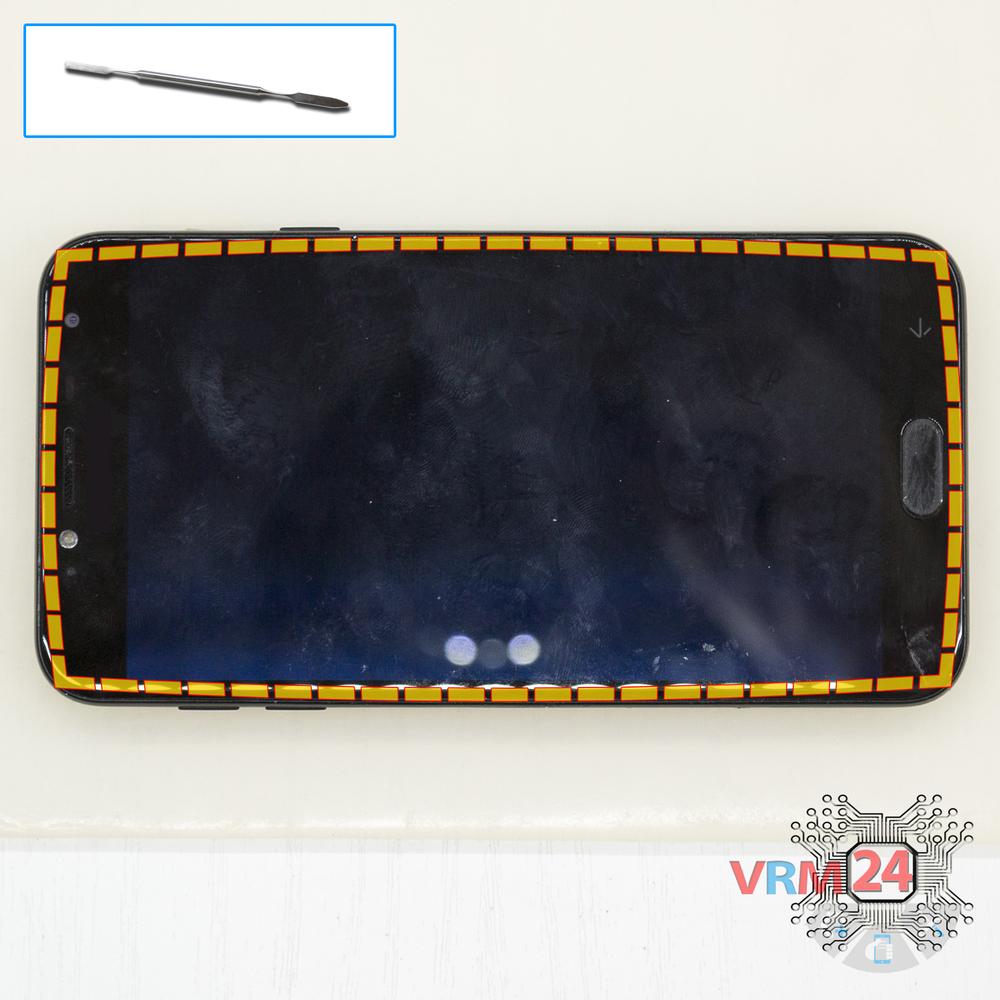
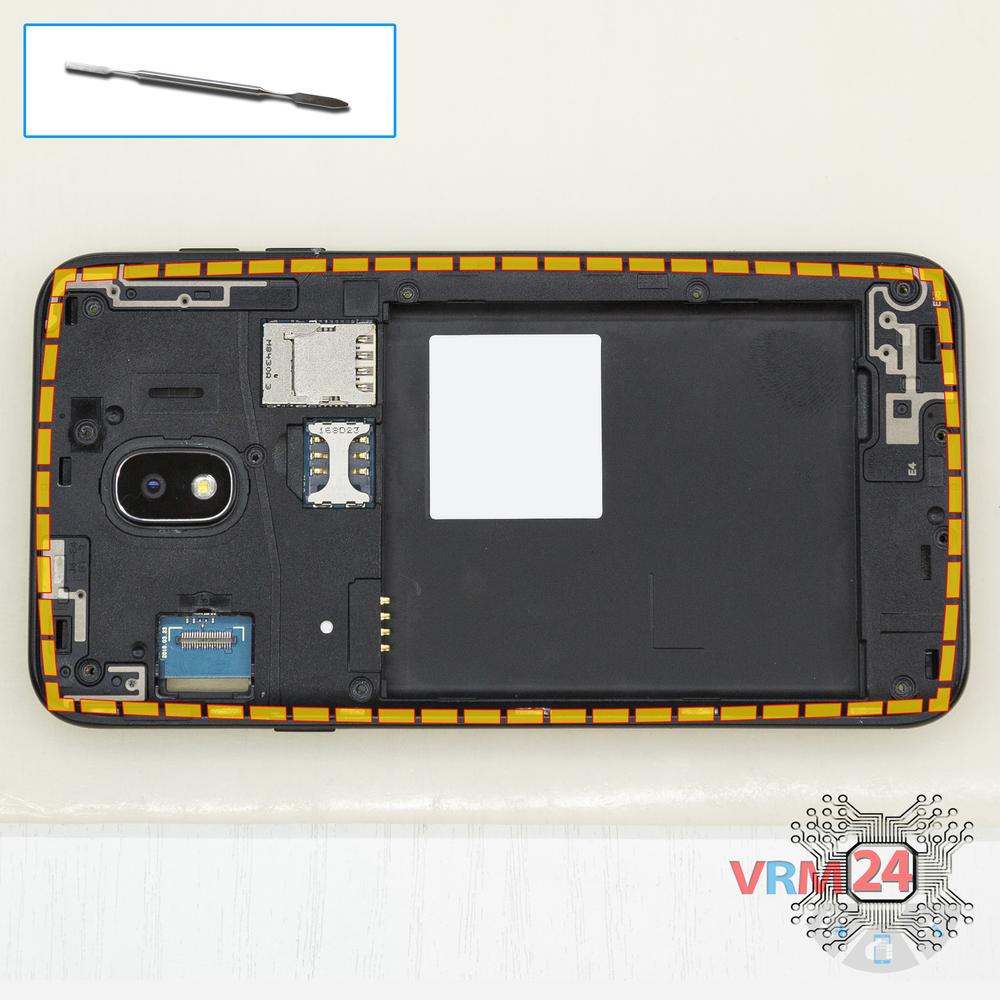
Opening tool / Spudger

Tweezers

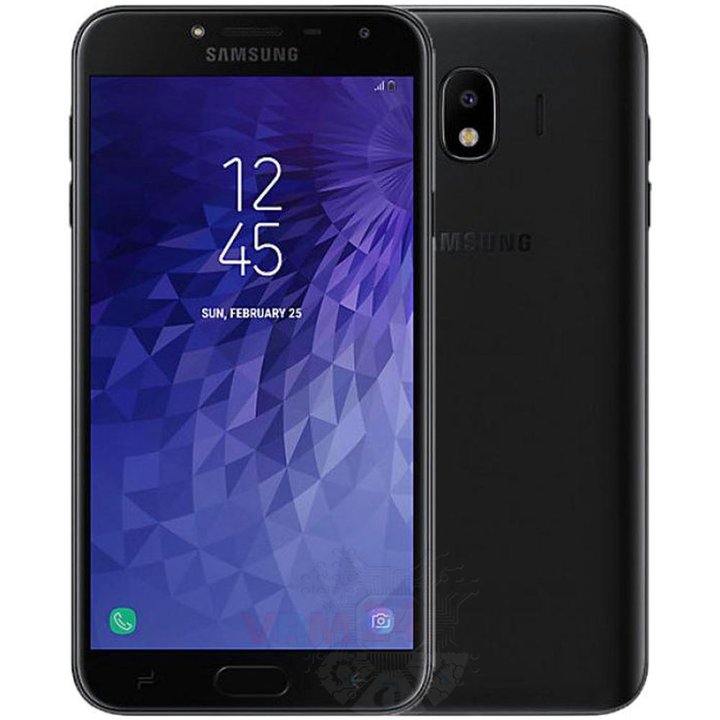
Disassembly/Repair of the mobile device Samsung Galaxy J4 SM-J400 (Samsung Galaxy J4 J400F/DS (Global DS); J400G/DS) with each step description and the required set of tools.
29780
Views
11
Likes
—
Share
5
Questions

Step 1.
Open the back cover
Open the back cover.
Step 2.
Remove the battery
Lift and remove the battery.
Step 3.
Unscrew the screws
Using a screwdriver (Phillips 1.5 mm PH000), unscrew 11 bolts in the frame of the phone.
Step 4.
Open the cover
Remove the cover hiding the connector.
Step 5.
Disconnect the connector
Pry up the display module connector.
Step 6.
Open the display
Separate the display module from the cover.
⚠ Warning!
For careful separation, we recommend using a heat gun. At the same time, it is necessary to heat carefully in order, not to damage the surface of the device.
Step 7.
Open the mid-frame
Pry and remove the middle frame.
Step 8.
Remove the front camera
Disconnect the connector on PCB, and remove the front (selfie) camera.
Step 9.
Disconnect the connector
Disconnect the connector on the PCB.
Step 10.
Unscrew the screws
Using a screwdriver (Phillips 1.5 mm PH000), unscrew 2 bolts in the PCB.
Step 11.
Remove the motherboard
Remove the PCB.
Step 12.
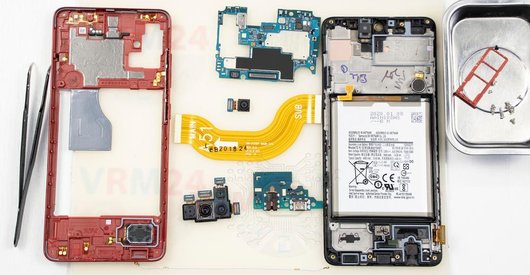
In the display frame remained
Parts are in the frame of the display module.

If you have a question, ask us, and we will try to answer in as much detail as possible. If this article was helpful for you, please rate it.

29780
Views
11
Likes
—
Share
5
Questions
Related Instructions
Related Reviews
Related Blog
Popular Questions
X
Samsung Galaxy A5 (2016) SM-A510
I did all the steps, but when I decided to remove the battery, there wasn't that green thing down the battery where you can pull off the battery, and…
xelorde19
Samsung Galaxy Note 10 SM-N970
I was wondering if you had a manual or list of part numbers so I can order the OEM part number for repairs. I'm looking to replace the battery, charg…
jared
C
Samsung Galaxy S7 Edge SM-G935
Can i replace s7 edge lcd from smg935F to my device smg935D (docomo)japan sir.can its work?
C_tiann8
B
Samsung Gear S2 SM-R720
where can I send my gear 2 watch to get new battery replaced, I would never attempt doing it myself after watching this informative video?
Bob De Silva1
A
Samsung Galaxy J2 Prime SM-G532
Gostaria de fazer curso online favor queria saber os preços
andreia santos7Top instructions
Check our
Top Samsung instructions most liked by readers
New instructions
Check our
New Samsung brand instructions on vrm24.com