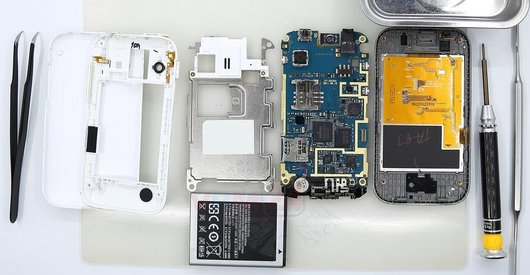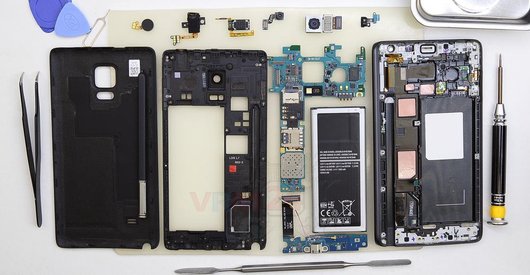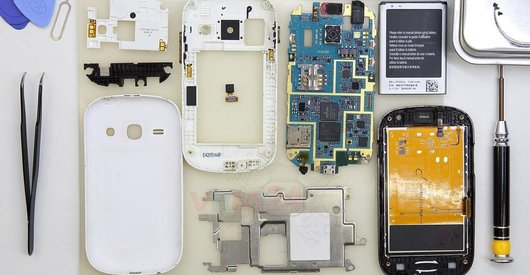


Recommended tools
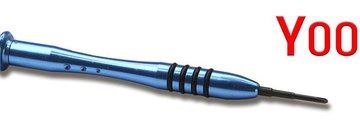
Screwdriver Tri-point Y00
Screwdriver Phillips #000

Tweezers

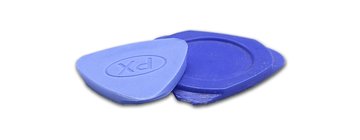
Non-metallic tool
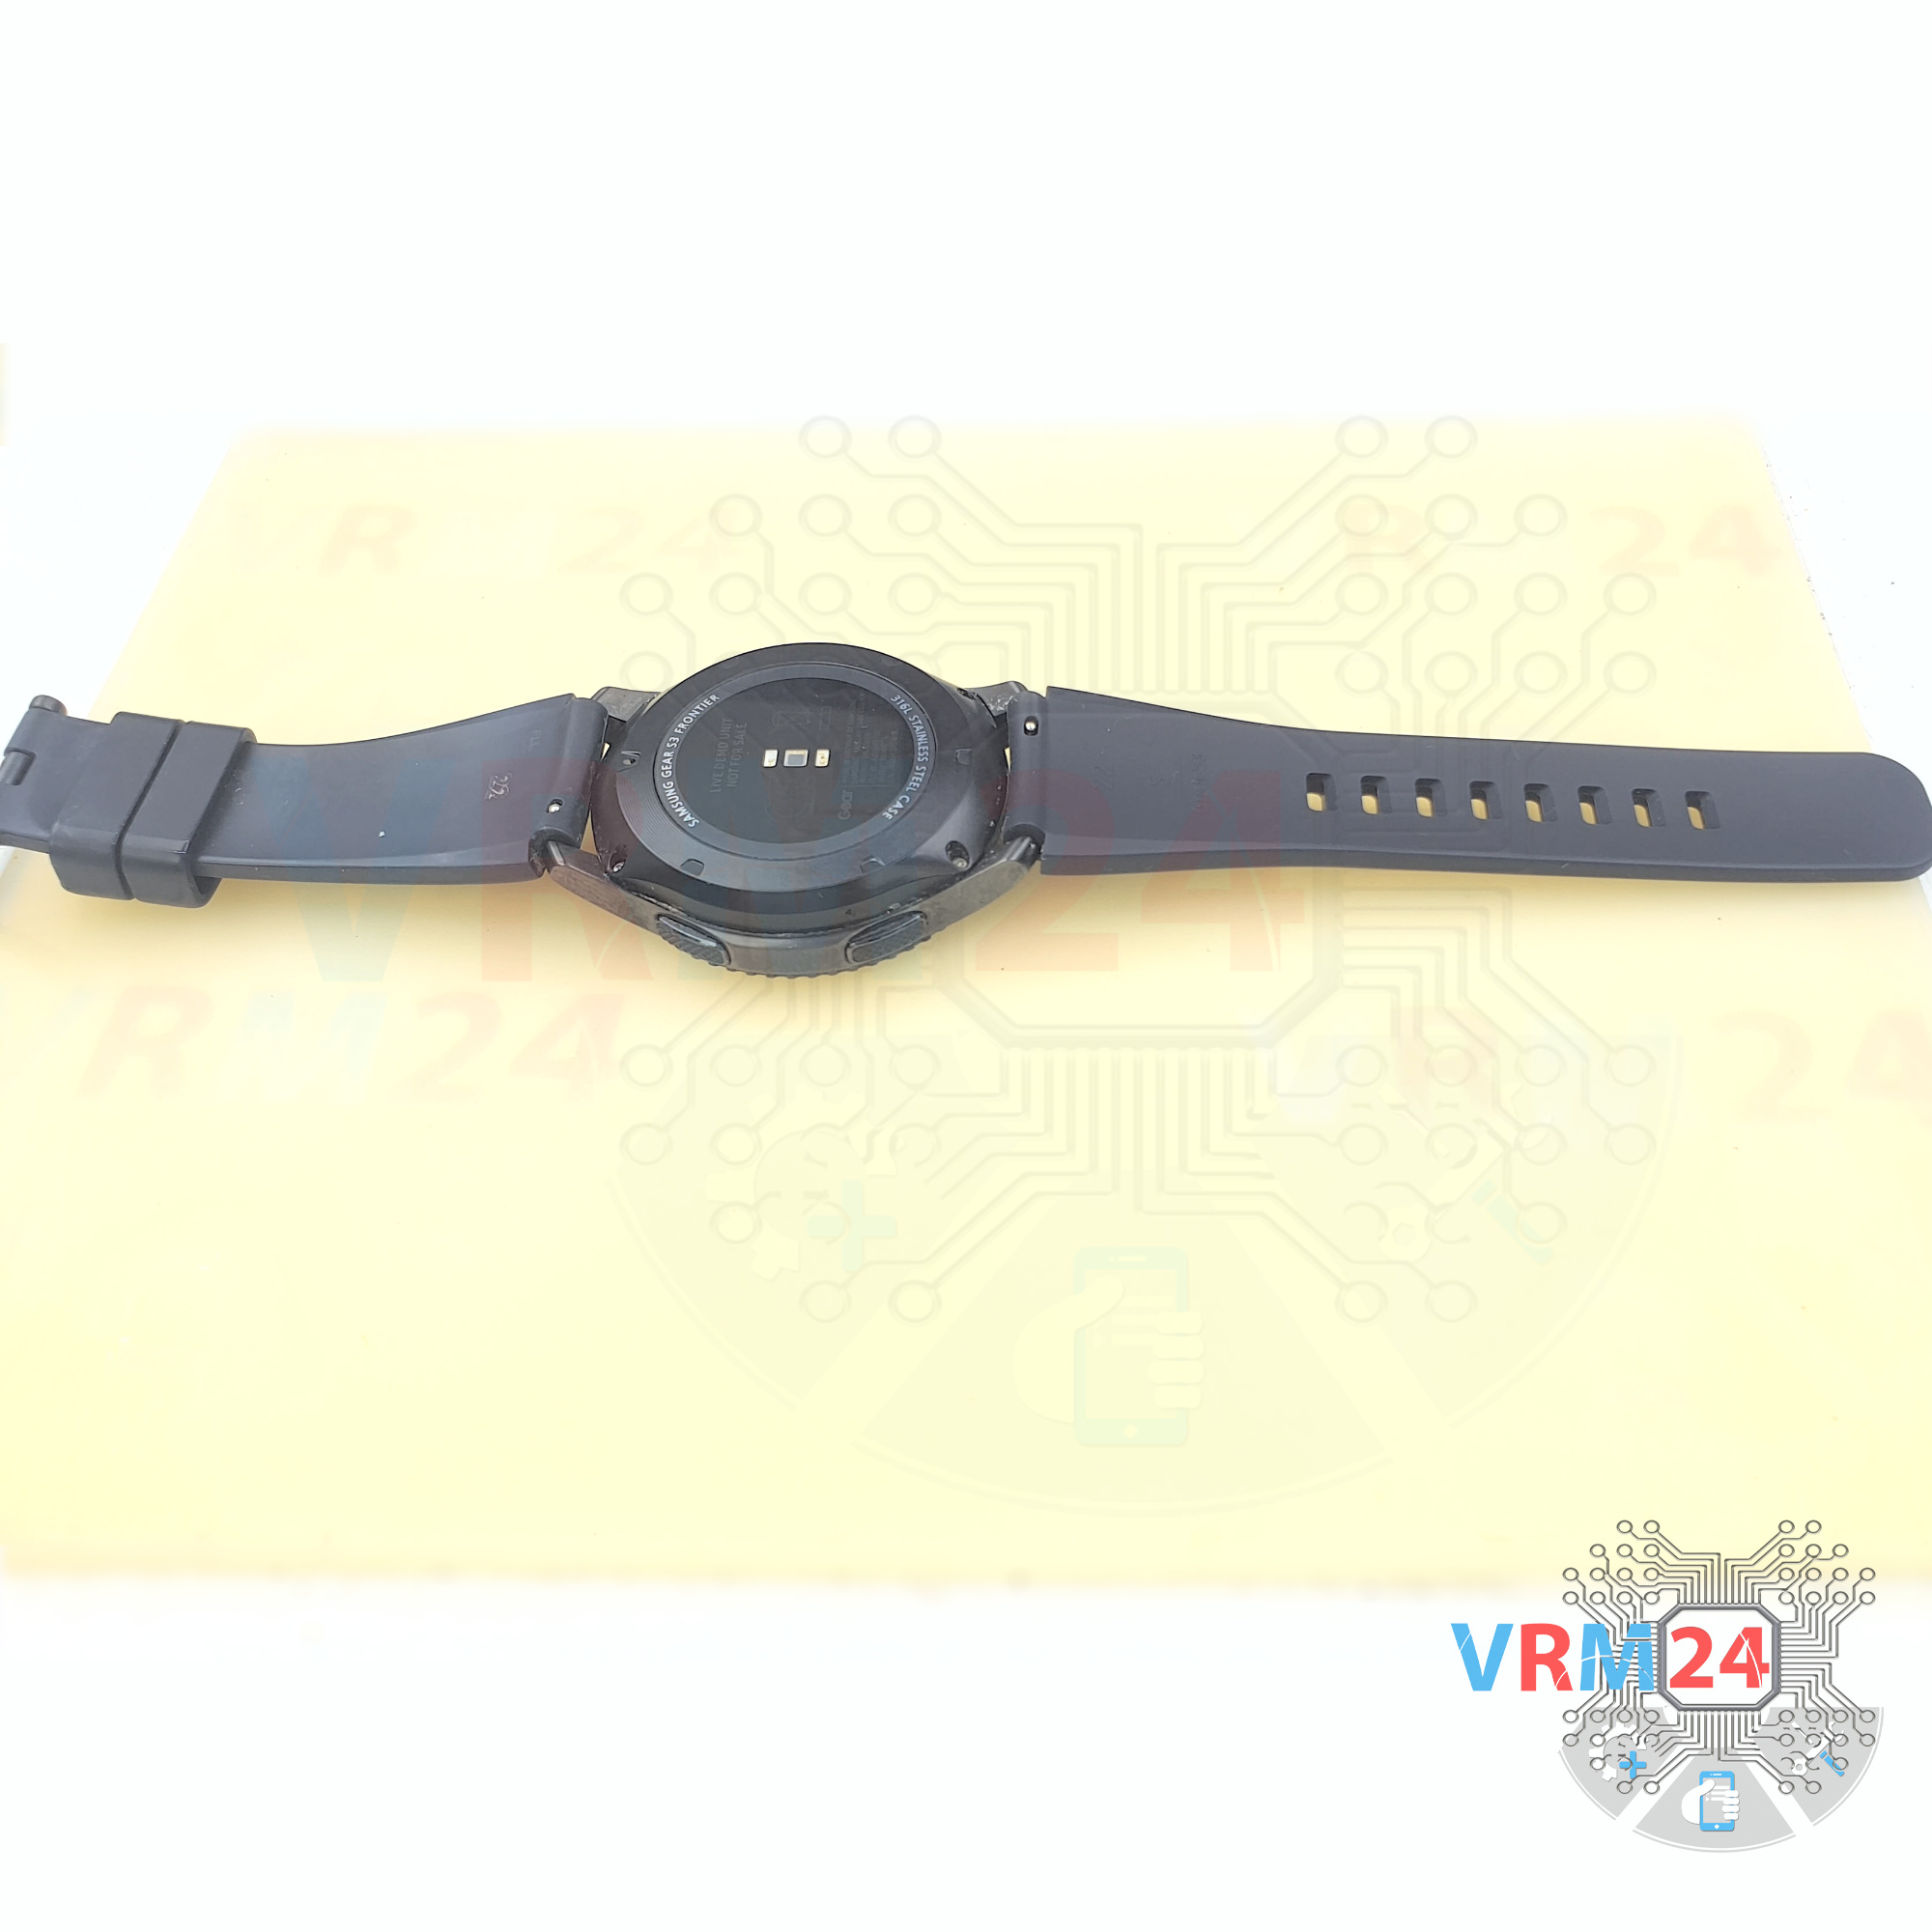
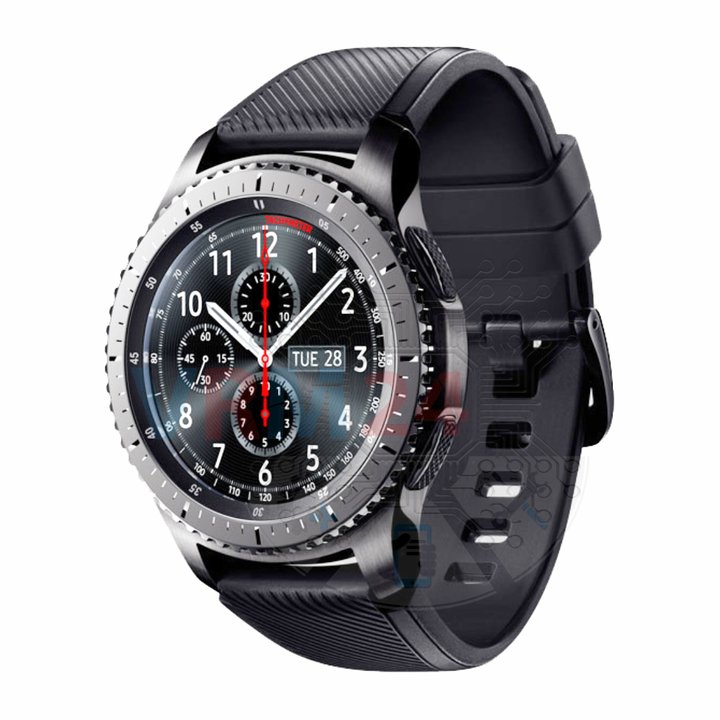
Disassembly/Repair of the mobile device Samsung Gear S3 Frontier SM-R760 (Samsung Gear S3 Frontier SM-R760x, SM-R760n) with each step description and the required set of tools.
15596
Views
9
Likes
—
Share
7
Questions

Step 1.
Before disassembling!
⚠️ Before disassembling, do not forget to turn your smartwatch off.
Step 2.
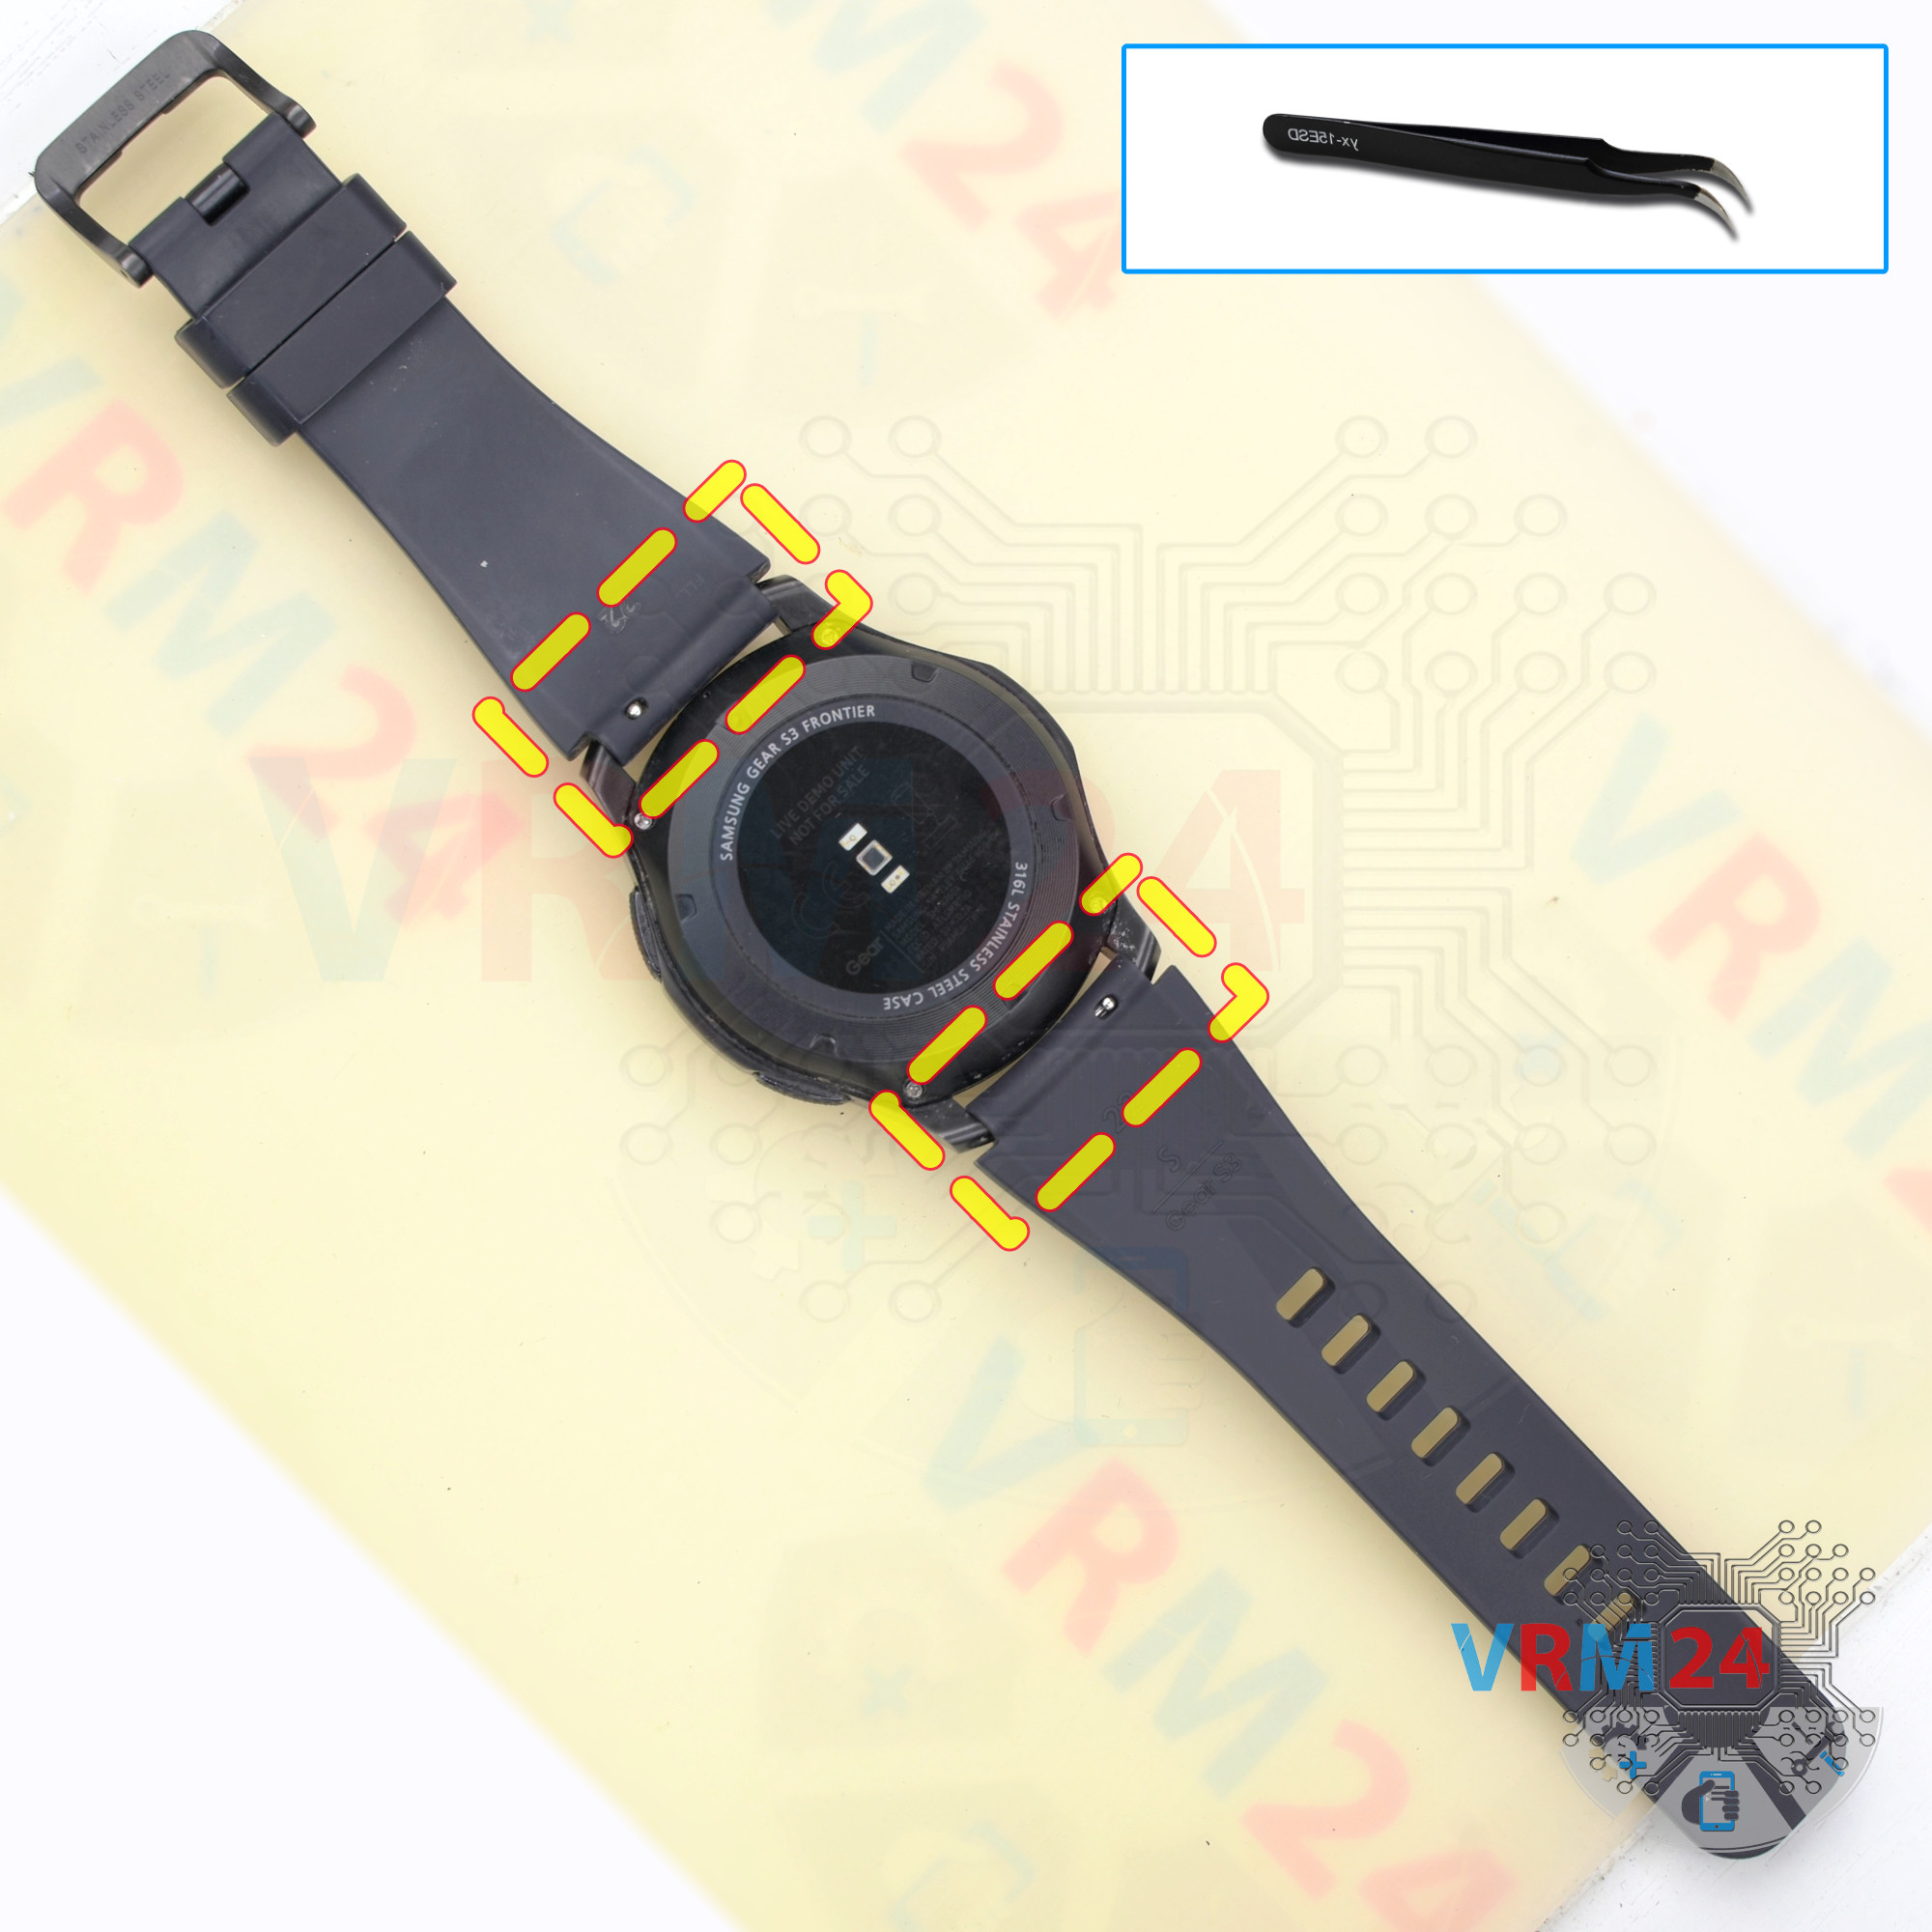
Unfasten the strap
First of all, we detach the wrist strap. For each piece of this strap we pull back the spring pushers and remove them.
Step 3.
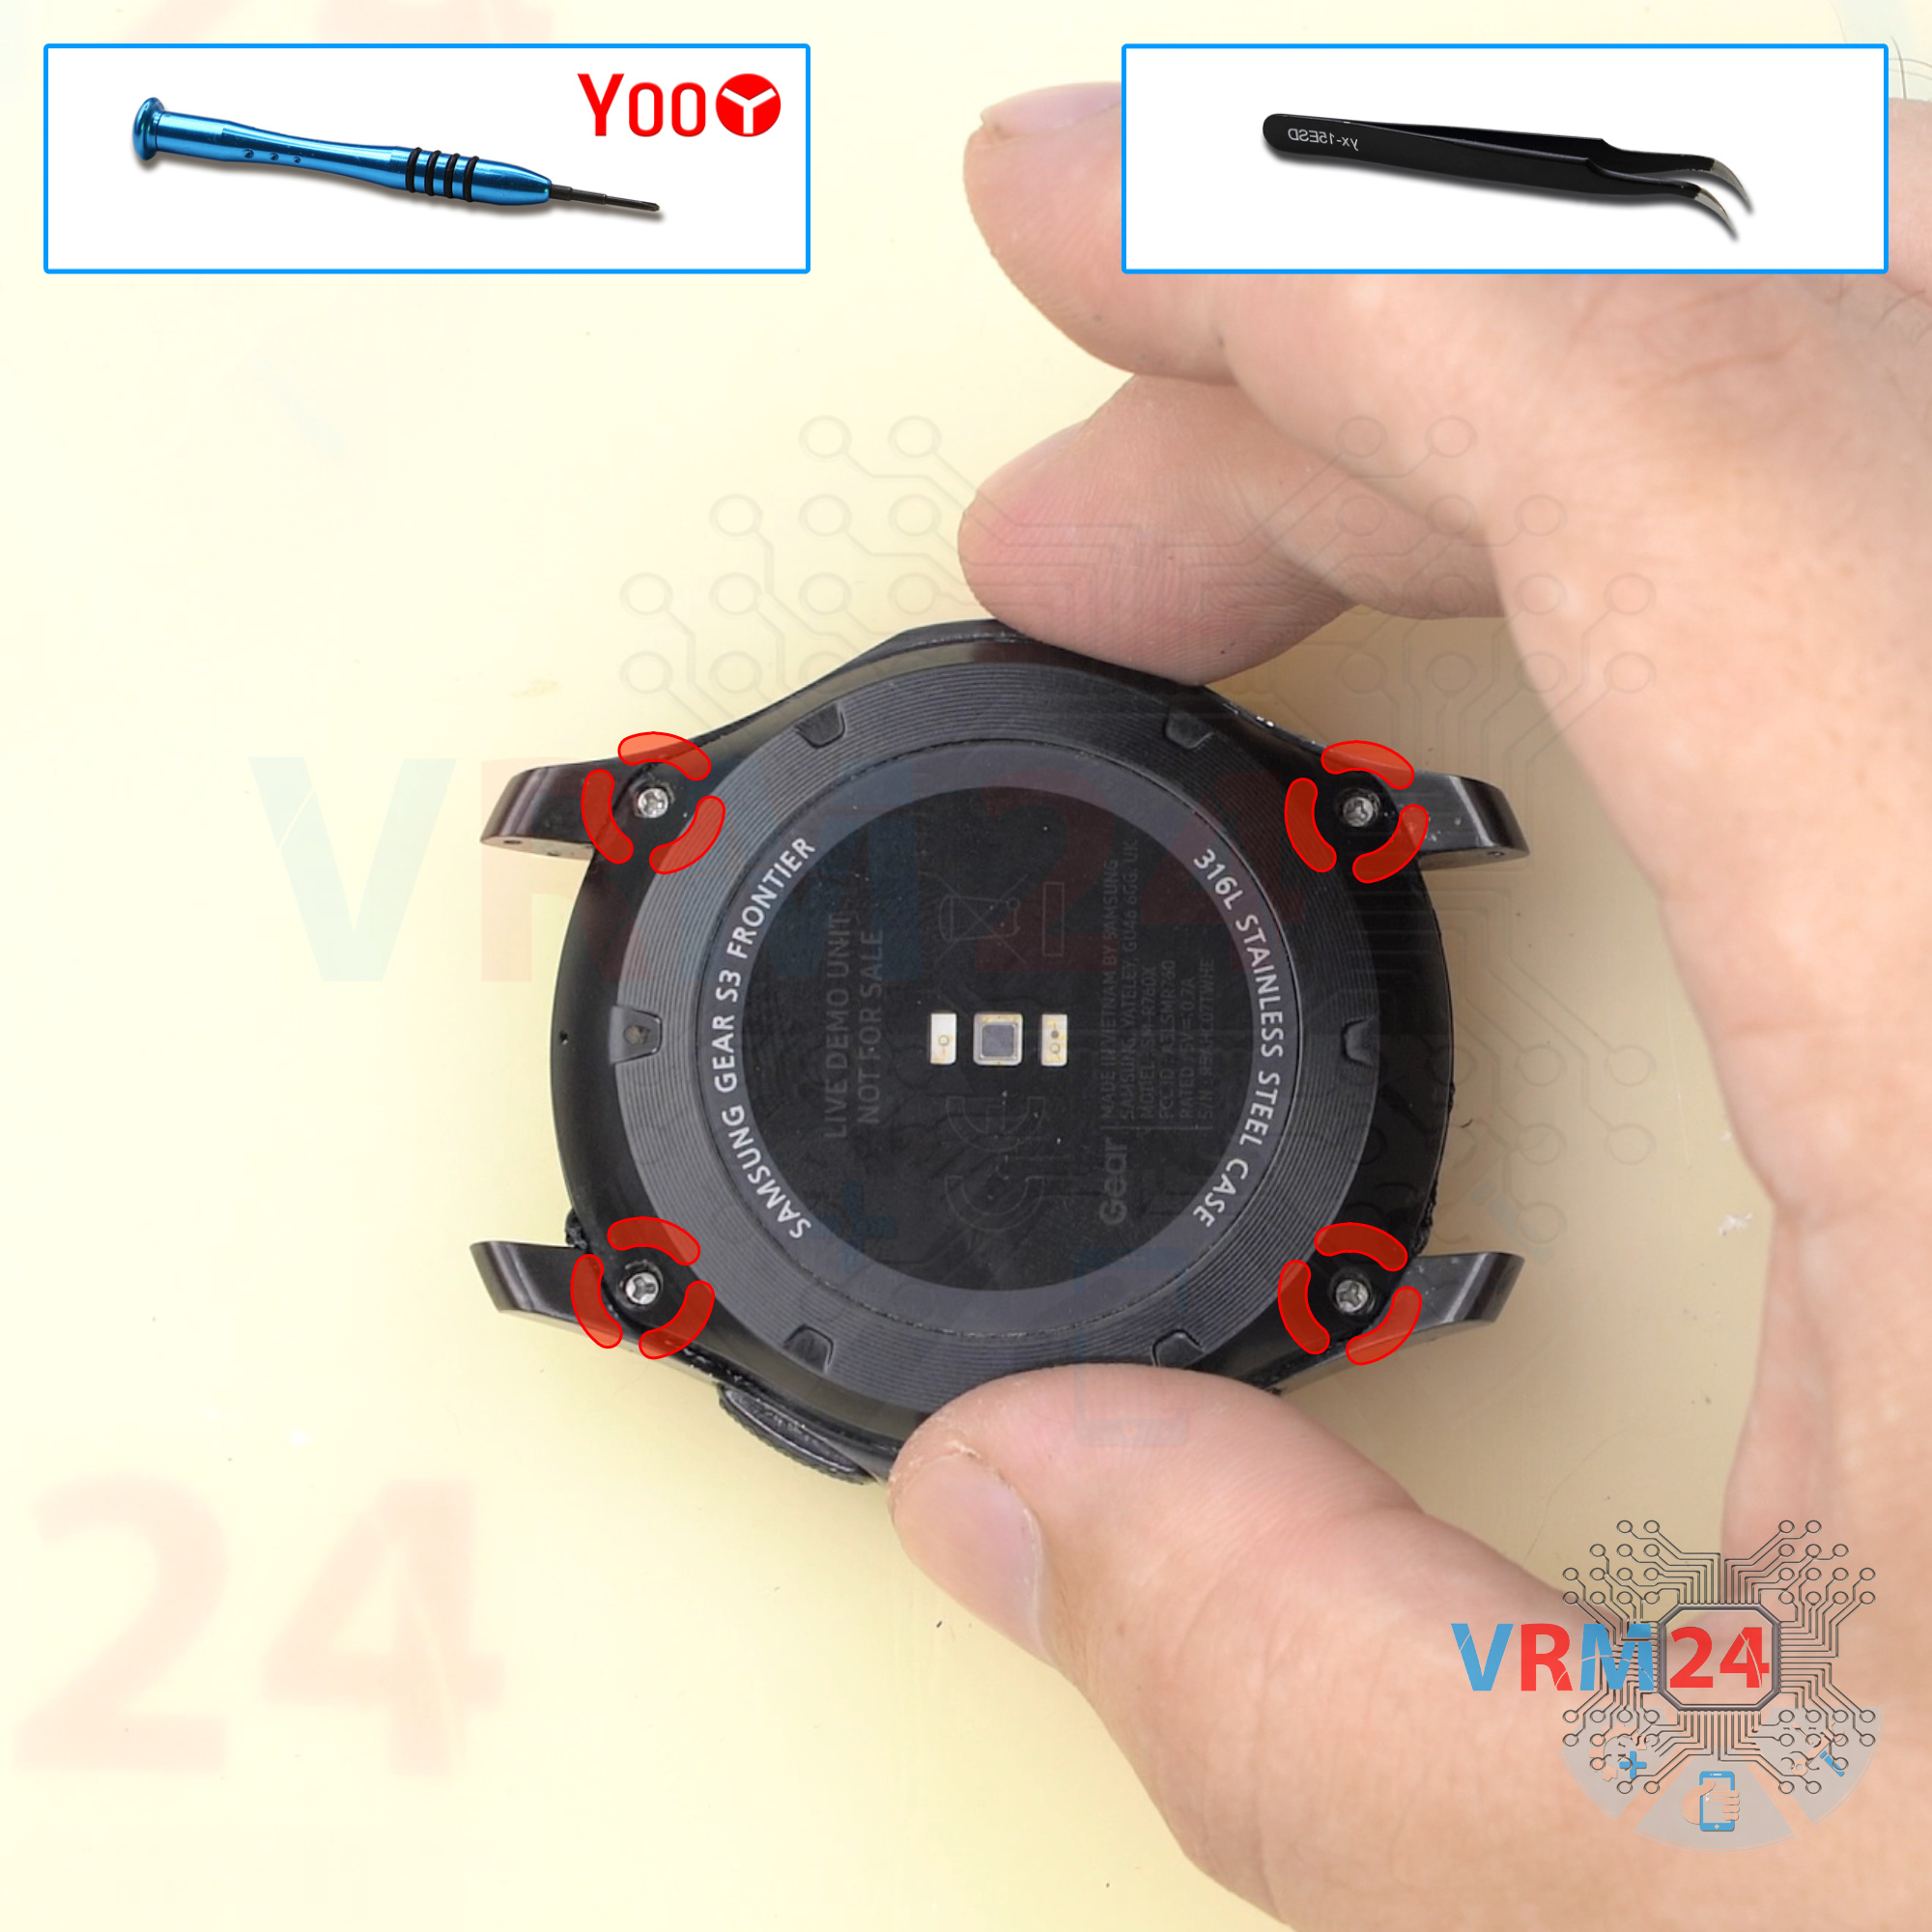
Unscrew the screws
We take a tri-wing 2.0 mm screwdriver aka Y00 and unscrew the four screws securing the back cover. After, pull out the screws stuck in the cover.
Step 4.
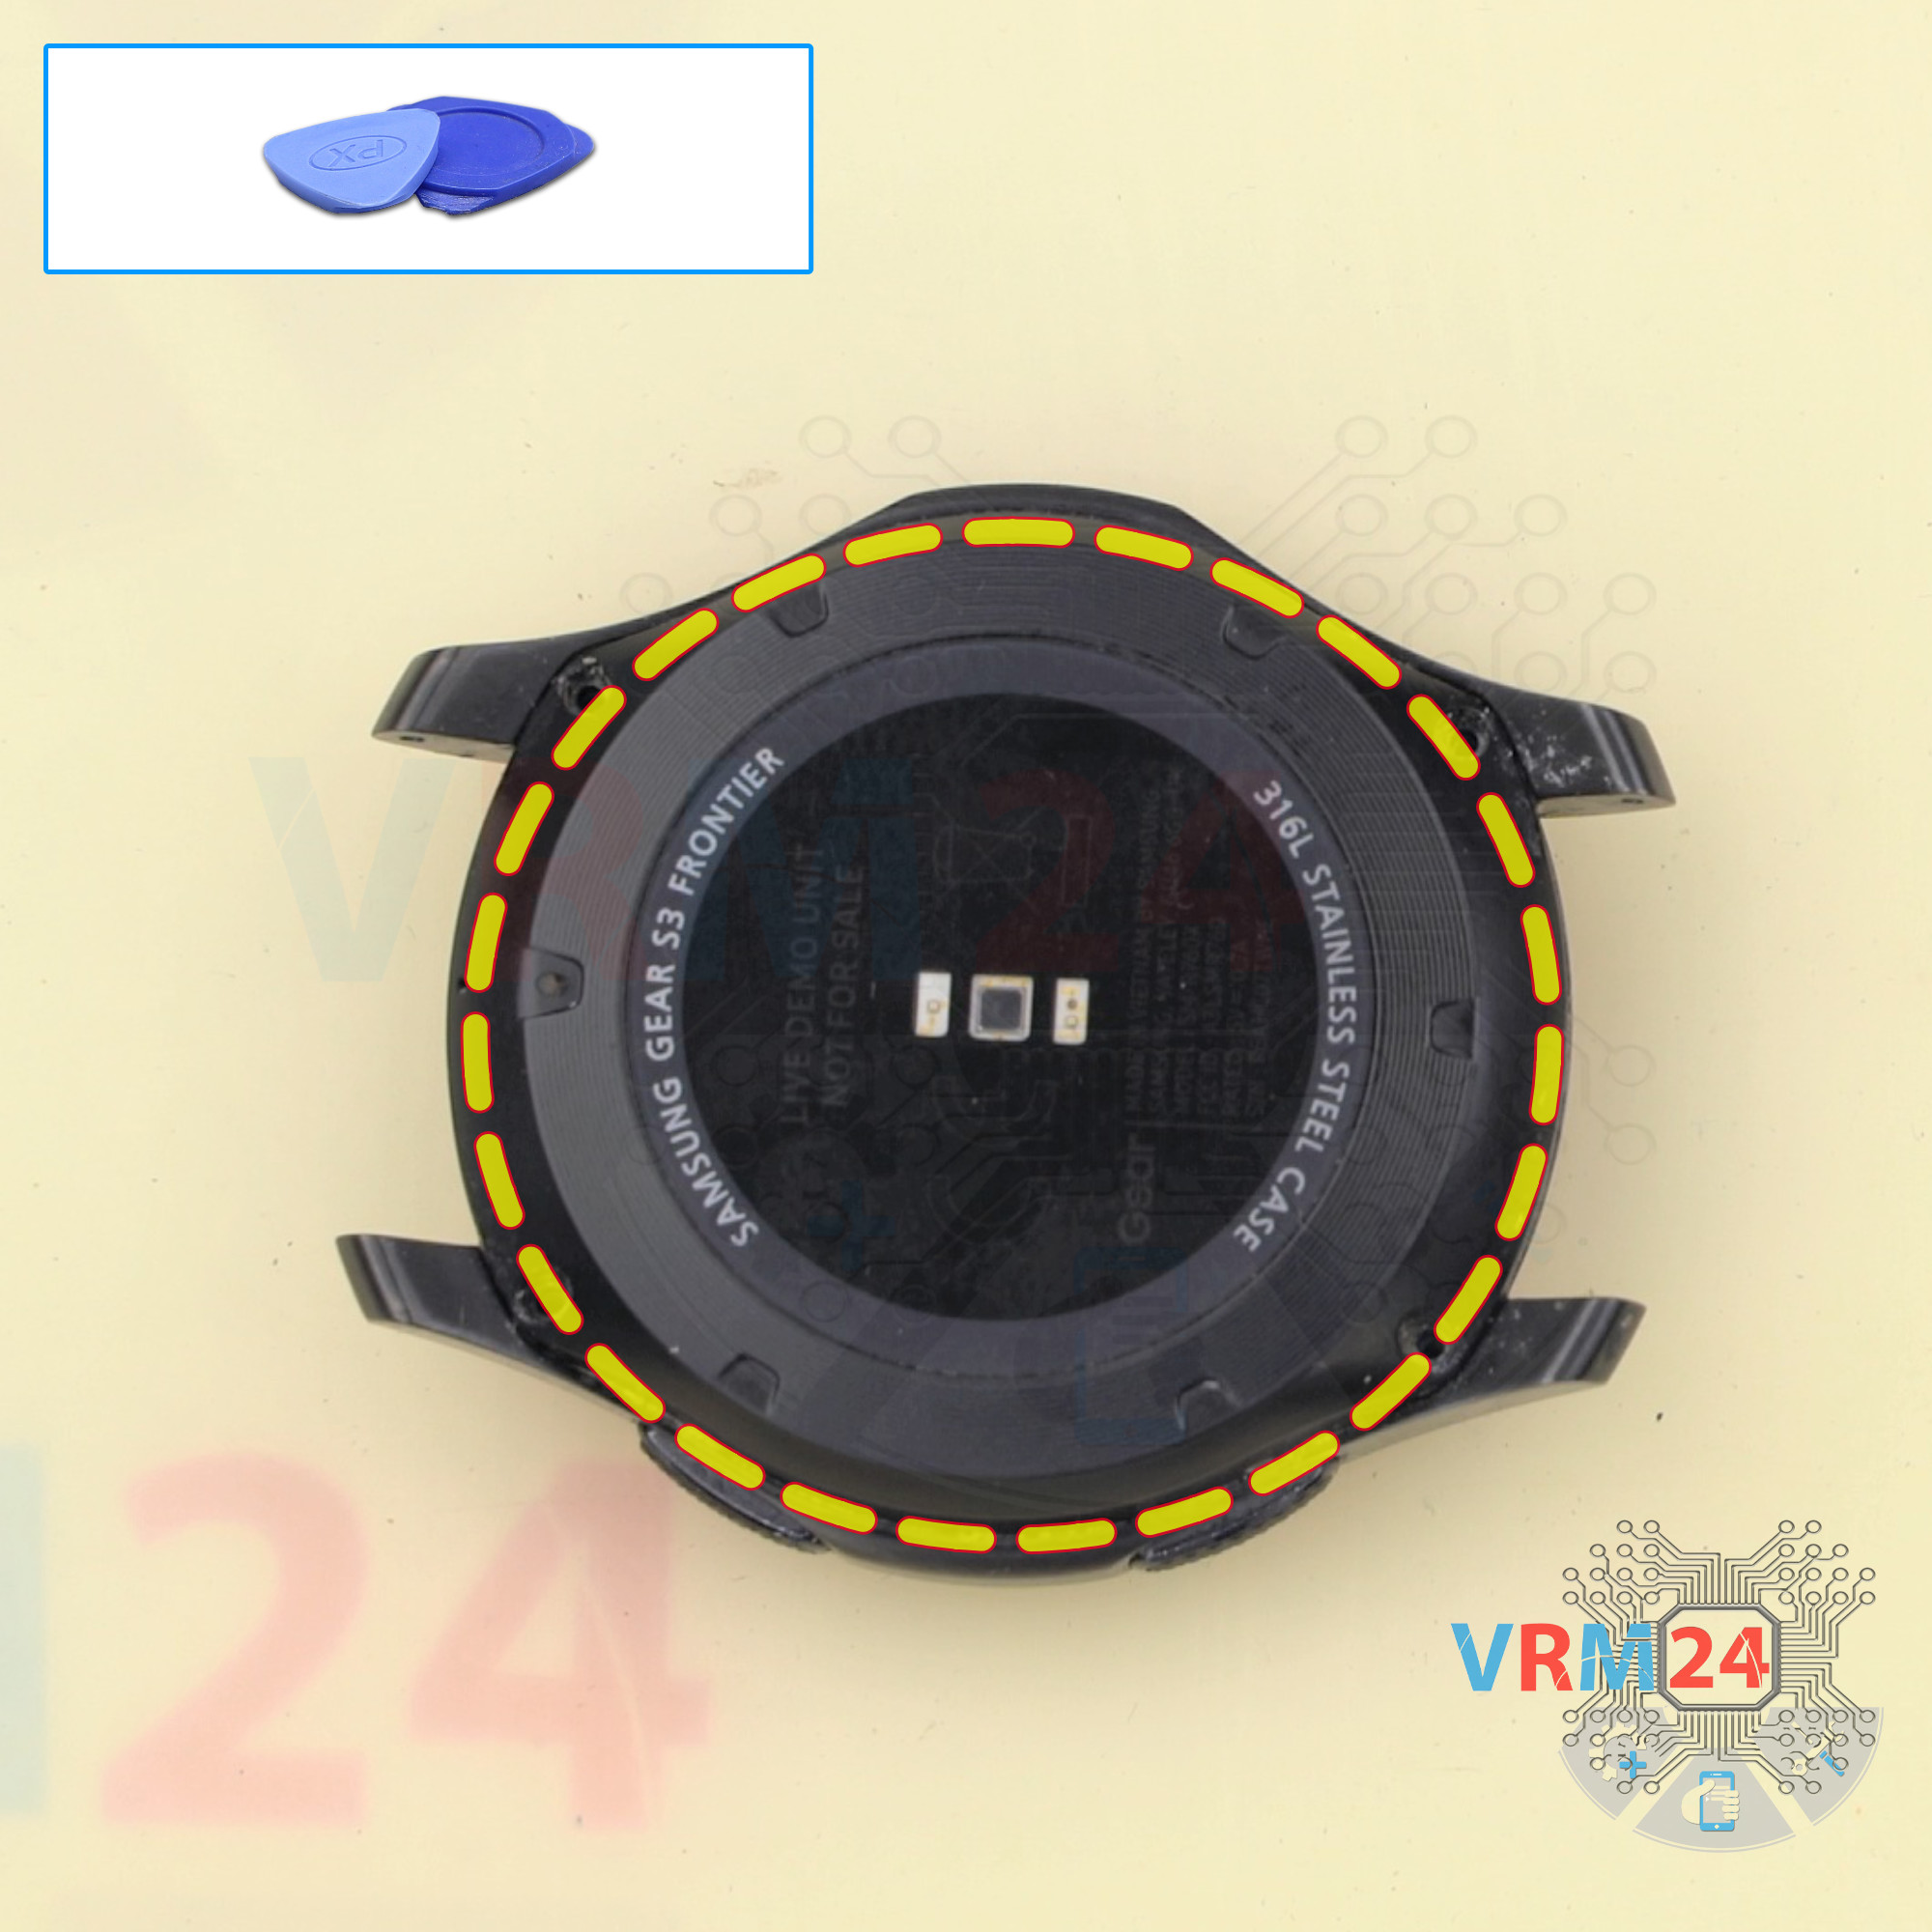
Open the back cover
We use a plastic tool to pick up the back cover. With light movements up and down, we pry to try to open the cover. The sealant has dried and literally welded the cover, so it will take some time to remove it.
Step 5.
Disconnect the connectors
We disconnect the display, touch screen connectors and a connector of the small circuit board with a non-metal tool. We still have the motherboard powered by the battery, so we have to be careful.
Step 6.
Unscrew the screws
Using a Phillips 1.5 mm screwdriver or #000, unscrew the two screws holding the motherboard, bracket and battery together.
If the screws are different: ℹ️ Be sure to note the location of the screws before disassembling. When assembling the device, screwing the screw in the wrong place may damage the device or its parts. To avoid damage, the removed screws and individual pieces (as gaskets or brackets) must be laid out in the appropriate order, or the screws and their holes in the phone must be marked with colored markers.
Step 7.
Remove the motherboard
Carefully pick up the Bracket (we call it Bed) and take it out. The cables will interfere with us a little. We have to put them through the rectangle hole in the Bracket.
Step 8.
Unscrew one screw
Now we need to turn the Bracket over and unscrew one screw holding the motherboard and Bracket. We think it is a solution to press tight the battery pad and spring contacts on the motherboard. We use Phillips 1.5 mm screwdriver or Phillips #000.
Step 9.
Disconnect the battery connector
We need to slightly separate the printed circuit board from the Bracket to lift and detach the battery contact pad. We have to disconnect the battery this way because there are spring contacts on the circuit board, and the battery cable with a platform for these contacts is pressed against the Bracket.
Only after that we can detach the cable of the side buttons. The cable is glued a bit. We need to gently pry it with a thin tool and bend it up slightly.
Step 10.
Remove the motherboard
Separate the motherboard from the bracket.
Step 11.
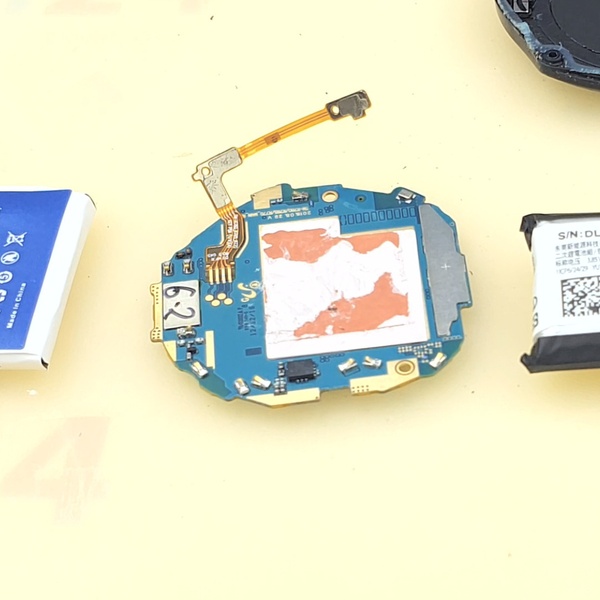
On the motherboard
On the circuit board there are many sensors like Gyro, Barometer, heart rate monitor (HRM), and also there are side buttons, microphone, GPS, NFC, spring contacts for the battery, speaker, and linear motor.

If you have a question, ask us, and we will try to answer in as much detail as possible. If this article was helpful for you, please rate it.

15596
Views
9
Likes
—
Share
7
Questions
Related Instructions
Related Reviews
Related Blog
Popular Questions

Samsung Gear S3 Frontier SM-R760
What glue do you use to seal the watch's back cover and where can this be purchased?
gregg
Samsung Gear S3 Frontier SM-R760
There are visible cracks or fractures on the glass used on my back cover. I purchased a replacement glass but read about mixed reviews regarding suc…
gregg
Samsung Gear S3 Frontier SM-R760
My battery replacement kit does not include any tape. I noticed that many kits include 300SLE tape (300 degree F, Low Surface Energy, .02 ml., double…
gregg
Samsung Gear S3 Frontier SM-R760
1.) Is there a way to make an adjustment to the floor height standard to reflect standard American floor heights of 8 feet tall so that the recordin…
gregg
Y
Samsung Galaxy J6 Plus SM-J610
La pantalla es LCD?
yorch pat19Top instructions
Check our
Top Samsung instructions most liked by readers
New instructions
Check our
New Samsung brand instructions on vrm24.com