


Recommended tools
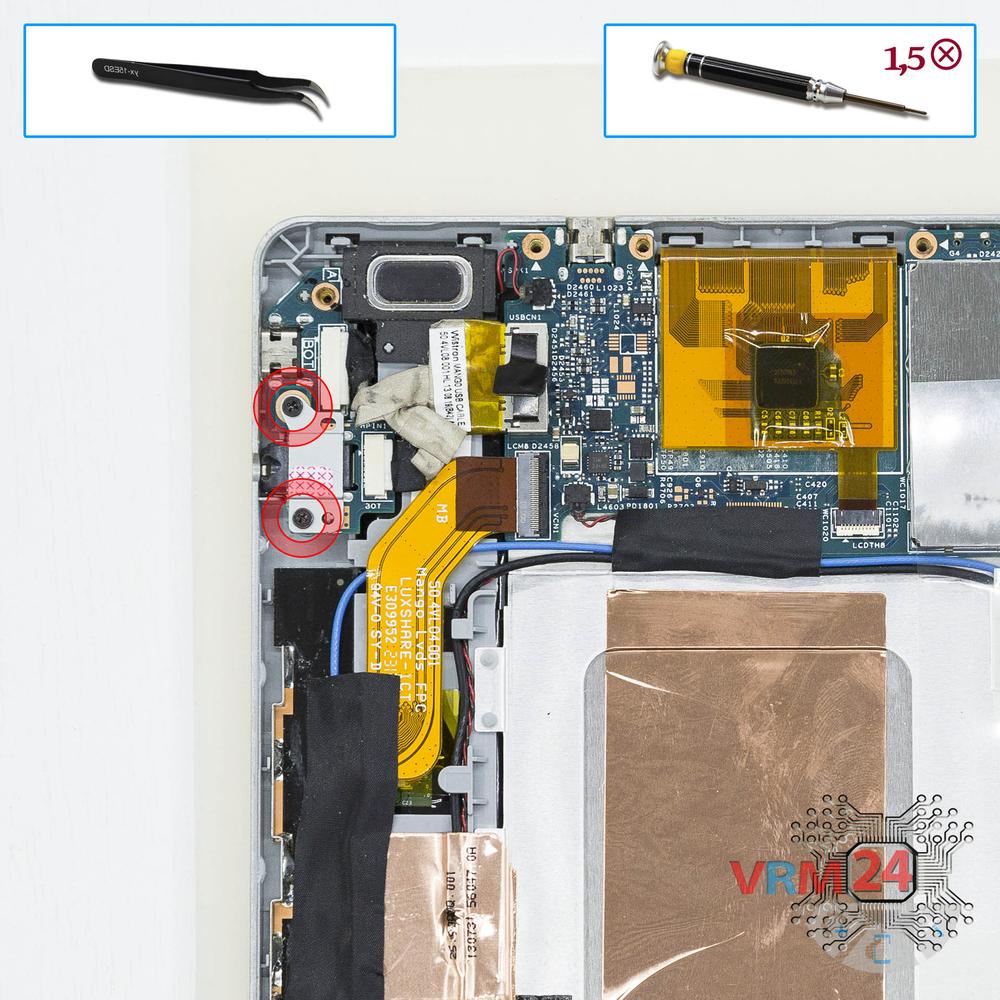
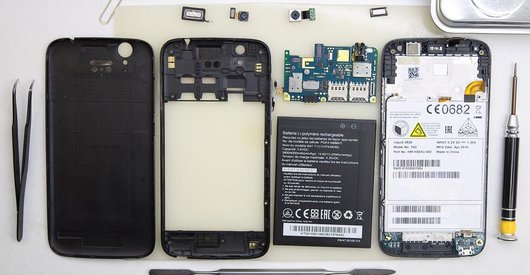
Screwdriver Phillips #000

Tweezers

Non-metallic tool
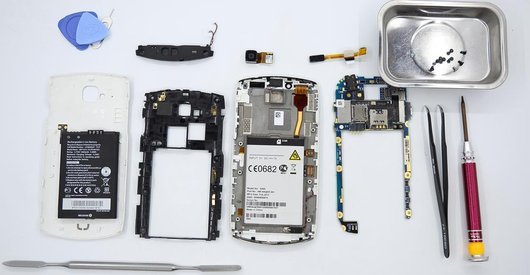
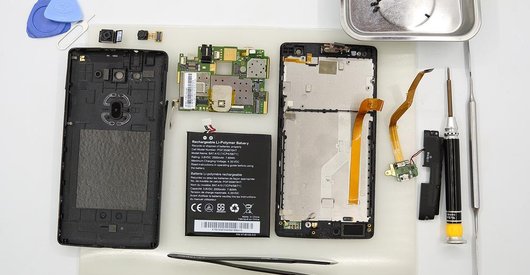
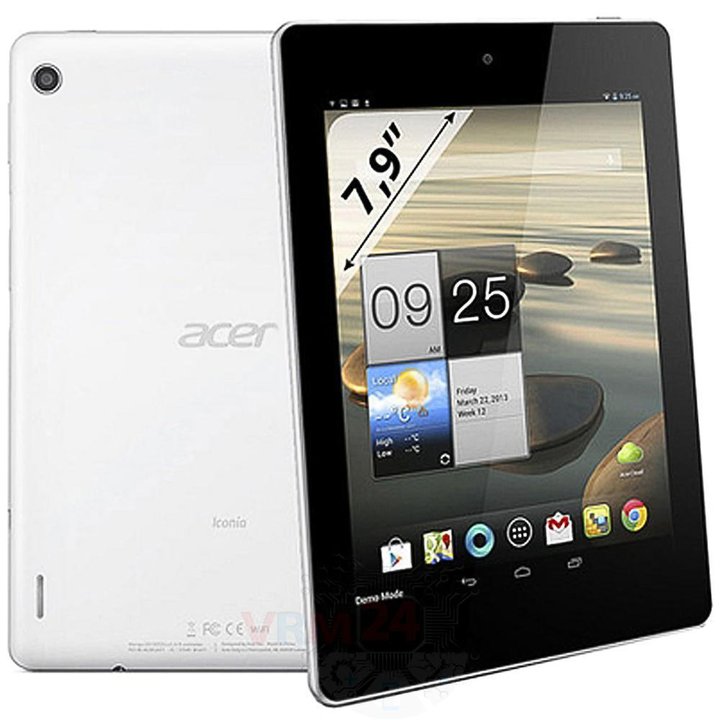
Disassembly/Repair of the mobile device Acer Iconia Tab A1-811 with each step description and the required set of tools.
7322
Views
4
Likes
—
Share
14
Questions

Step 1.
Open the back cover
Using a spudger or a plastic pick, carefully, around the edge, detach the back cover clips, and remove it.
Do not insert the tool deeply or bend it. Otherwise, the housing may be tampered with or damaged.
Step 2.
Disconnect the battery connector
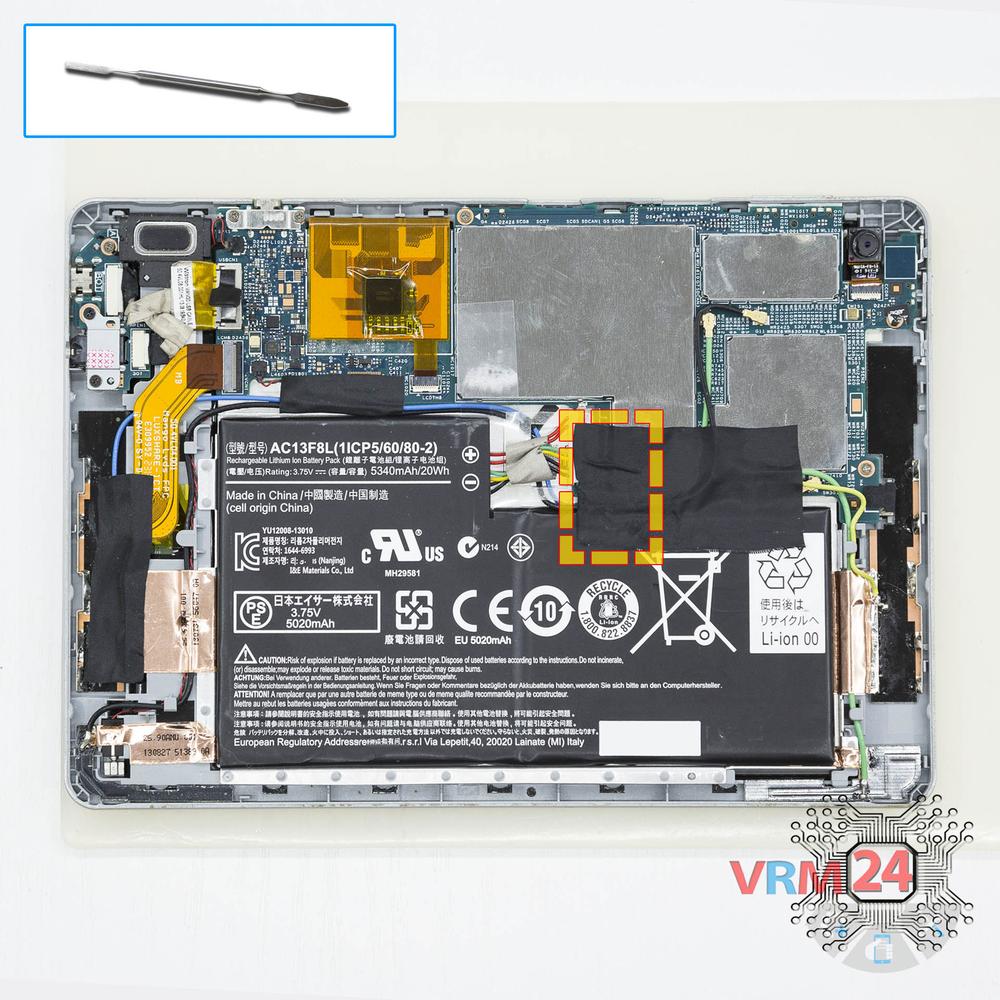
To disconnect the battery connector we have to peel back the protective film. It is better to use a non-metal or plastic tool to avoid any damage.
ℹ️ The Acer Iconia Tab A1-811 model has a battery AC13F8L with 5020 mAh capacity (aka rechargeable battery).
⚠️ It is highly recommended to disconnect the connector to avoid possible short circuits during disassembly.
Step 3.
Remove the battery
Carefully, remove the battery. It may be glued from the inside by the manufacturer.
Step 4.
Unscrew the screws
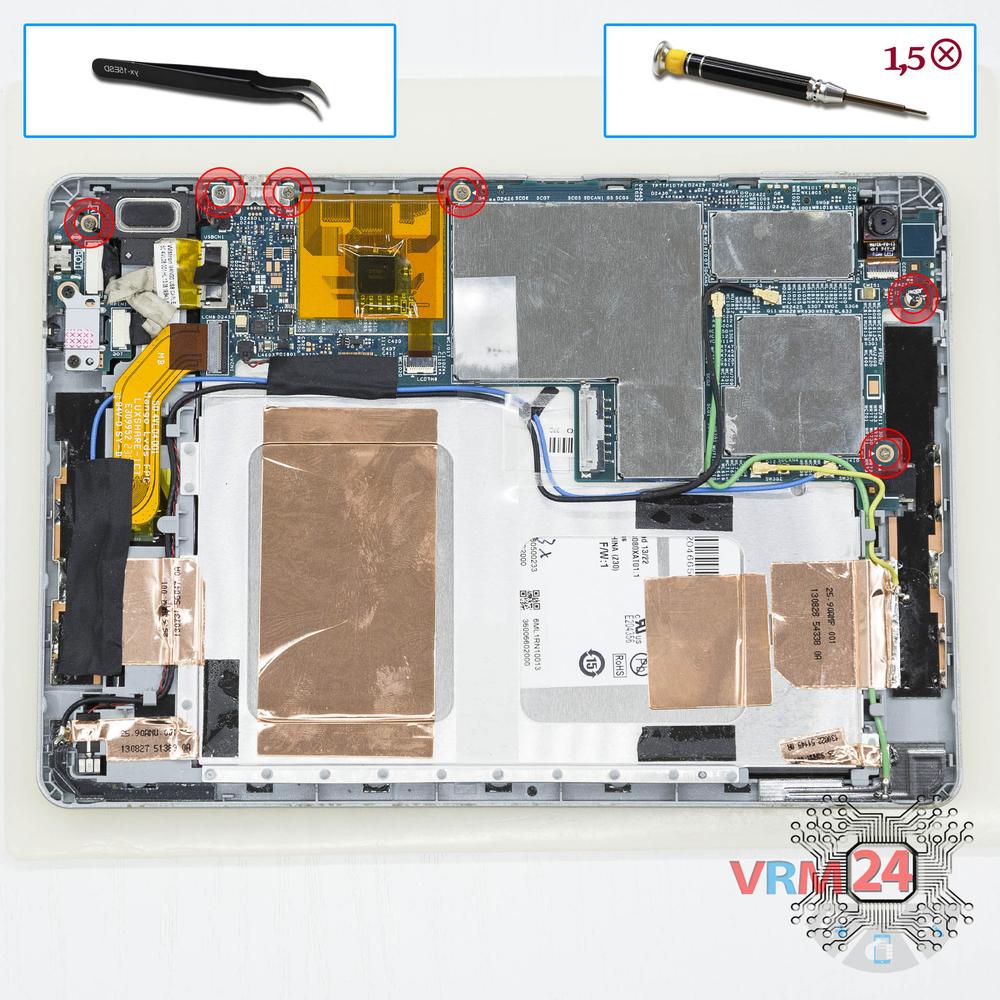
Using a screwdriver (Phillips 1.5 mm PH000), unscrew the six screws and remove the bracket holding the charging port.
Step 5.
Remove the bracket
Using a screwdriver (Phillips 1.5 mm PH000), unscrew the two long screws and remove the bracket holding the headphone jack socket.
Step 6.
Remove the headphone port
Pry up the connector and remove the small boards with a headphone jack socket and charging port.
Step 7.
Remove the loudspeaker
Pry up the connector and remove the loudspeaker.
Step 8.
Disconnect the connectors
Disconnect the connectors of four coaxial cables, cable to the display, touchscreen, side buttons.
⚠️ Do not pull on the cable or pry it with a sharp tool, the connectors are pretty weak and break easily, or the cable falls out of the end (lug).
Step 9.
Remove the motherboard
Carefully remove the printed circuit board. There is no need to use a lever or try to reach the circuit board by force. Make sure that nothing is getting in the way or holding the circuit board.
The motherboard, also, may be attached with attachments like latches or hooks, be careful.
⚠️ Do not bend the circuit board when removing it or push tools under it. Unbeknownst to yourself, you can damage components or cables from the inside.
Step 10.
Remove the rear camera
Disconnect the connector on the motherboard, and remove the rear camera.
Step 11.
Remove the front camera
Turn the motherboard over, pry up the connector and remove the front (selfie) camera.
Step 12.
In the display frame remained
ℹ️ In the display frame remained:

If you have a question, ask us, and we will try to answer in as much detail as possible. If this article was helpful for you, please rate it.

7322
Views
4
Likes
—
Share
14
Questions
Related Instructions
Related Reviews
Related Blog
Popular Questions

Acer Iconia Tab A1-811
I want a display how to get a display because my tablet display has not touch working
gajanand
P
Acer Liquid Zest Z525
At 0:45 it is not clear. You have to split between the silver trim and the glass. You should show it more clearly with a close up. It is very diffic…
Peppermint6
S
Acer Liquid Z530
Hey, i think my lcd is broken where can i buy it?
Stefan Staelens17
J
Acer Liquid Z530
Please Acer liquid z530 charge ic number Or Local service center Place(or)contact number
joseph anandaraj13
M
Acer Liquid Z530
Please same video for Acer liquid z630s
Maheshwar Handal9Top instructions
Check our
Top Acer instructions most liked by readers
New instructions
Check our
New Acer brand instructions on vrm24.com