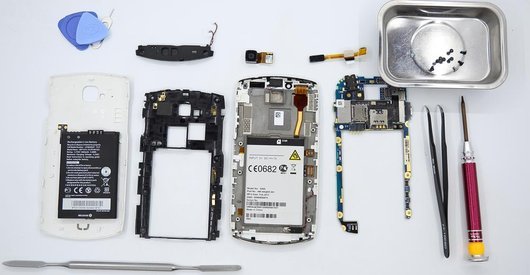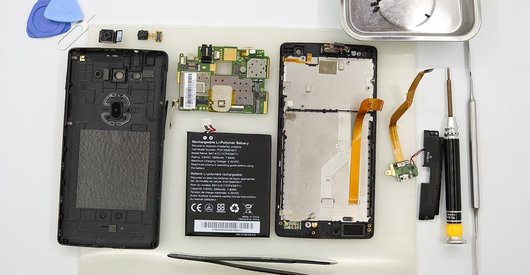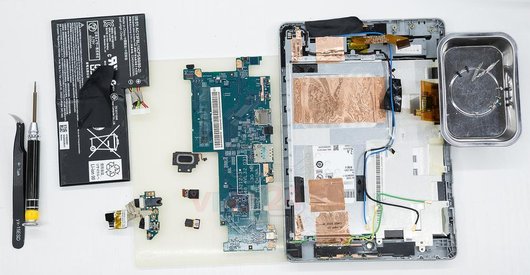
Recommended tools
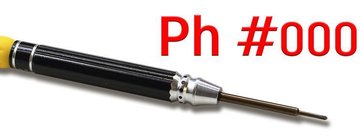
Screwdriver Phillips #000
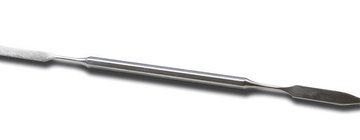
Opening tool / Spudger
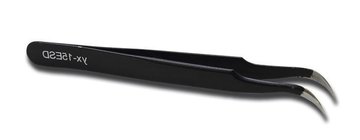
Tweezers
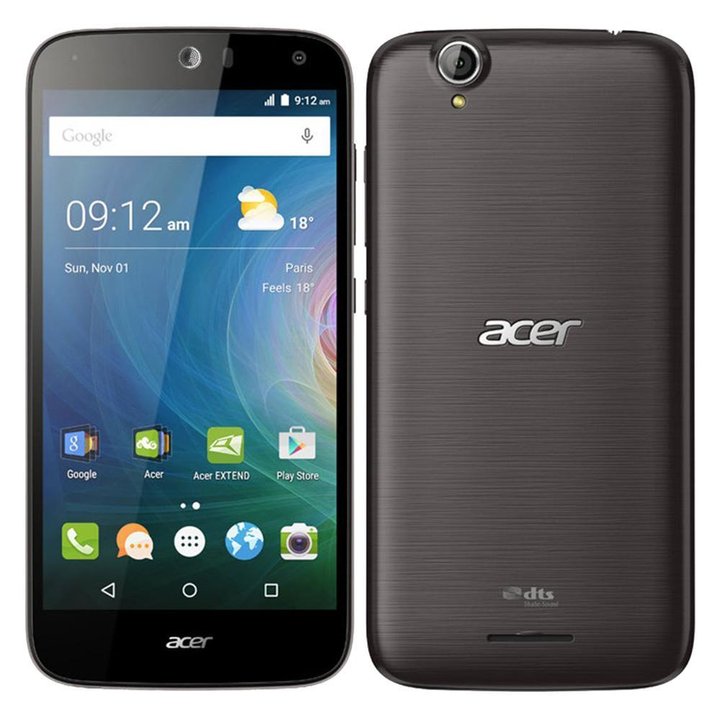
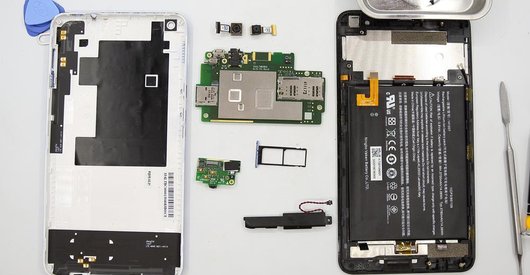
Disassembly/Repair of the mobile device Acer Liquid Z630 with each step description and the required set of tools.
6168
Views
2
Likes
—
Share
68
Questions

Step 1.
Open the back cover
Using a spudger or a plastic pick, carefully, around the edge, detach the back cover clips, and remove it.
Do not insert the tool deeply or bend it. Otherwise, the housing may be tampered with or damaged.
⚠ Be careful when opening the cover from the volume and power buttons side. Thin cable and fragile buttons are straightforward to damage.
Step 2.
Remove the battery
There is an indentation at the end of the battery on the middle cover. Hook the battery at this point, lift it up and remove the battery.
ℹ️ The Acer Liquid Z630 model has a battery BAT-T11(1|CP4/68/88) with 4000 mAh capacity (aka rechargeable battery).
Step 3.
Unscrew the screws
Using a screwdriver (Philips 1.5 mm PH000), unscrew 10 screws on the frame of the phone.
Step 4.
Open the mid-frame
Pry around the edges. Disconnect attached clips by moving the opening tool along the edge. Remove the middle cover with the antenna contact pads.
Step 5.
Remove the loudspeaker
Disconnect the connector on the sub-board. Pry around the edges carefully, it may be glued a bit. Remove the loudspeaker.
Step 6.
Remove the cameras
Disconnect the connectors on the motherboard and remove the rear and front (selfie) cameras. Carefully, the cameras' bodies are glued a bit with adhesive.
Step 7.
Disconnect the connectors
Pry up the connectors of the display cable, touchscreen cable. Release the power / volume side buttons cable.
⚠ Be careful when removing the cables from the connectors. The cables are pretty thin, and it is easy enough to break them or damage the contact tracks inside.
Step 8.
Turn over the PCB
Turn over the motherboard, disconnect the connectors of the coaxial cable, inter-board cable. After, remove the motherboard.
Step 9.
Remove the earpiece speaker
Pry around the edges and remove the earpiece speaker. Be careful, the speaker is glued a bit.
Step 10.
In the display frame remained
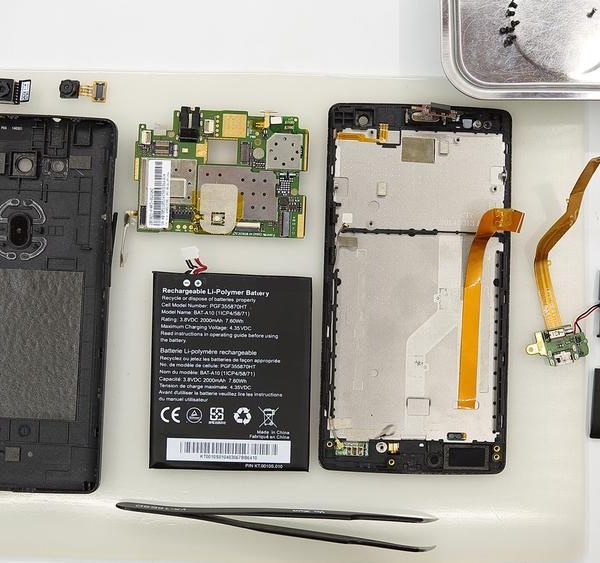
ℹ️ In the display frame remained: two small boards with a charging port, vibration motor, antenna units. Besides, a coaxial cable is attached to the frame.

If you have a question, ask us, and we will try to answer in as much detail as possible. If this article was helpful for you, please rate it.

6168
Views
2
Likes
—
Share
68
Questions
Related Instructions
Related Reviews


Related Blog
Top instructions
Check our
Top Acer instructions most liked by readers
New instructions
Check our
New Acer brand instructions on vrm24.com