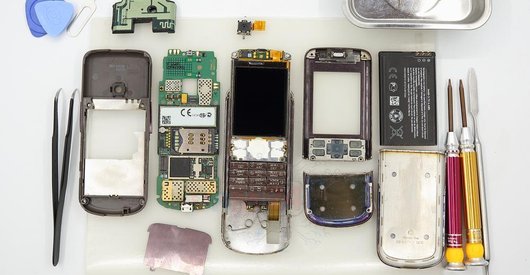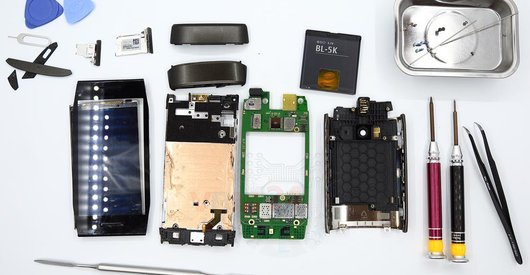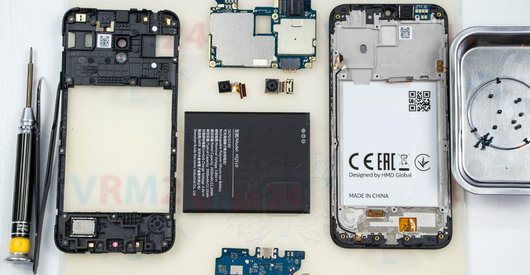


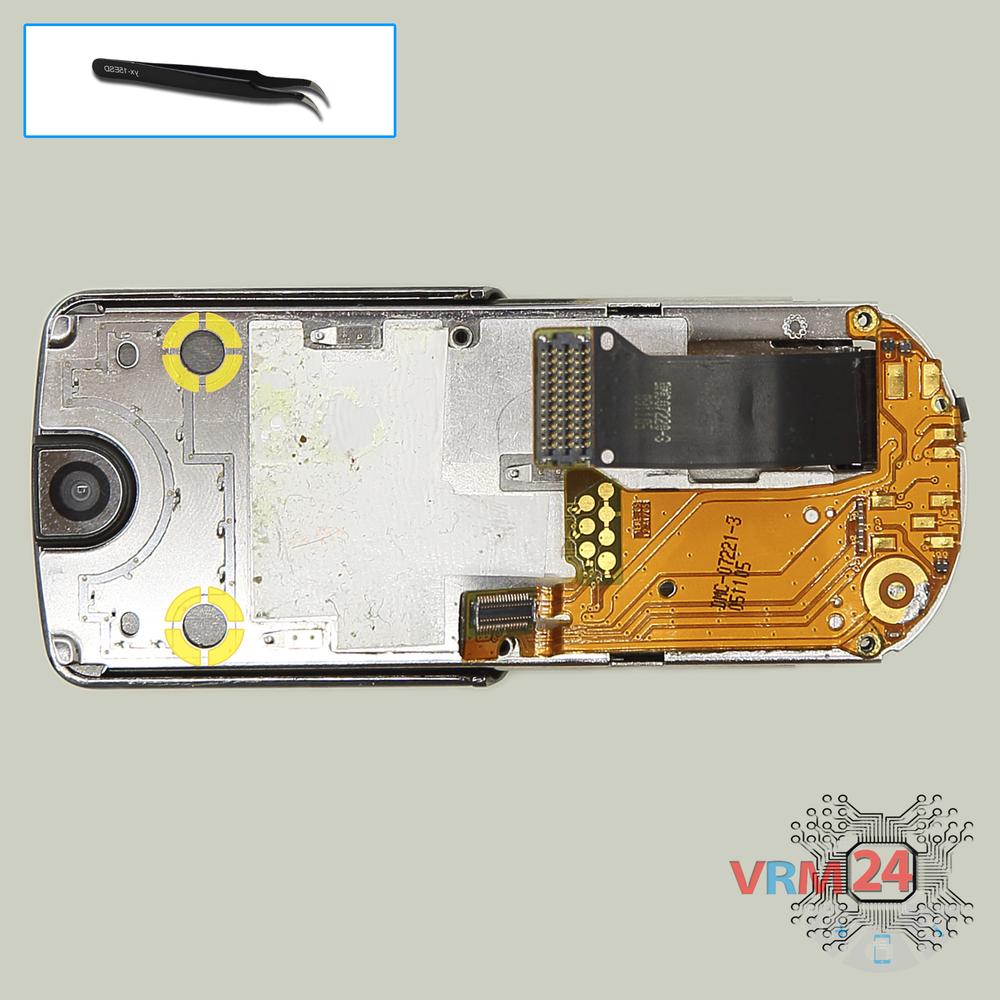
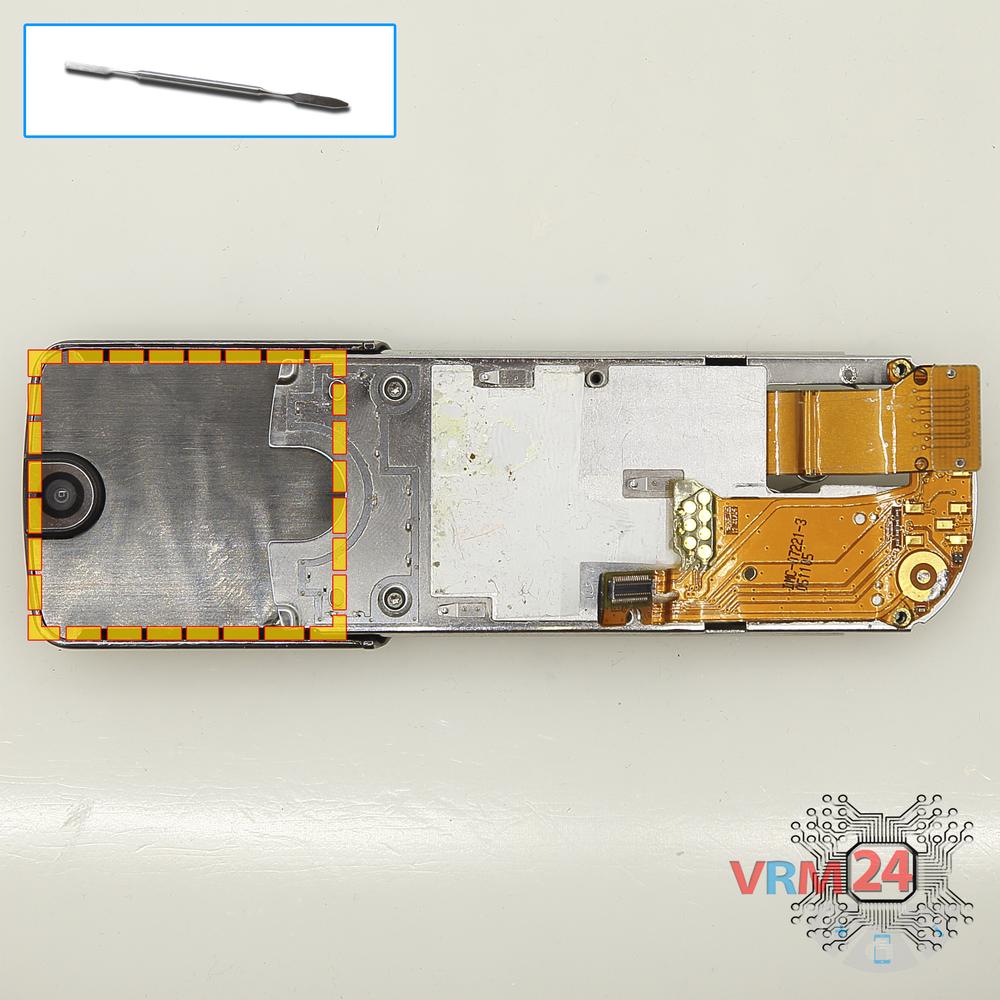


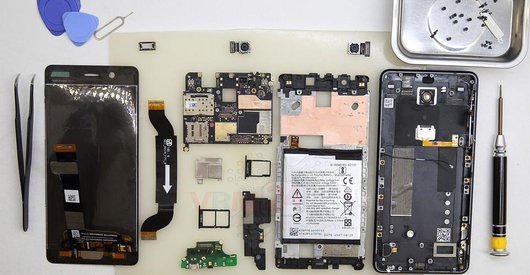
Recommended tools
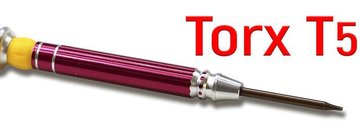
Screwdriver Torx T5
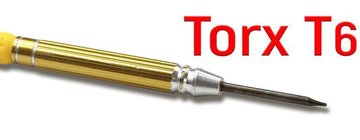
Screwdriver Torx T6
Opening tool / Spudger

Tweezers

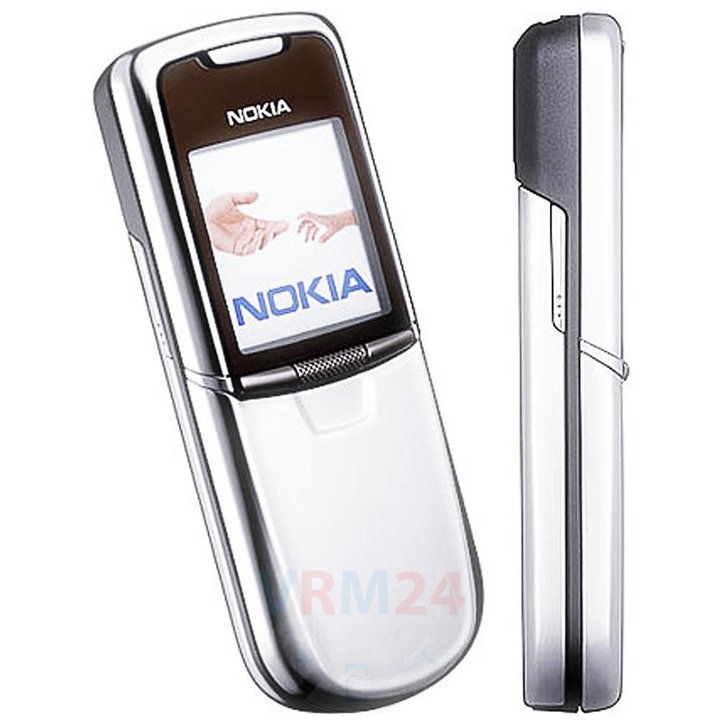
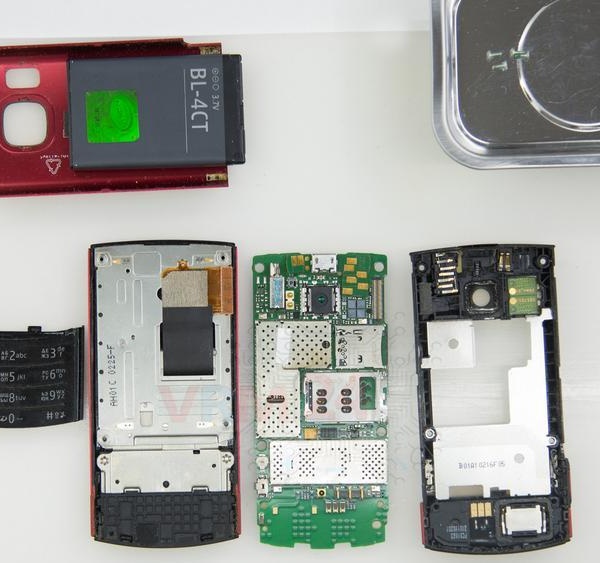
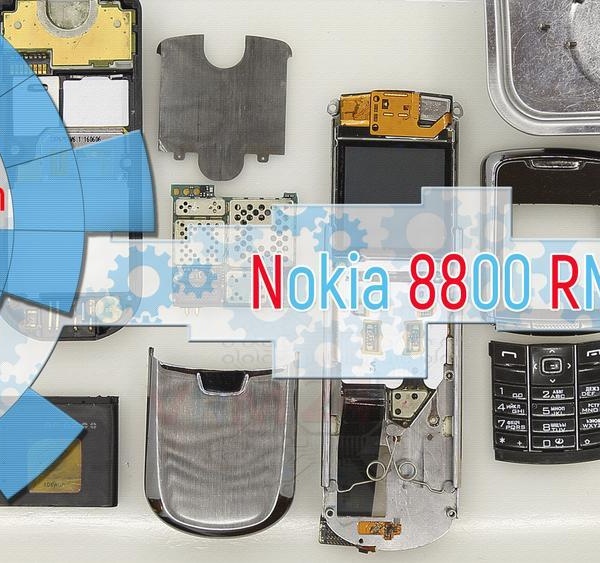
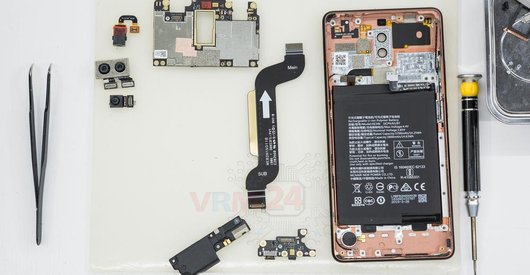
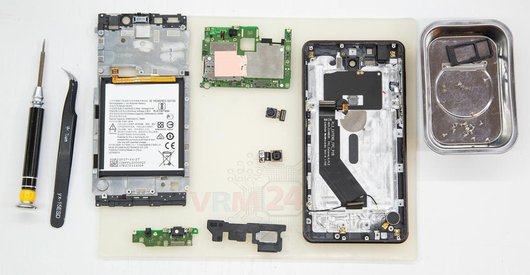
Disassembly/Repair of the mobile device Nokia 8800 RM-13 with each step description and the required set of tools.
8005
Views
2
Likes
—
Share
4
Questions

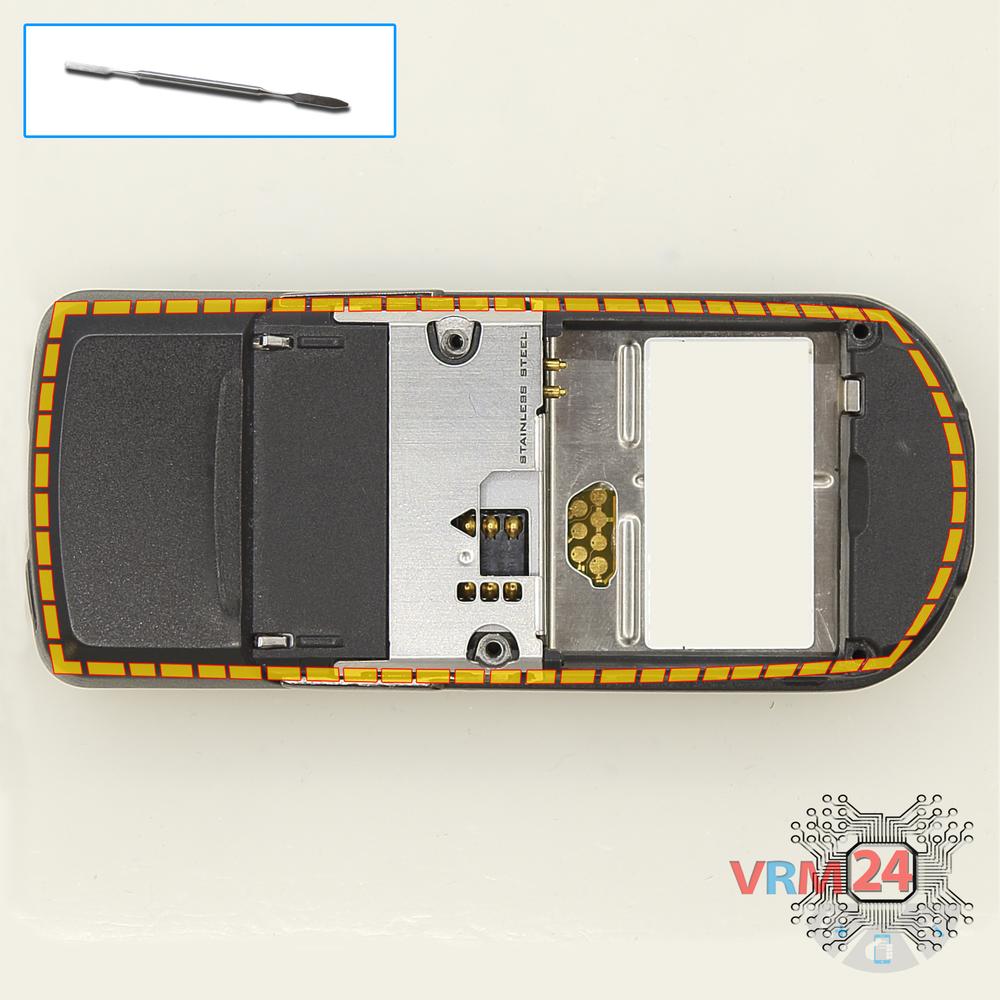
Step 1.
Open the back cover
Open the back cover.
Step 2.
Remove the battery
Lift and remove the battery.
Step 3.
Unscrew the screws
Using a screwdriver (hex T6), unscrew 4 bolts in the frame of the phone.
Step 4.
Open the mid-frame
Pry and remove the middle frame.
Step 5.
In the middle cover
The middle frame with a speaker (buzzer), vibration motor and microphone.
Step 6.
Open the cover
Remove the cover.
Step 7.
Remove the motherboard
Remove the PCB.
⚠ Warning!
The PCB connects by connectors with inter-board cable and cable with a set of contacts (a microphone, charging port and headset headphone jack/socket).
Step 8.
Remove plugs
Remove the bolts covers.
Step 9.
Open the cover
Remove the cover.
Step 10.
Unscrew the screws
Using a screwdriver (hex T5), unscrew 4 bolts.
Step 11.
Remove the protective film
Remove the glass-display protection.
Step 12.
Remove the keyboard
Remove the keyboard.

If you have a question, ask us, and we will try to answer in as much detail as possible. If this article was helpful for you, please rate it.

8005
Views
2
Likes
—
Share
4
Questions
Related Instructions
Related Reviews
Related Blog
Top instructions
Check our
Top Nokia instructions most liked by readers
New instructions
Check our
New Nokia brand instructions on vrm24.com