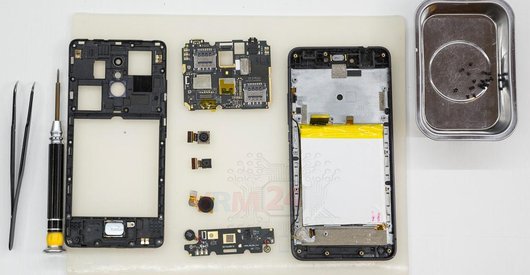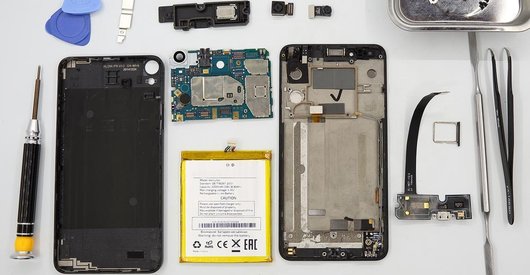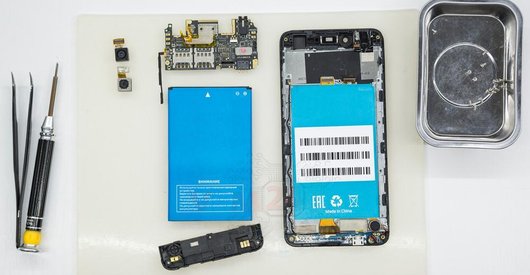



Recommended tools
Screwdriver Phillips #000

Opening tool / Spudger

Tweezers

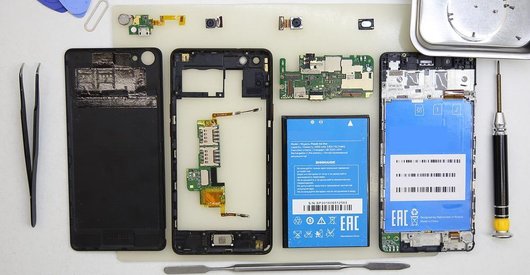
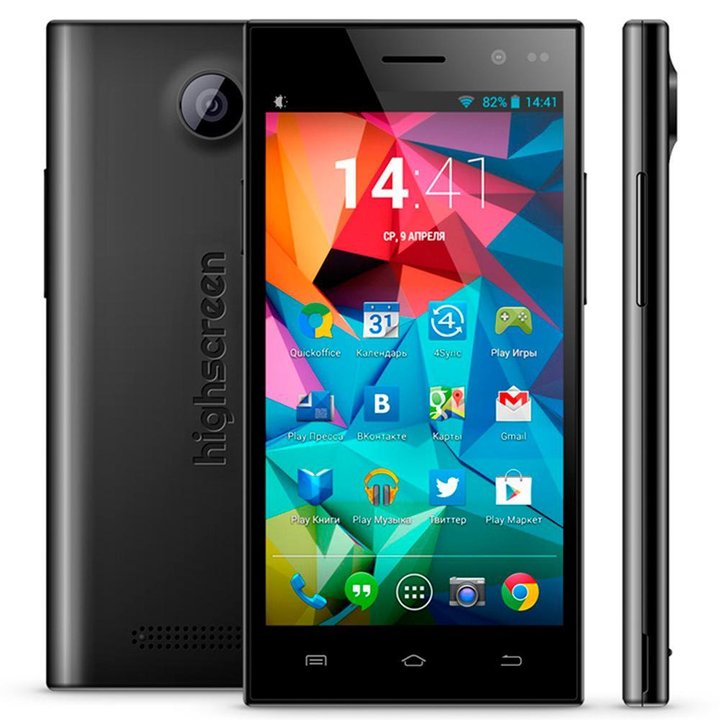
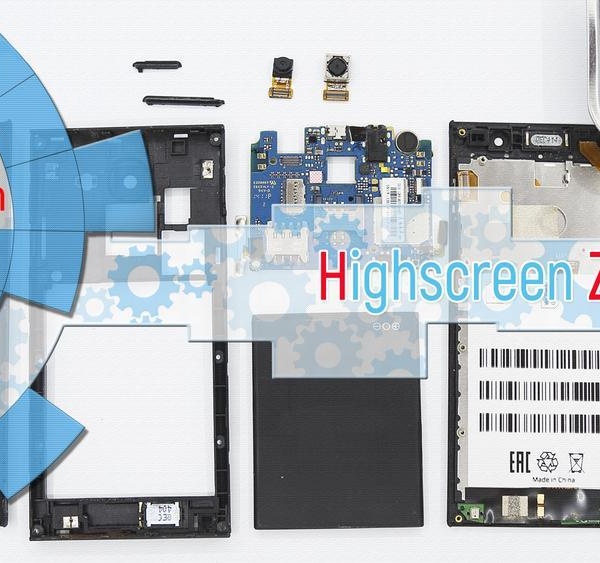
Disassembly/Repair of the mobile device Highscreen Zera S with each step description and the required set of tools.
4364
Views
0
Likes
—
Share
11
Questions

Step 1.
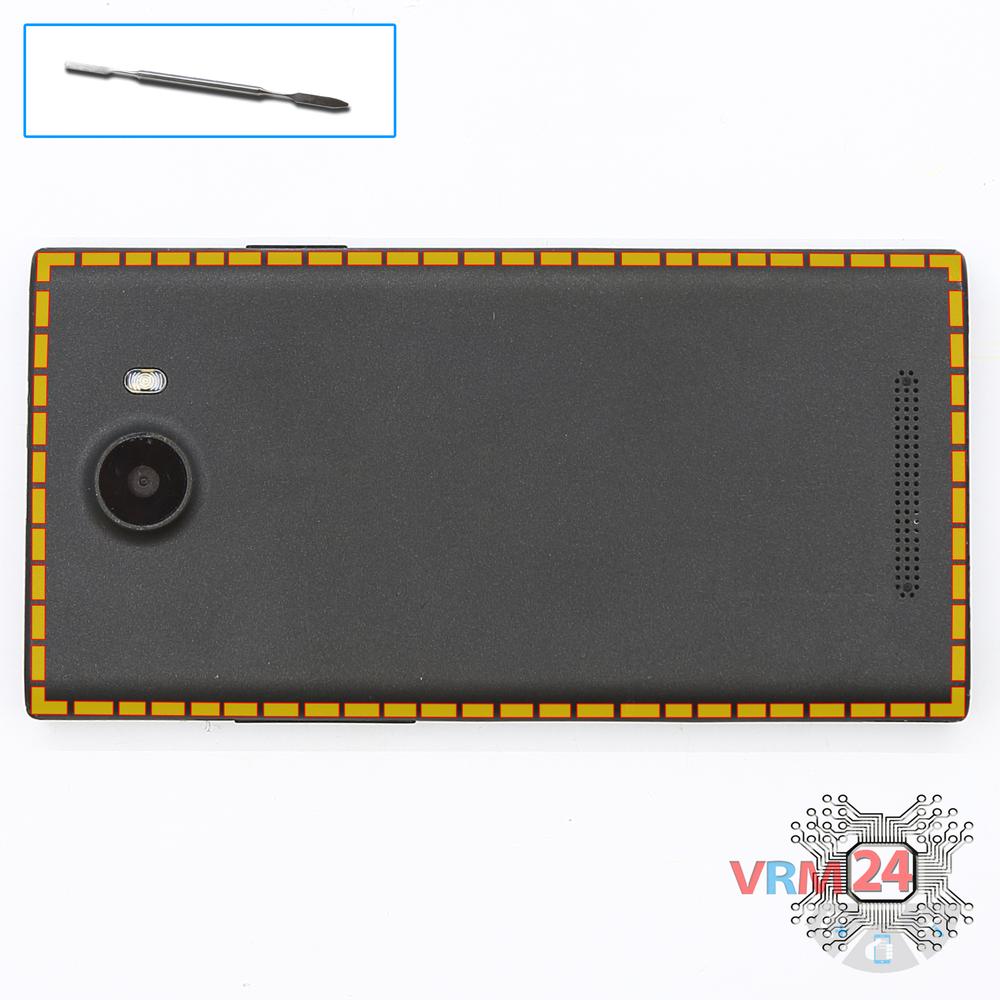
Open the back cover
Open the back cover.
Step 2.
Remove the battery
Lift and remove the battery.
Step 3.
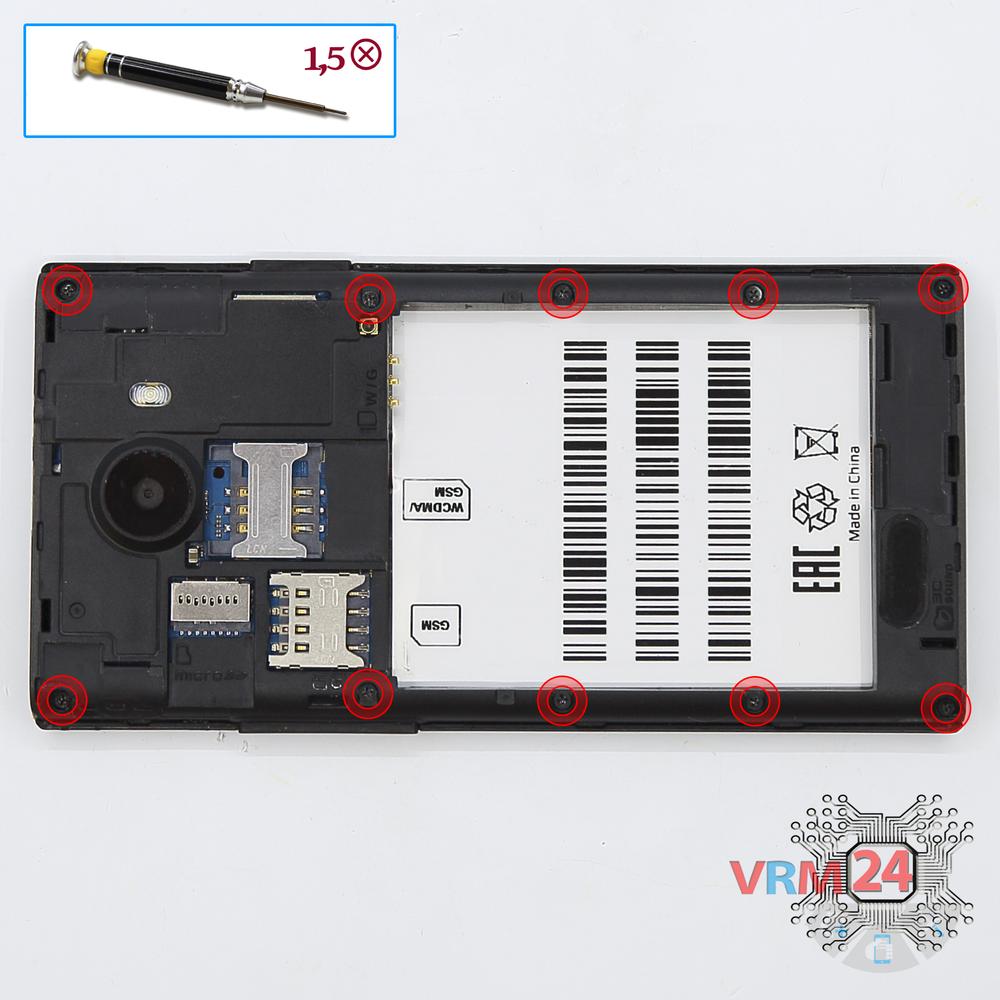
Unscrew the screws
Using a screwdriver (Phillips 1.5 mm PH000), unscrew 10 bolts in the frame of the phone.
Step 4.
Open the mid-frame
Pry and remove the middle frame.
Step 5.
Remove the buttons
Remove the keys of the volume and power buttons.
Step 6.
Remove the front camera
Disconnect connector on the PCB and remove the front (selfie) cameras.
Step 7.
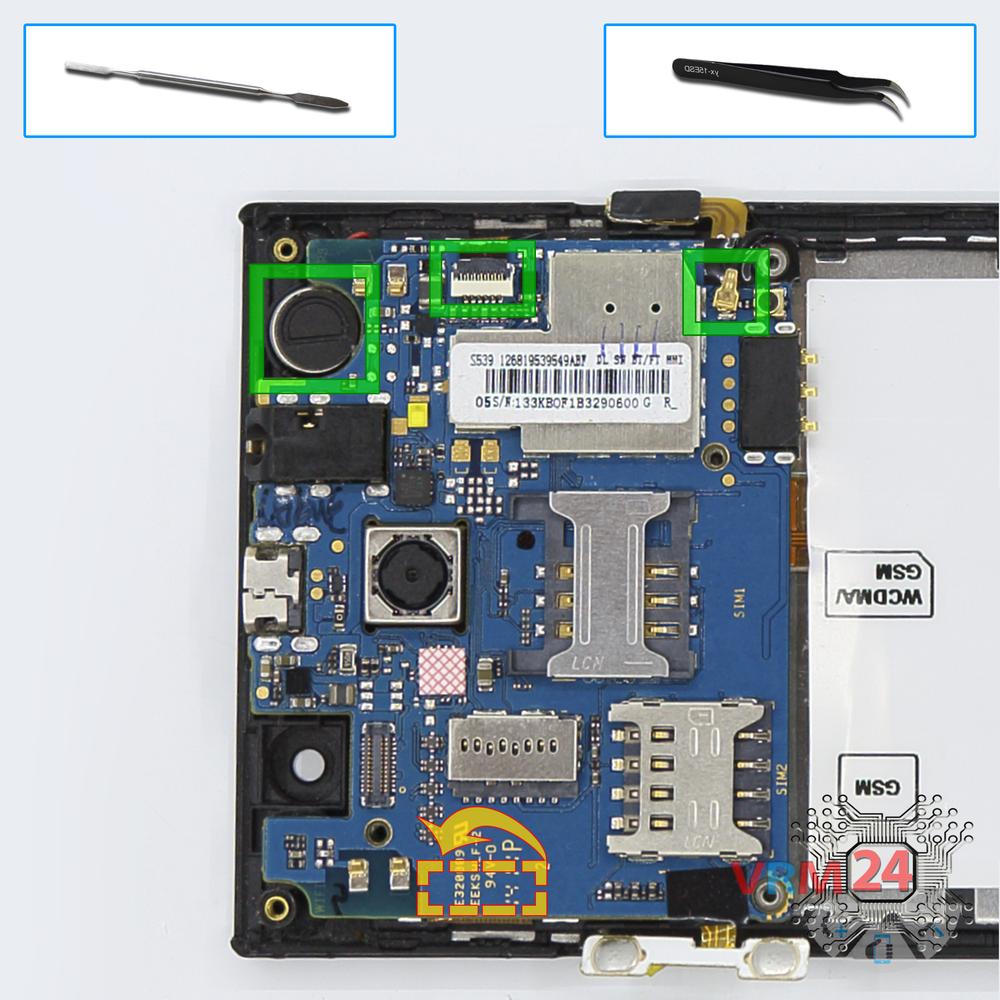
Unscrew the screws
Using a screwdriver (Phillips 1.5 mm PH000), unscrew 2 bolts in the PCB.
Step 8.
Disconnect the connectors
Disconnect connectors on the PCB.
Step 9.
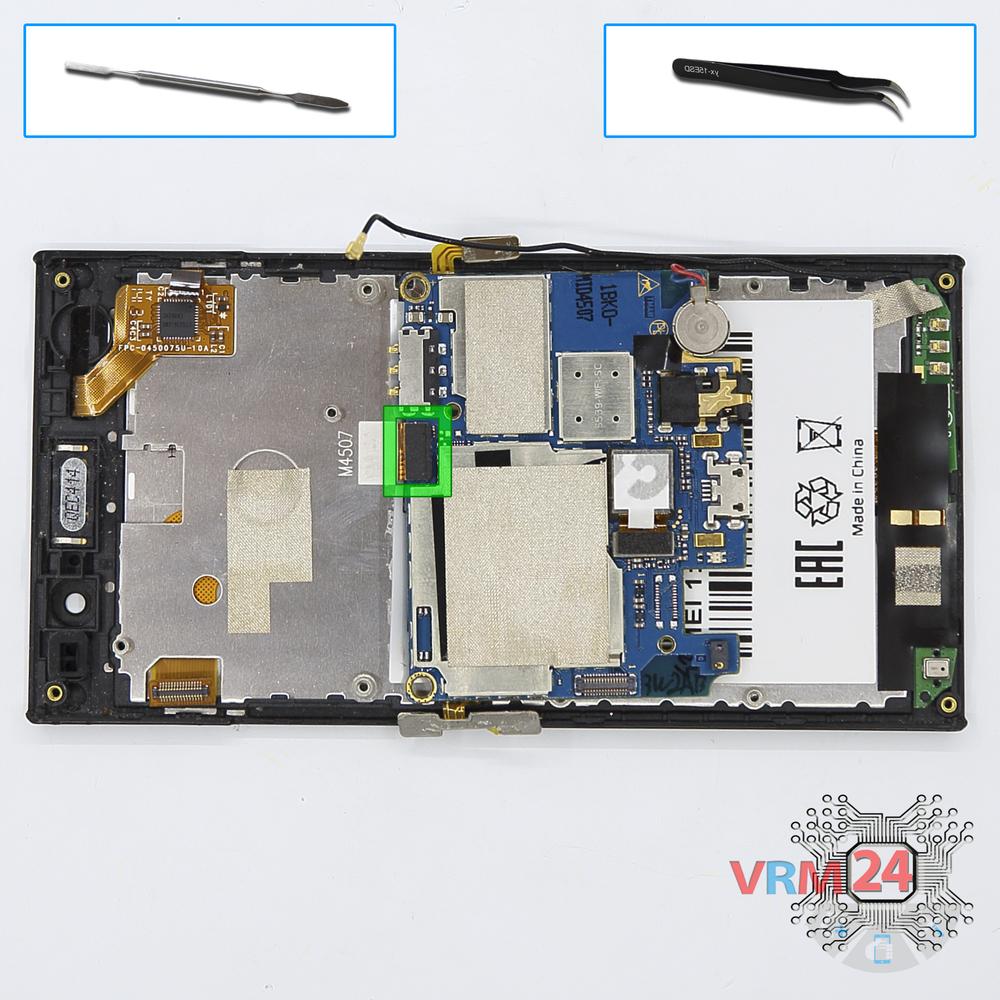
Remove the motherboard
Turn over PCB & disconnect the connector from the inside and remove the board.
Step 10.
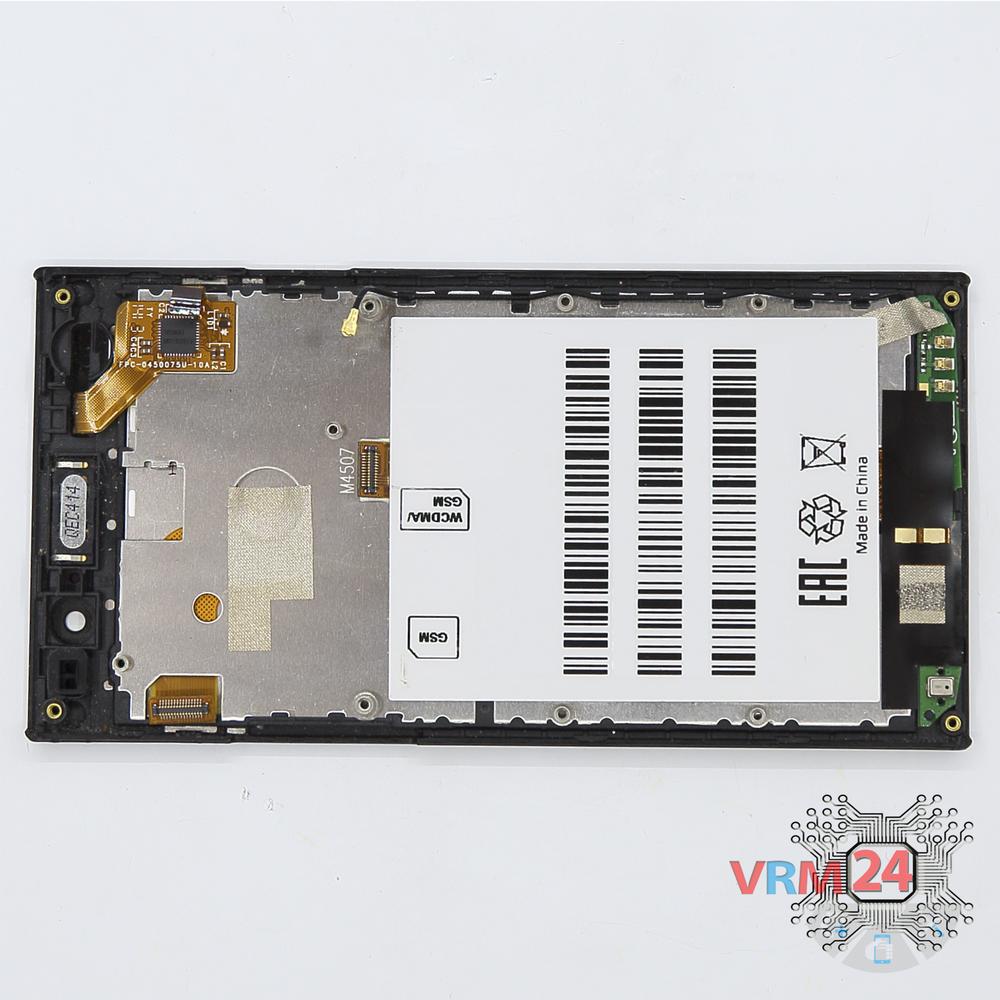
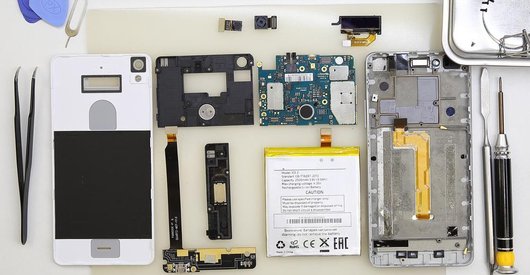
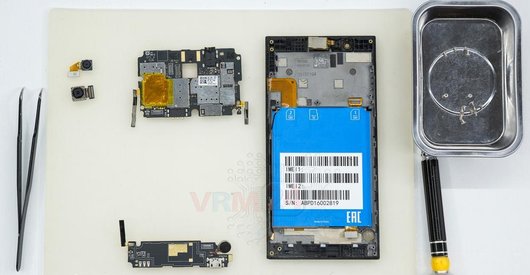
In the display frame remained
Parts in the frame of the display module.

If you have a question, ask us, and we will try to answer in as much detail as possible. If this article was helpful for you, please rate it.

4364
Views
0
Likes
—
Share
11
Questions
Related Instructions
Related Reviews
Related Blog
Popular Questions

Acer Iconia Tab A1-811
I want a display how to get a display because my tablet display has not touch working
gajanand
K
Alcatel OT POP 7 P310X
wont power on. manually checking with digital meter shows 2.8v. now its 3.5v.. so i think its charging but not showing a light that it is. I will wai…
Kriswixx9
P
Samsung Galaxy Grand Prime SM-G530
how many degrees are in use a heat gun to remove the casing
panji jaya10
A
Asus ZenFone 5 A501CG
finally a good tutorial for disassemblying asus 5 lite... pls use other background music... it feels like i am floating in the air while repairing if…
Android Playstore8
F
Samsung Galaxy J7 (2016) SM-J710
What kind of glue did you use to glue the display and frame together
ffm off14Top instructions
Check our
Top Highscreen instructions most liked by readers
New instructions
Check our
New Highscreen brand instructions on vrm24.com