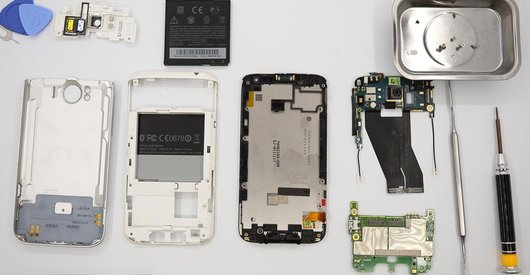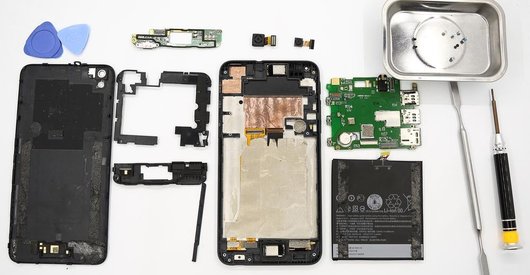




Recommended tools
Screwdriver Phillips #000

Opening tool / Spudger

Tweezers

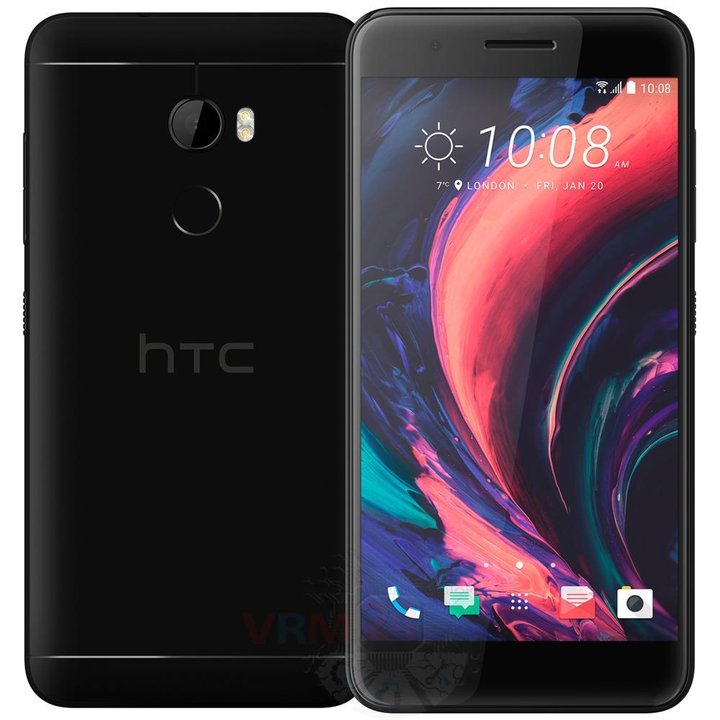
Disassembly/Repair of the mobile device HTC One X10 (HTC One X10 2PXH400 X10u) with each step description and the required set of tools.
4614
Views
0
Likes
—
Share
7
Questions

Step 1.
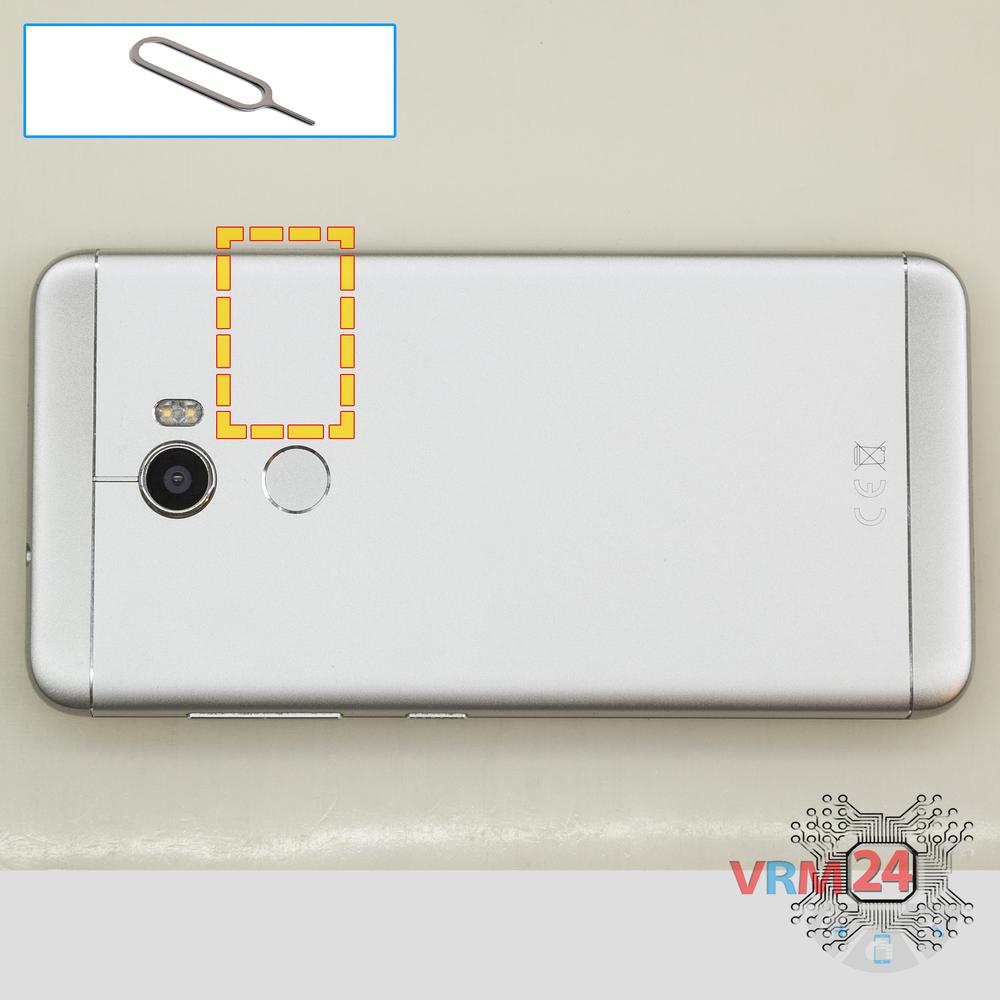
Remove the trays
Using the key tool, open the SIM and Micro SD cards tray and remove it.
⚠ Warning!
Do not push too hard this may cause damage.
Step 2.
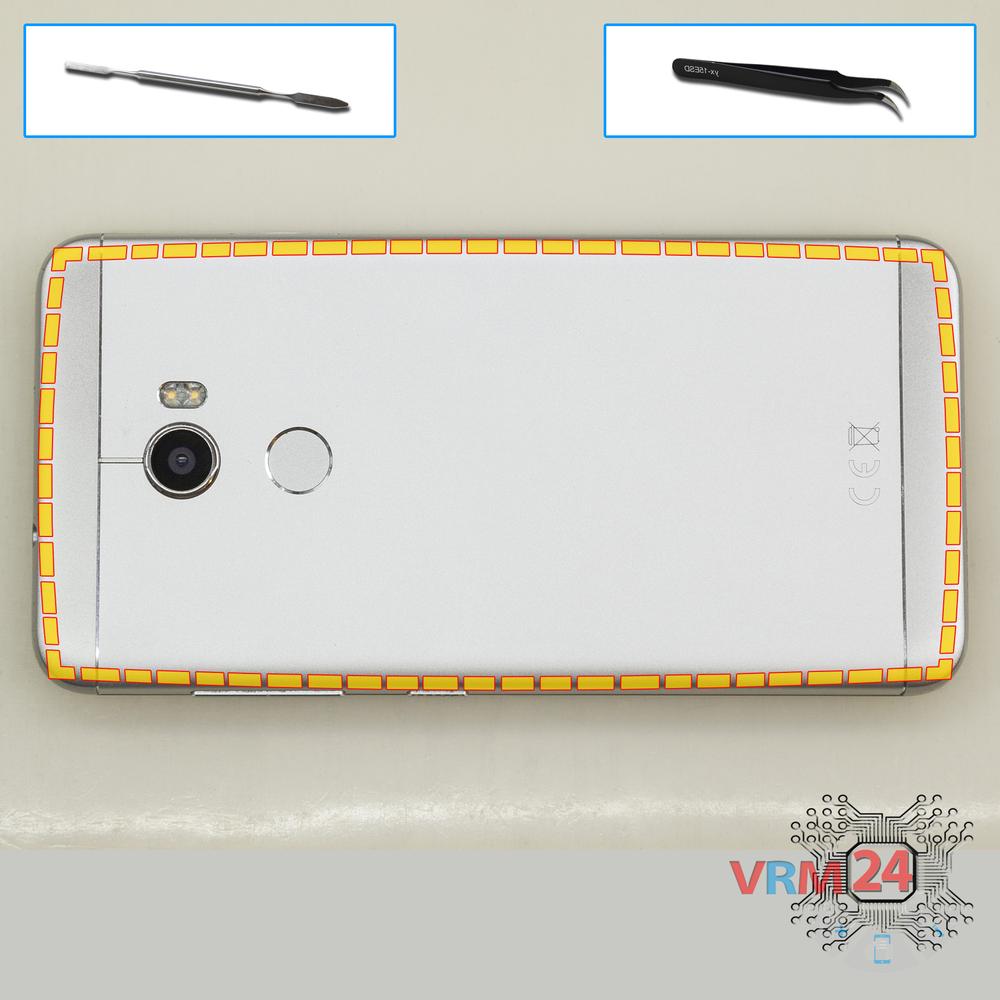
Open the back cover
Lift the back cover up. Disconnect the fingerprint sensor cable and remove the cover.
Step 3.
Unscrew the screws
Using a screwdriver (Phillips 1.5 mm PH000), unscrew 4 bolts.
Step 4.
Remove the sub-board
Disconnect connectors on the lower PCB and remove the board and buzzer (speaker) assembly.
Step 5.
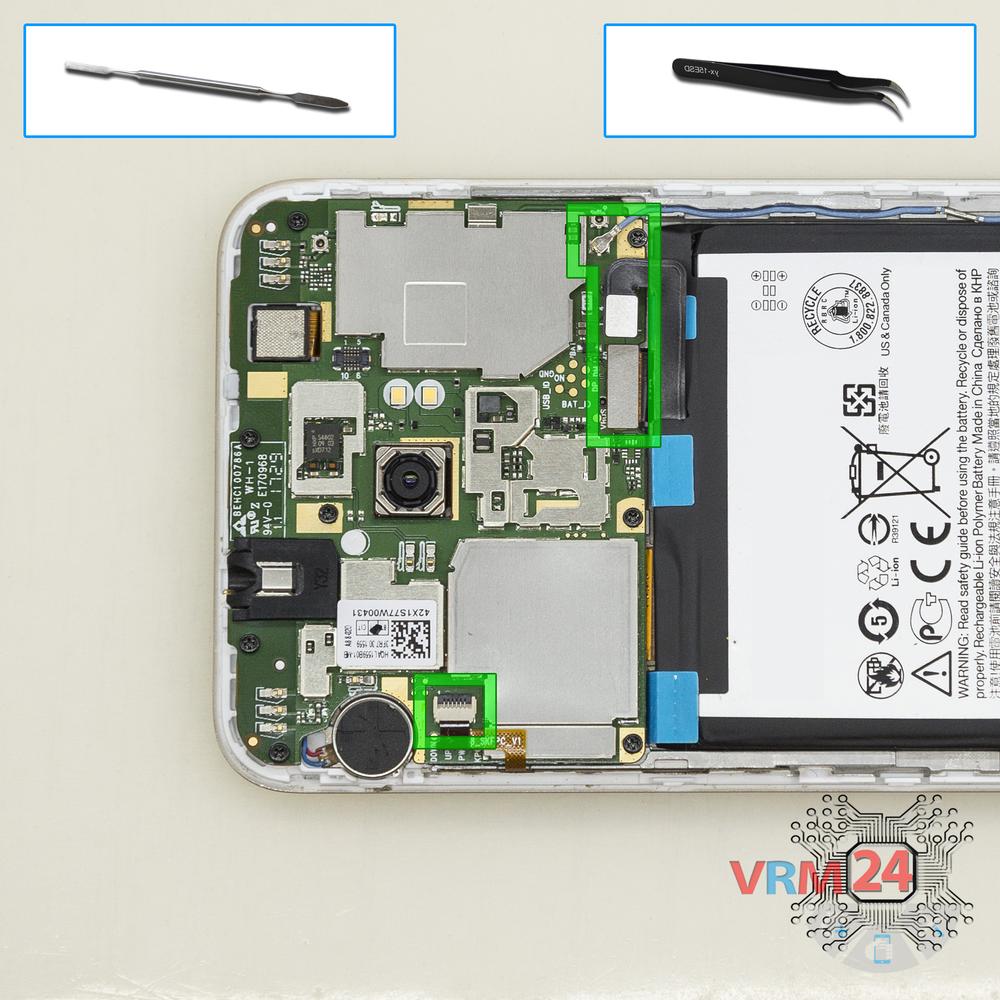
Disconnect the connectors
Disconnect connectors on the PCB.
Step 6.
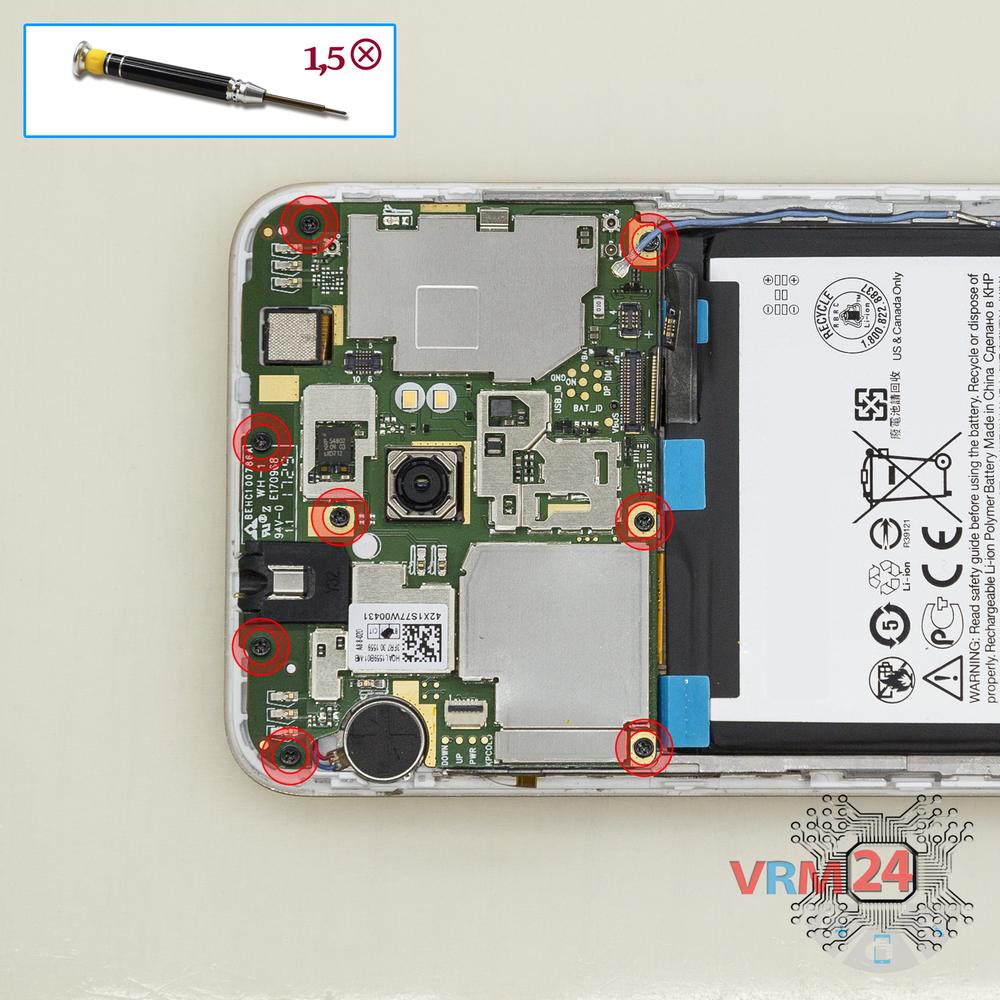
Unscrew the screws
Using a screwdriver (Phillips 1.5 mm PH000), unscrew 8 bolts in the PCB.
Step 7.
Remove the motherboard
Remove the PCB.
Step 8.
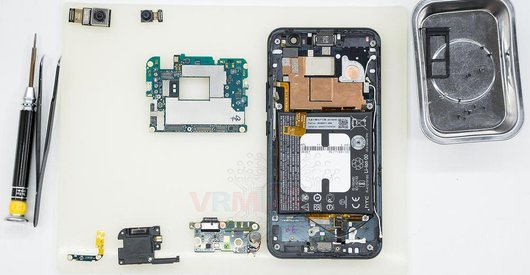
In the display frame remained
Parts are in the frame of the display module.

If you have a question, ask us, and we will try to answer in as much detail as possible. If this article was helpful for you, please rate it.

4614
Views
0
Likes
—
Share
7
Questions
Related Instructions
Related Reviews
Related Blog

Popular Questions

HTC One X10
sir I wanna ask u a question. is their any difference between htc one x10 and htc one x10u. kindly reply me as soon as possible.thanks
noman
D
HTC Desire 626
hello , do htc 626s and htc 626ph use the same screen ?
diy man6
B
HTC Desire 626
should I use glue for the display to stick
Brandon Mcgee20
F
HTC One Mini 2
Nice finally I found something My HTC already dies Witz 40%-60% Charge Ill hope its just the battery
Fabyskan7
B
HTC Desire 628
im thinking about battery replacement so im worried is that back cover glue strong enough to put it back again?
BurkiLOL7Top instructions
Check our
Top HTC instructions most liked by readers
New instructions
Check our
New HTC brand instructions on vrm24.com