




Recommended tools
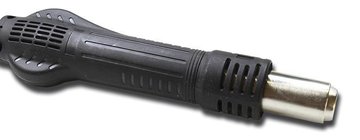
Heat gun
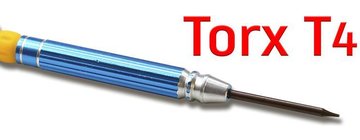
Screwdriver Torx T4
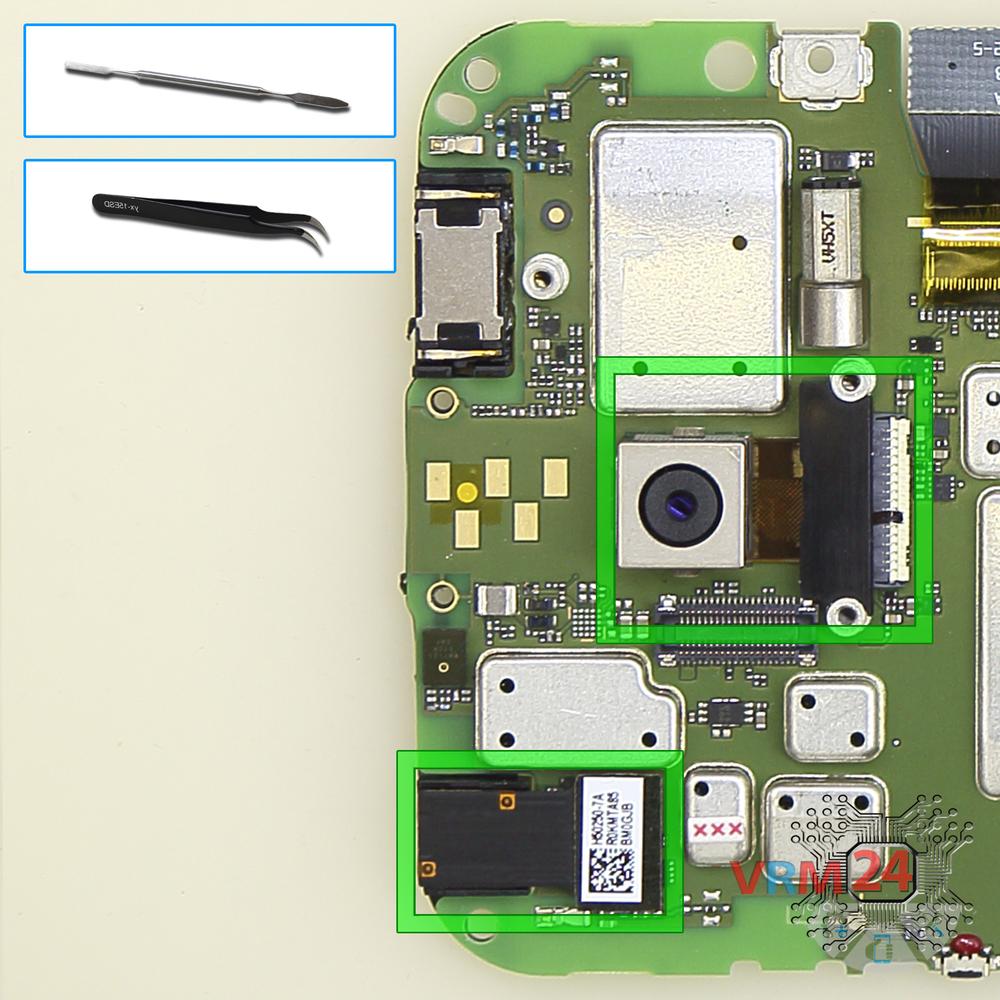
Opening tool / Spudger

Tweezers

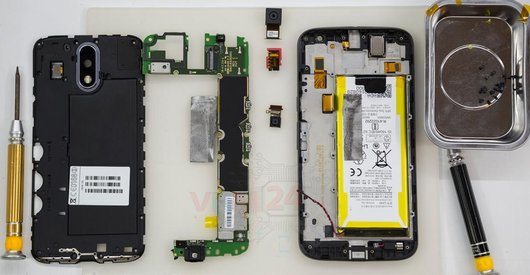
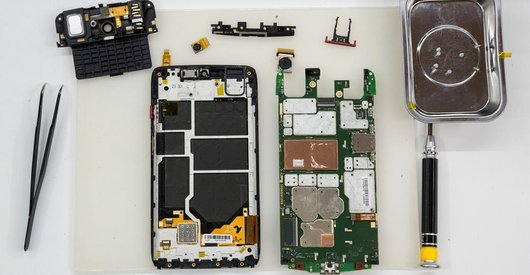
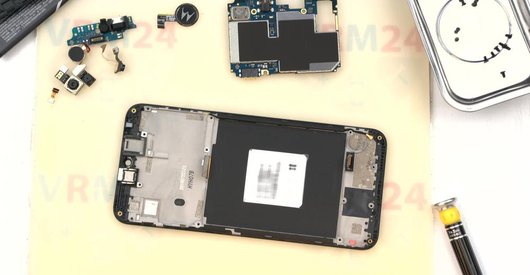
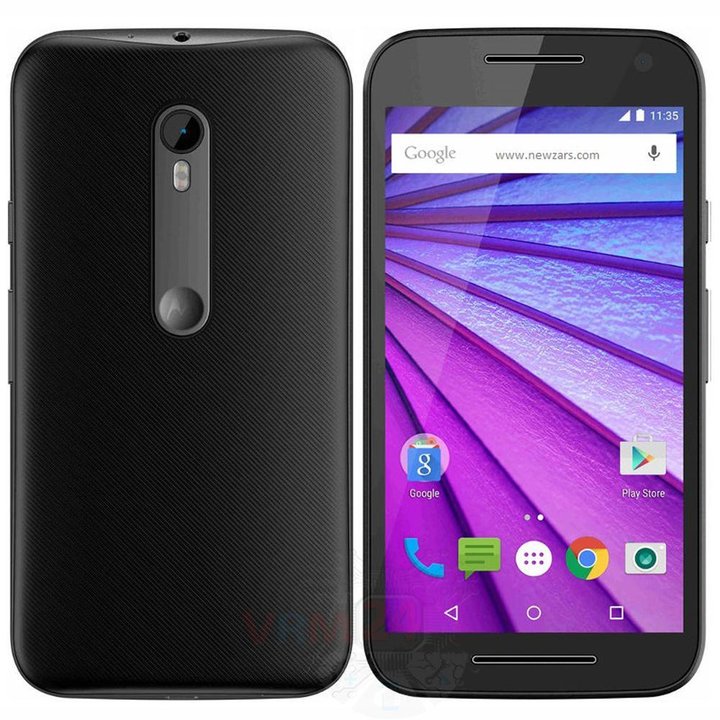
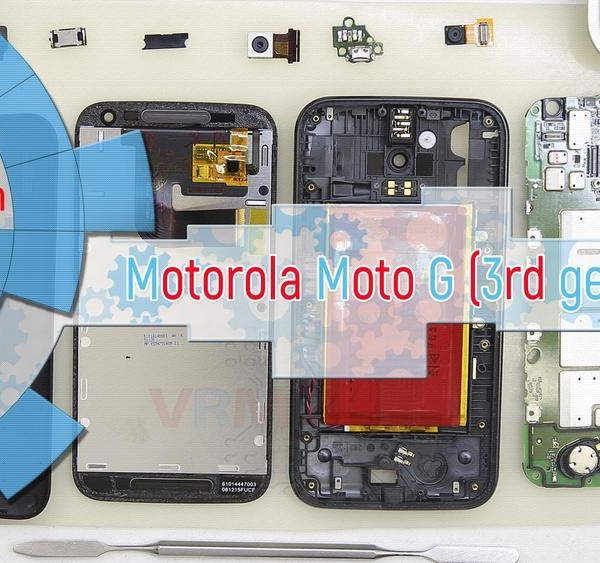
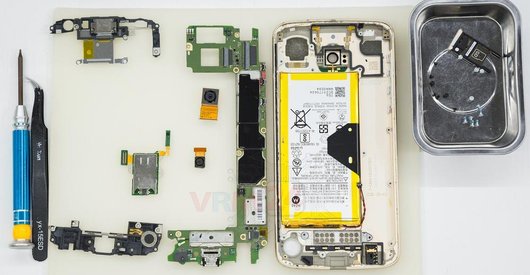
Disassembly/Repair of the mobile device Motorola Moto G (3rd gen) XT1541 (Motorola XT1541) with each step description and the required set of tools.
12345
Views
4
Likes
—
Share
9
Questions

Step 1.
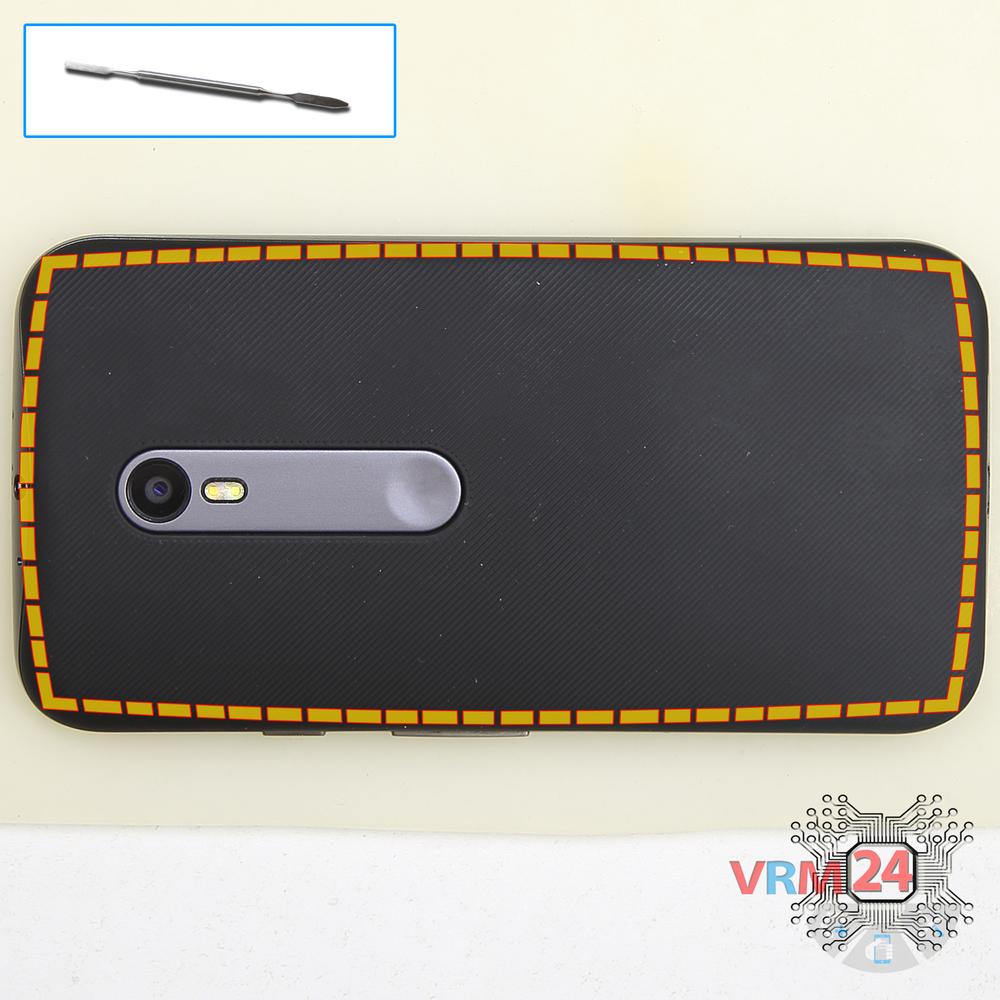
Open the back cover
Open the back cover.
Step 2.
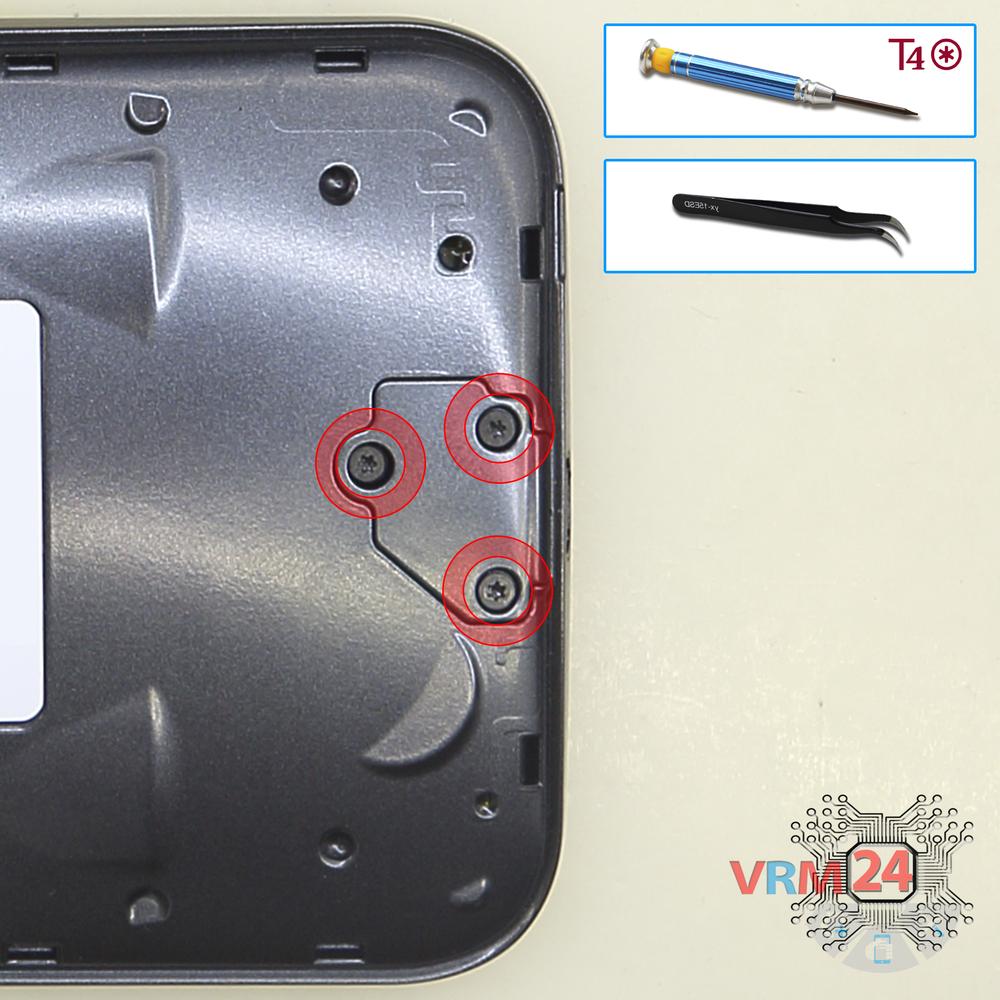
Unscrew the screws
Using a screwdriver (hex T4), unscrew 3 bolts and remove the upper cover.
Step 3.
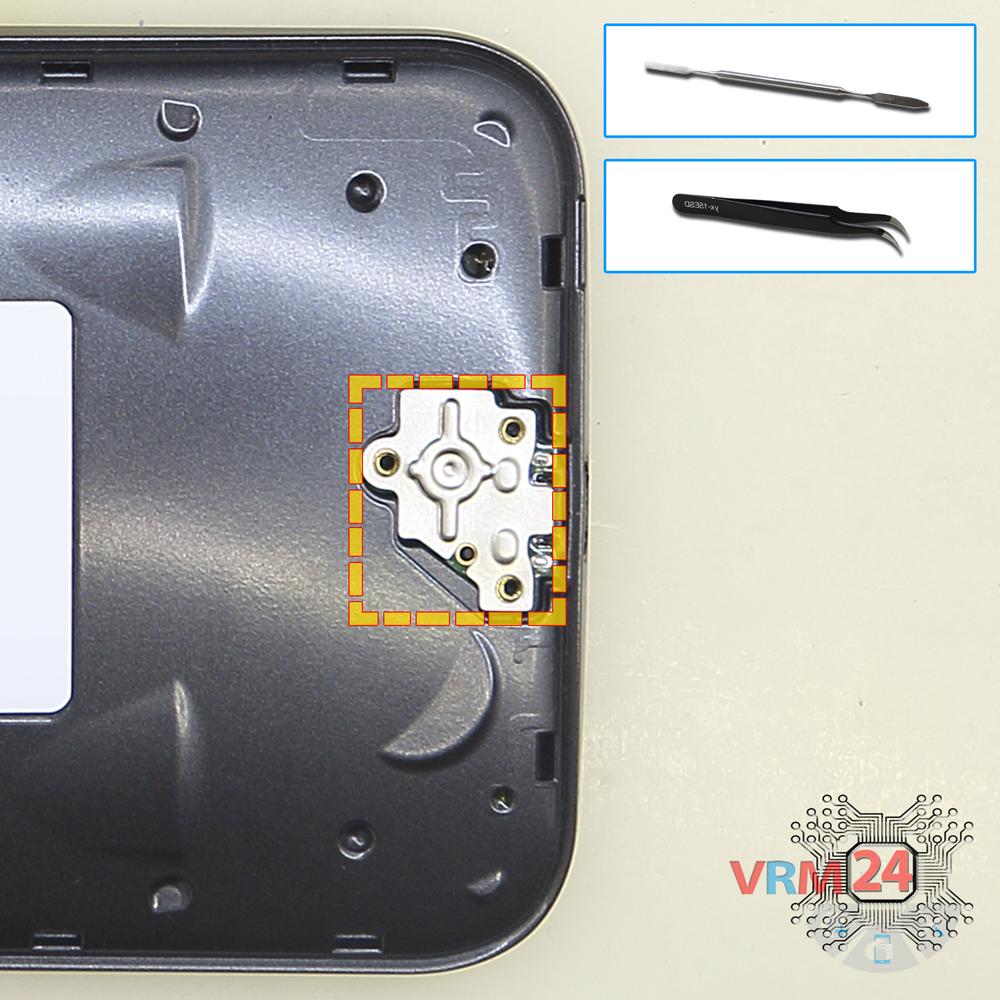
Remove the charging port
Remove the board with charging port.
Step 4.
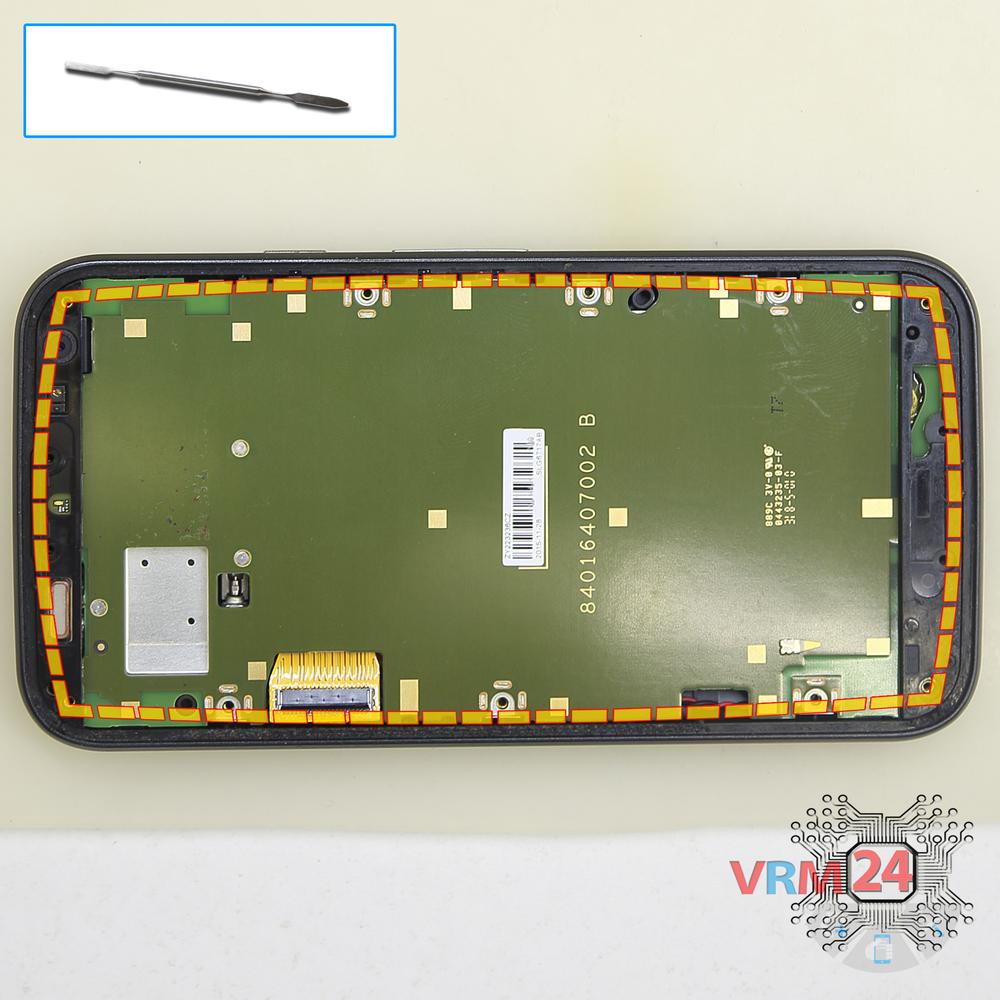
Open the display
Separate the display module from the cover.
⚠ Warning!
For careful separation, we recommend using a heat gun. At the same time, it is necessary to heat carefully in order, not to damage the surface of the device.
Step 5.
Disconnect the connector
Lift the module and disconnect the display connector on the PCB.
Step 6.
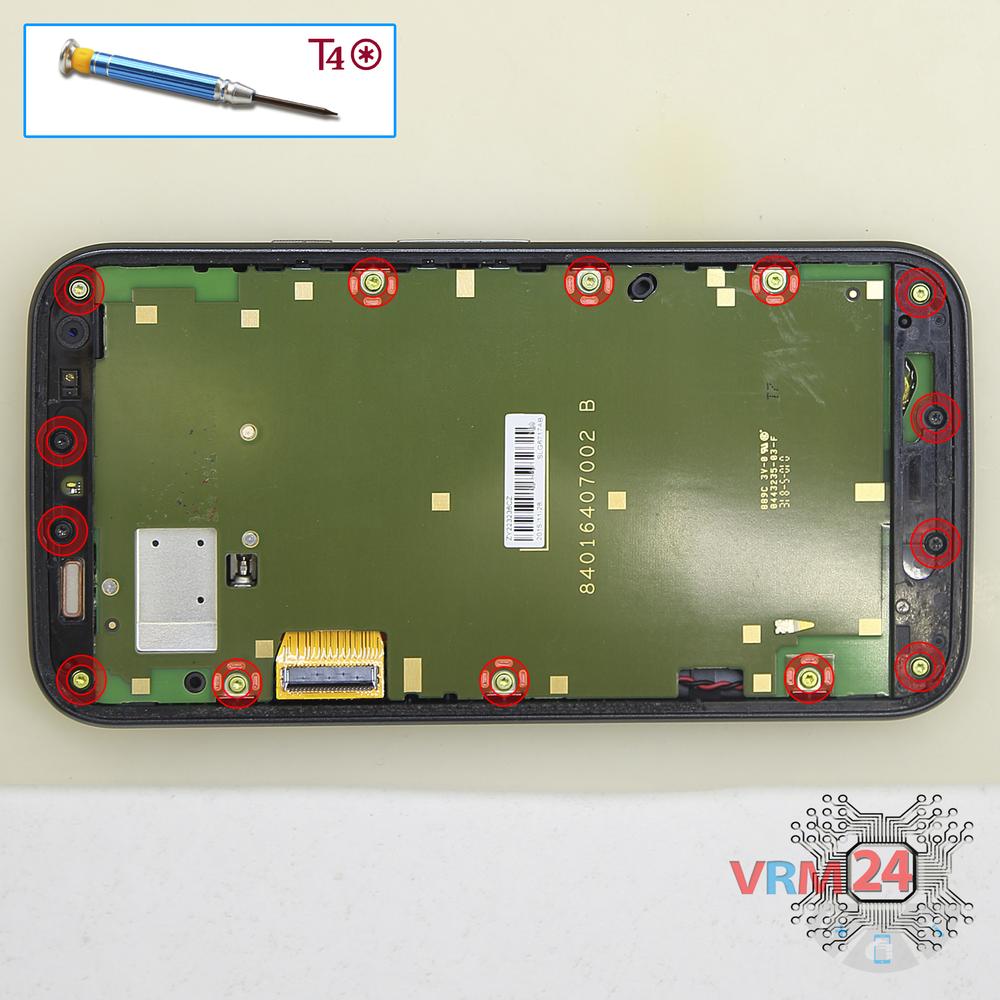
Unscrew the screws
Using a screwdriver (hex T4), unscrew 14 bolts.
Step 7.
Disconnect the battery connector
Turn over PCB, disconnect the connector of the battery from the inside.
Step 8.
Remove the headphone port
Pry & remove the headphone jack/socket.
Step 9.
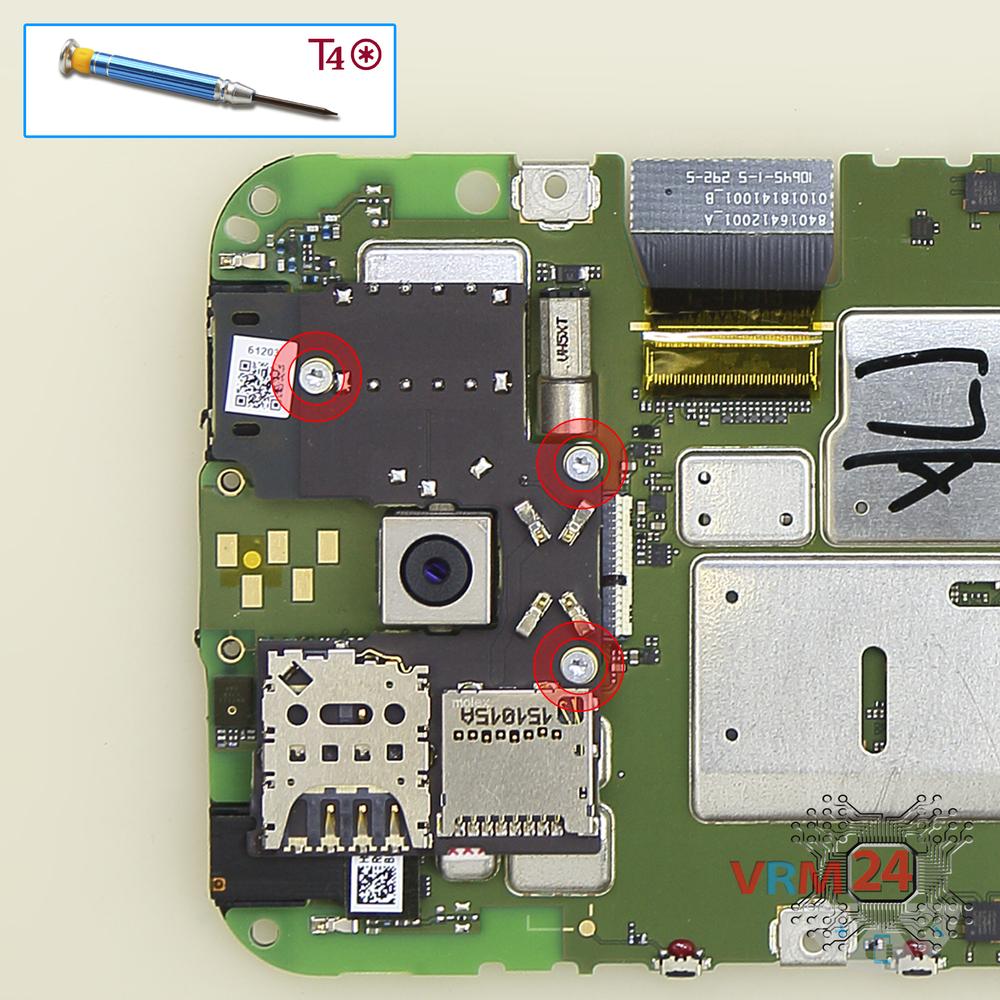
Unscrew the screws
Using a screwdriver (hex T4), unscrew 3 bolts securing the board with Sim & MMC holders.
Step 10.
Remove the small board
Remove the board with Sim & MMC holders.
Step 11.
Remove the cameras
Disconnect connectors on the PCB and remove the main and front (selfie) cameras.
Step 12.
Remove the earpiece speaker
Pry and remove the earpiece (speaker).
Step 13.
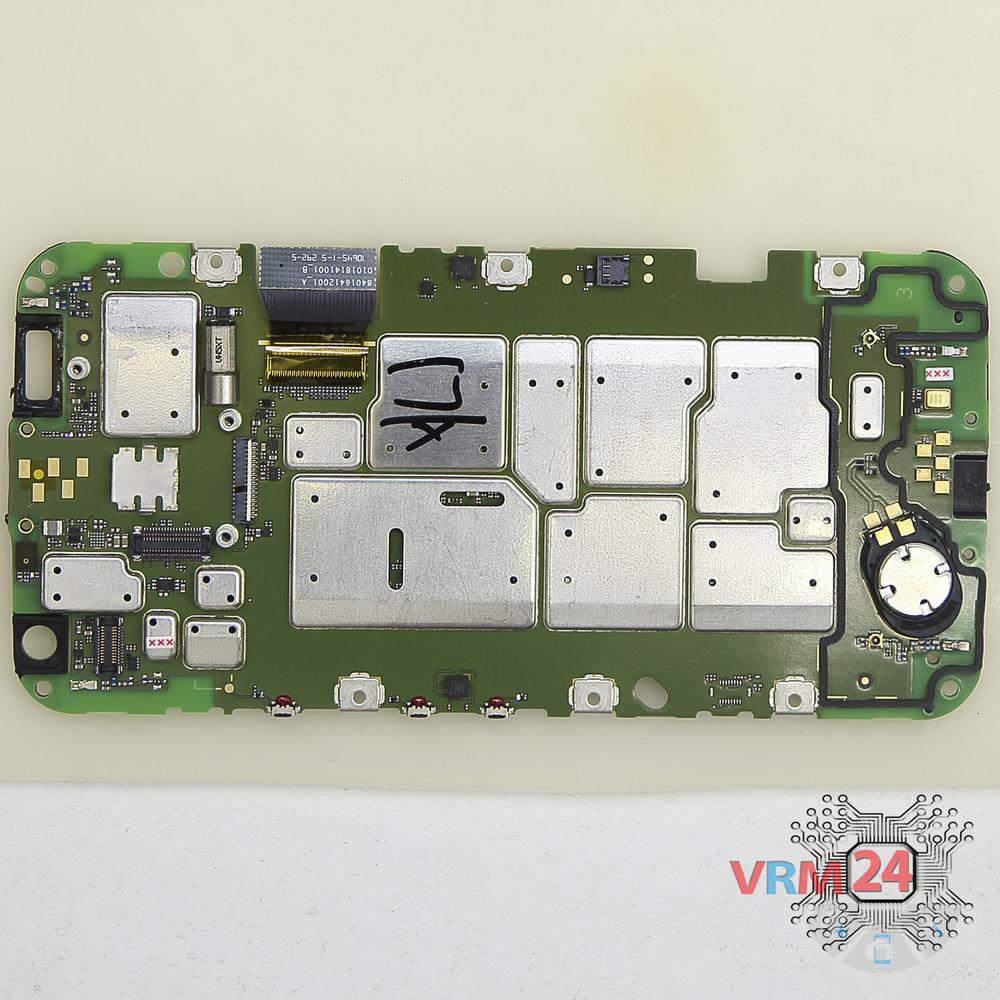
On the motherboard
Printed circuit board.

If you have a question, ask us, and we will try to answer in as much detail as possible. If this article was helpful for you, please rate it.

12345
Views
4
Likes
—
Share
9
Questions
Related Instructions
Related Reviews
Related Blog
Popular Questions
G
Motorola Moto X Play XT1563
Just wondering why you lifted up the black sticky tab up on the battery? Was it just to hold up the battery.
GOOD-vs- EVIL3
D
Motorola Moto Z2 Play XT1710
when reassembling this phone, what adhesive do you use? could you provide me a link to an example product? thank you for the video!
Discover Your World5
М
Motorola Moto X Play XT1563
were can i get the parts for moto x play XT1562 ?
Мельников13
D
Motorola Moto X Play XT1563
Friend, I changed the battery on this phone and when assembling everything, it no longer picked up the camera, nor wifi and phone signal. Could you t…
DANTE URSE17
Motorola Moto C Plus XT1723
My android switched off unexpectedly whilke I was using it, now when I powers it back its just displaying the 'M' with no any other optrion. Now the …
yusuf_mbindyoTop instructions
Check our
Top Motorola instructions most liked by readers
New instructions
Check our
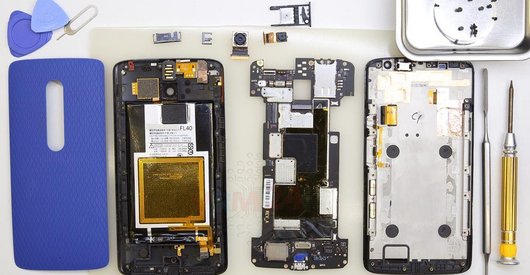
New Motorola brand instructions on vrm24.com