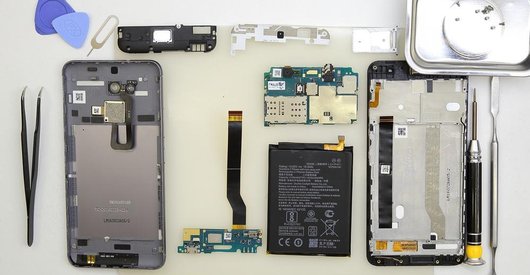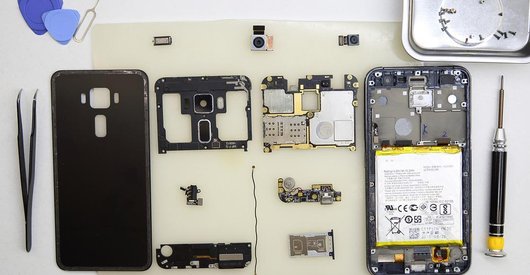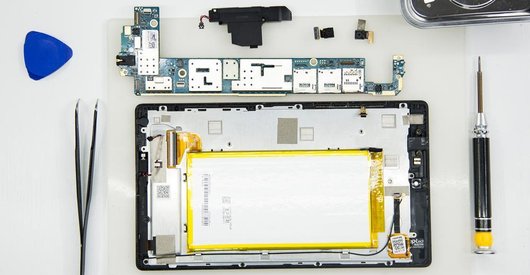
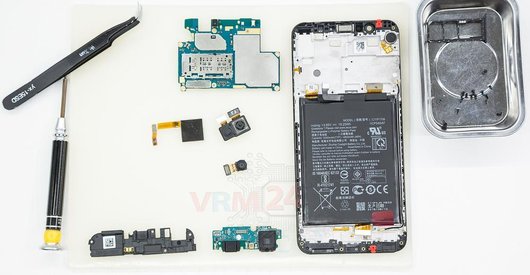

Recommended tools
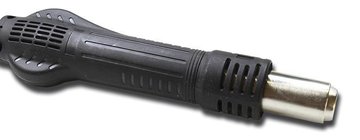
Heat gun
Screwdriver Phillips #000

Tweezers

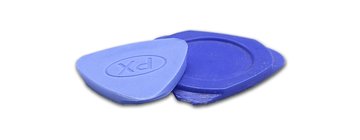
Non-metallic tool
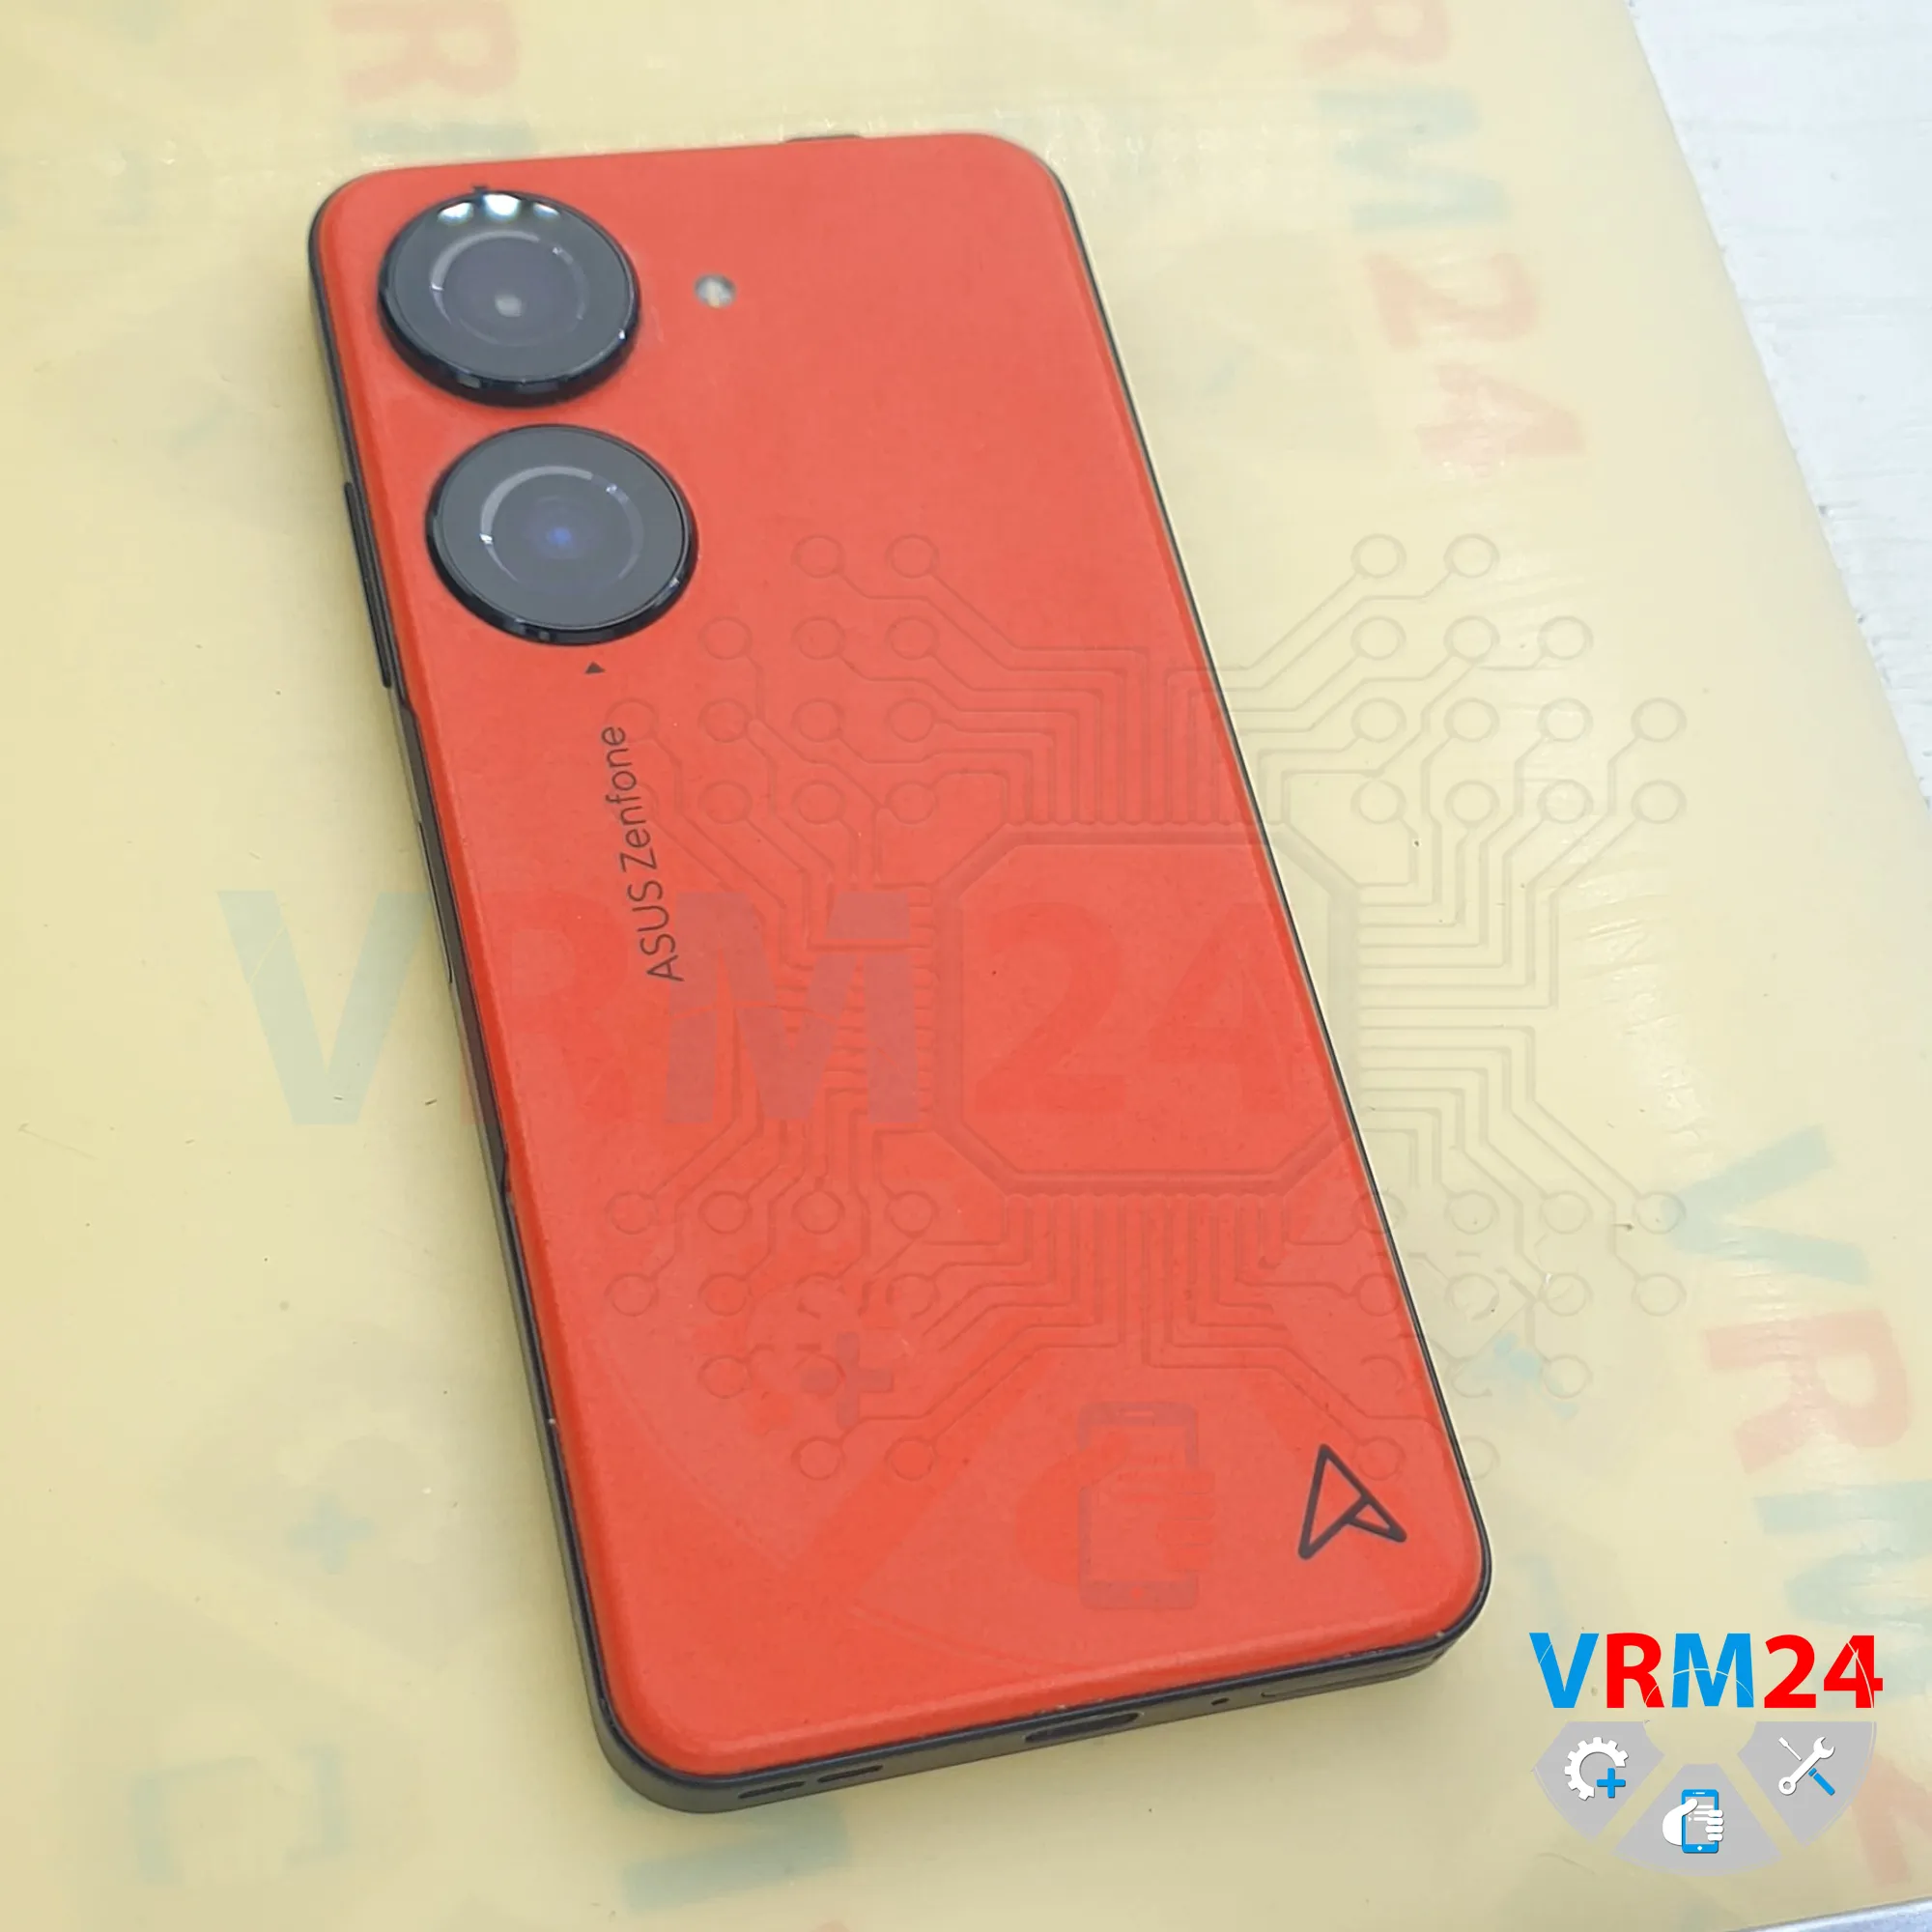
Disassembly/Repair of the mobile device Asus Zenfone 10 (Asus Zenfone 10z) with each step description and the required set of tools.
718
Views
0
Likes
—
Share
0
Questions

Step 1.
Before disassembling!
⚠️ Before disassembling, do not forget to turn your phone off.
Step 2.
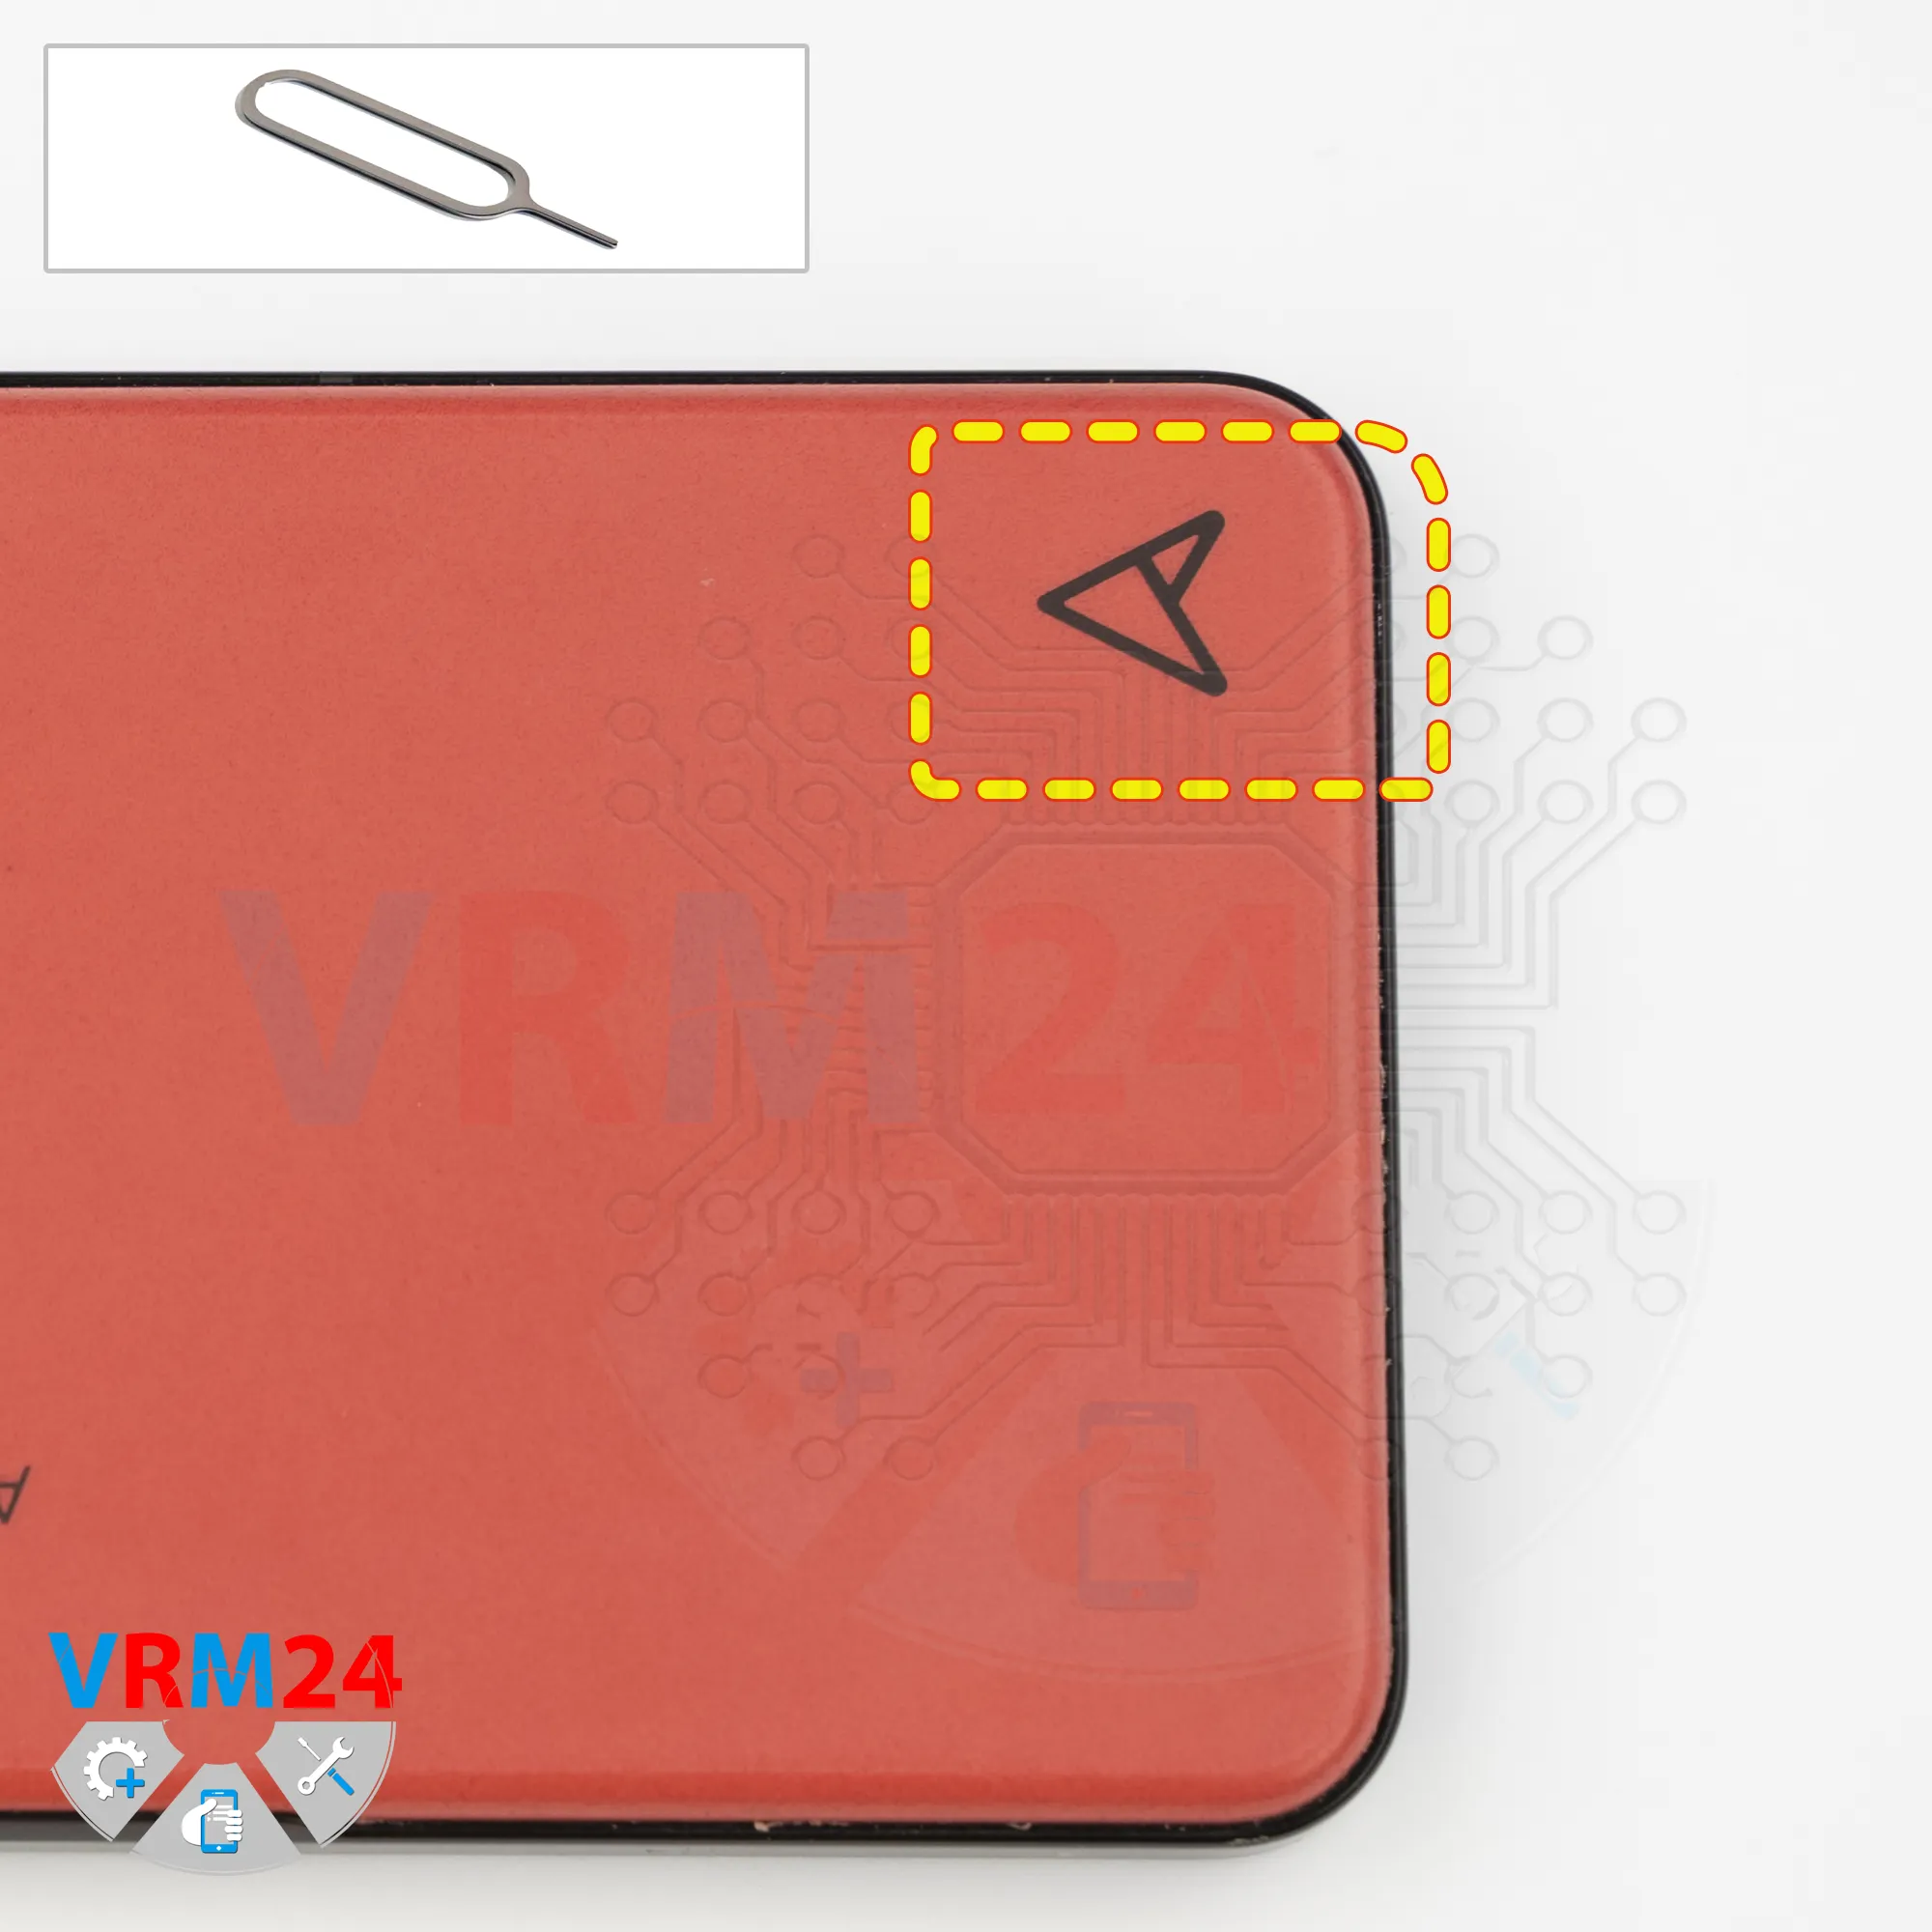
Remove the tray
First things first, as usual, we need to remove the SIM card tray.
Note that the microphone hole is located very close to the tray slot.
Remove the tray.
Step 3.
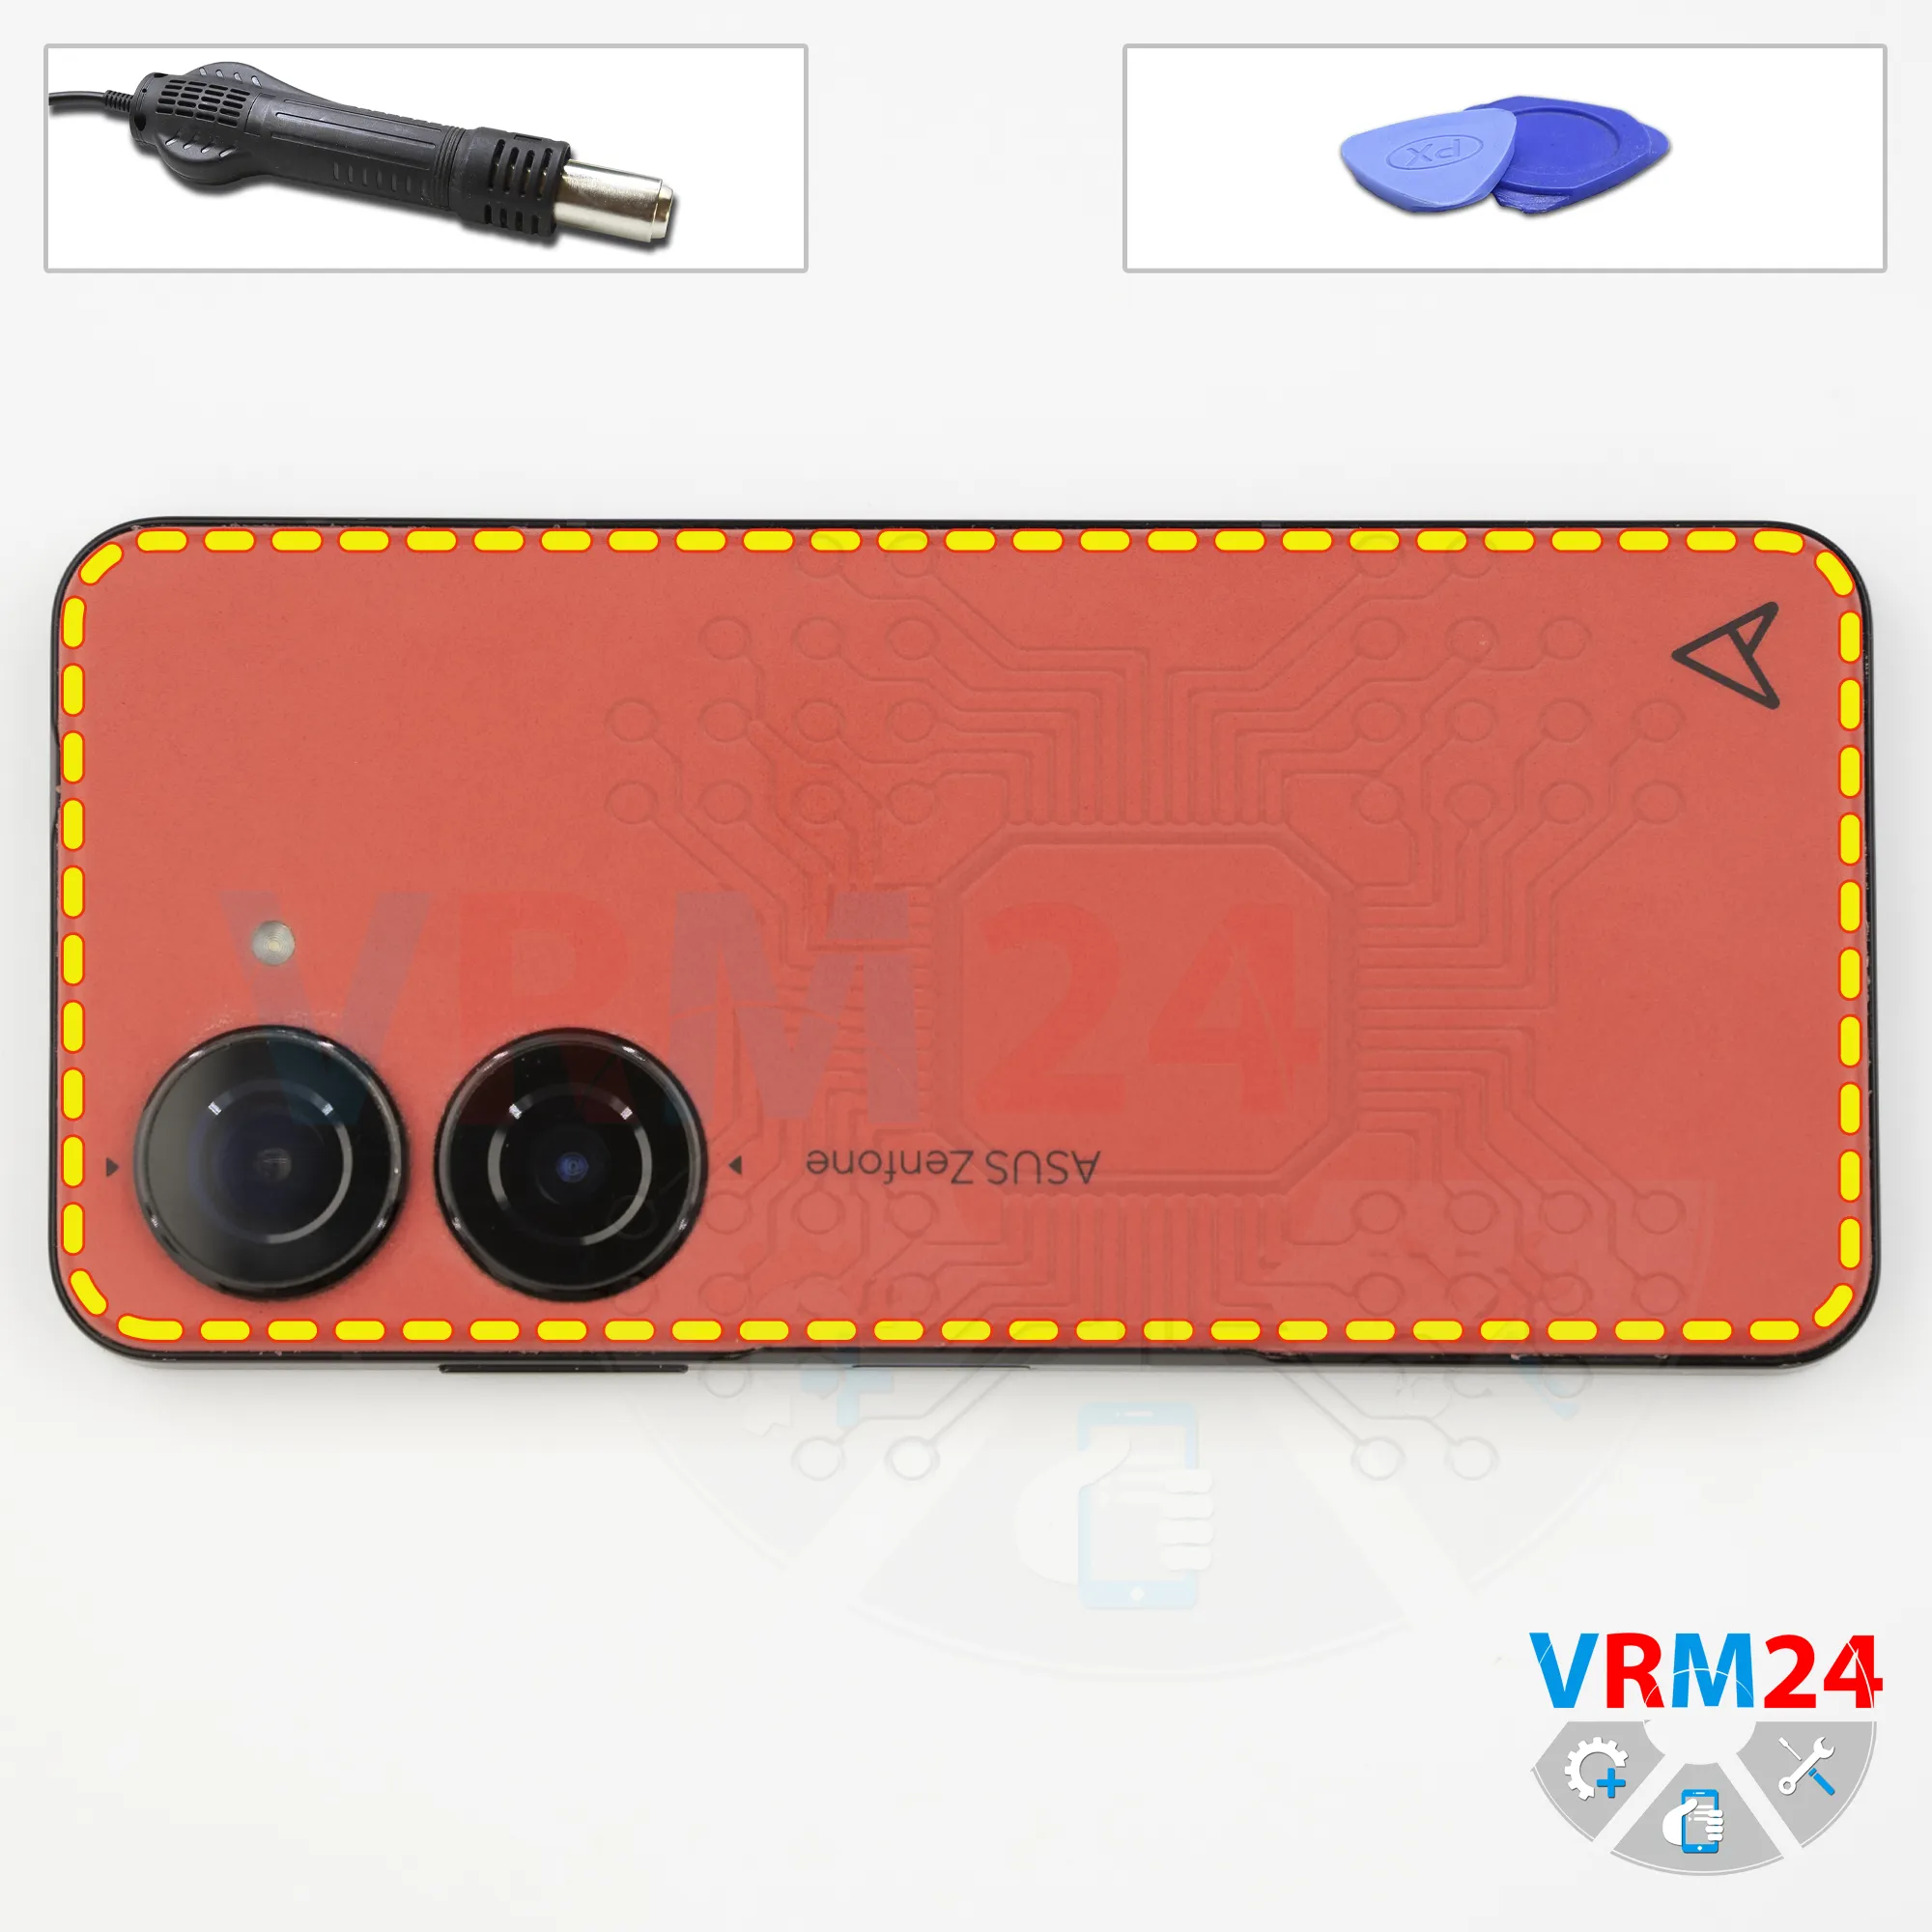
Open the back cover
Next, we need to heat the surface of the back cover to approximately 70°C, or about 160 degrees Fahrenheit.
We use a heating mat for this, but a hair dryer will also work.
After about 10 minutes, we can move on to separating the back cover.
For this, we use a thin plastic film, carefully insert it into the gap between the back cover and the midframe, and gently run it along the edge, cutting through the adhesive.
As always, be careful around the camera area so you don’t accidentally touch or damage the lenses.
Also, be careful around the side buttons, since flex cables may be routed in those areas.
You can also use an additional tool to keep the cover from sticking back down while you continue removing the back cover.
Step 4.
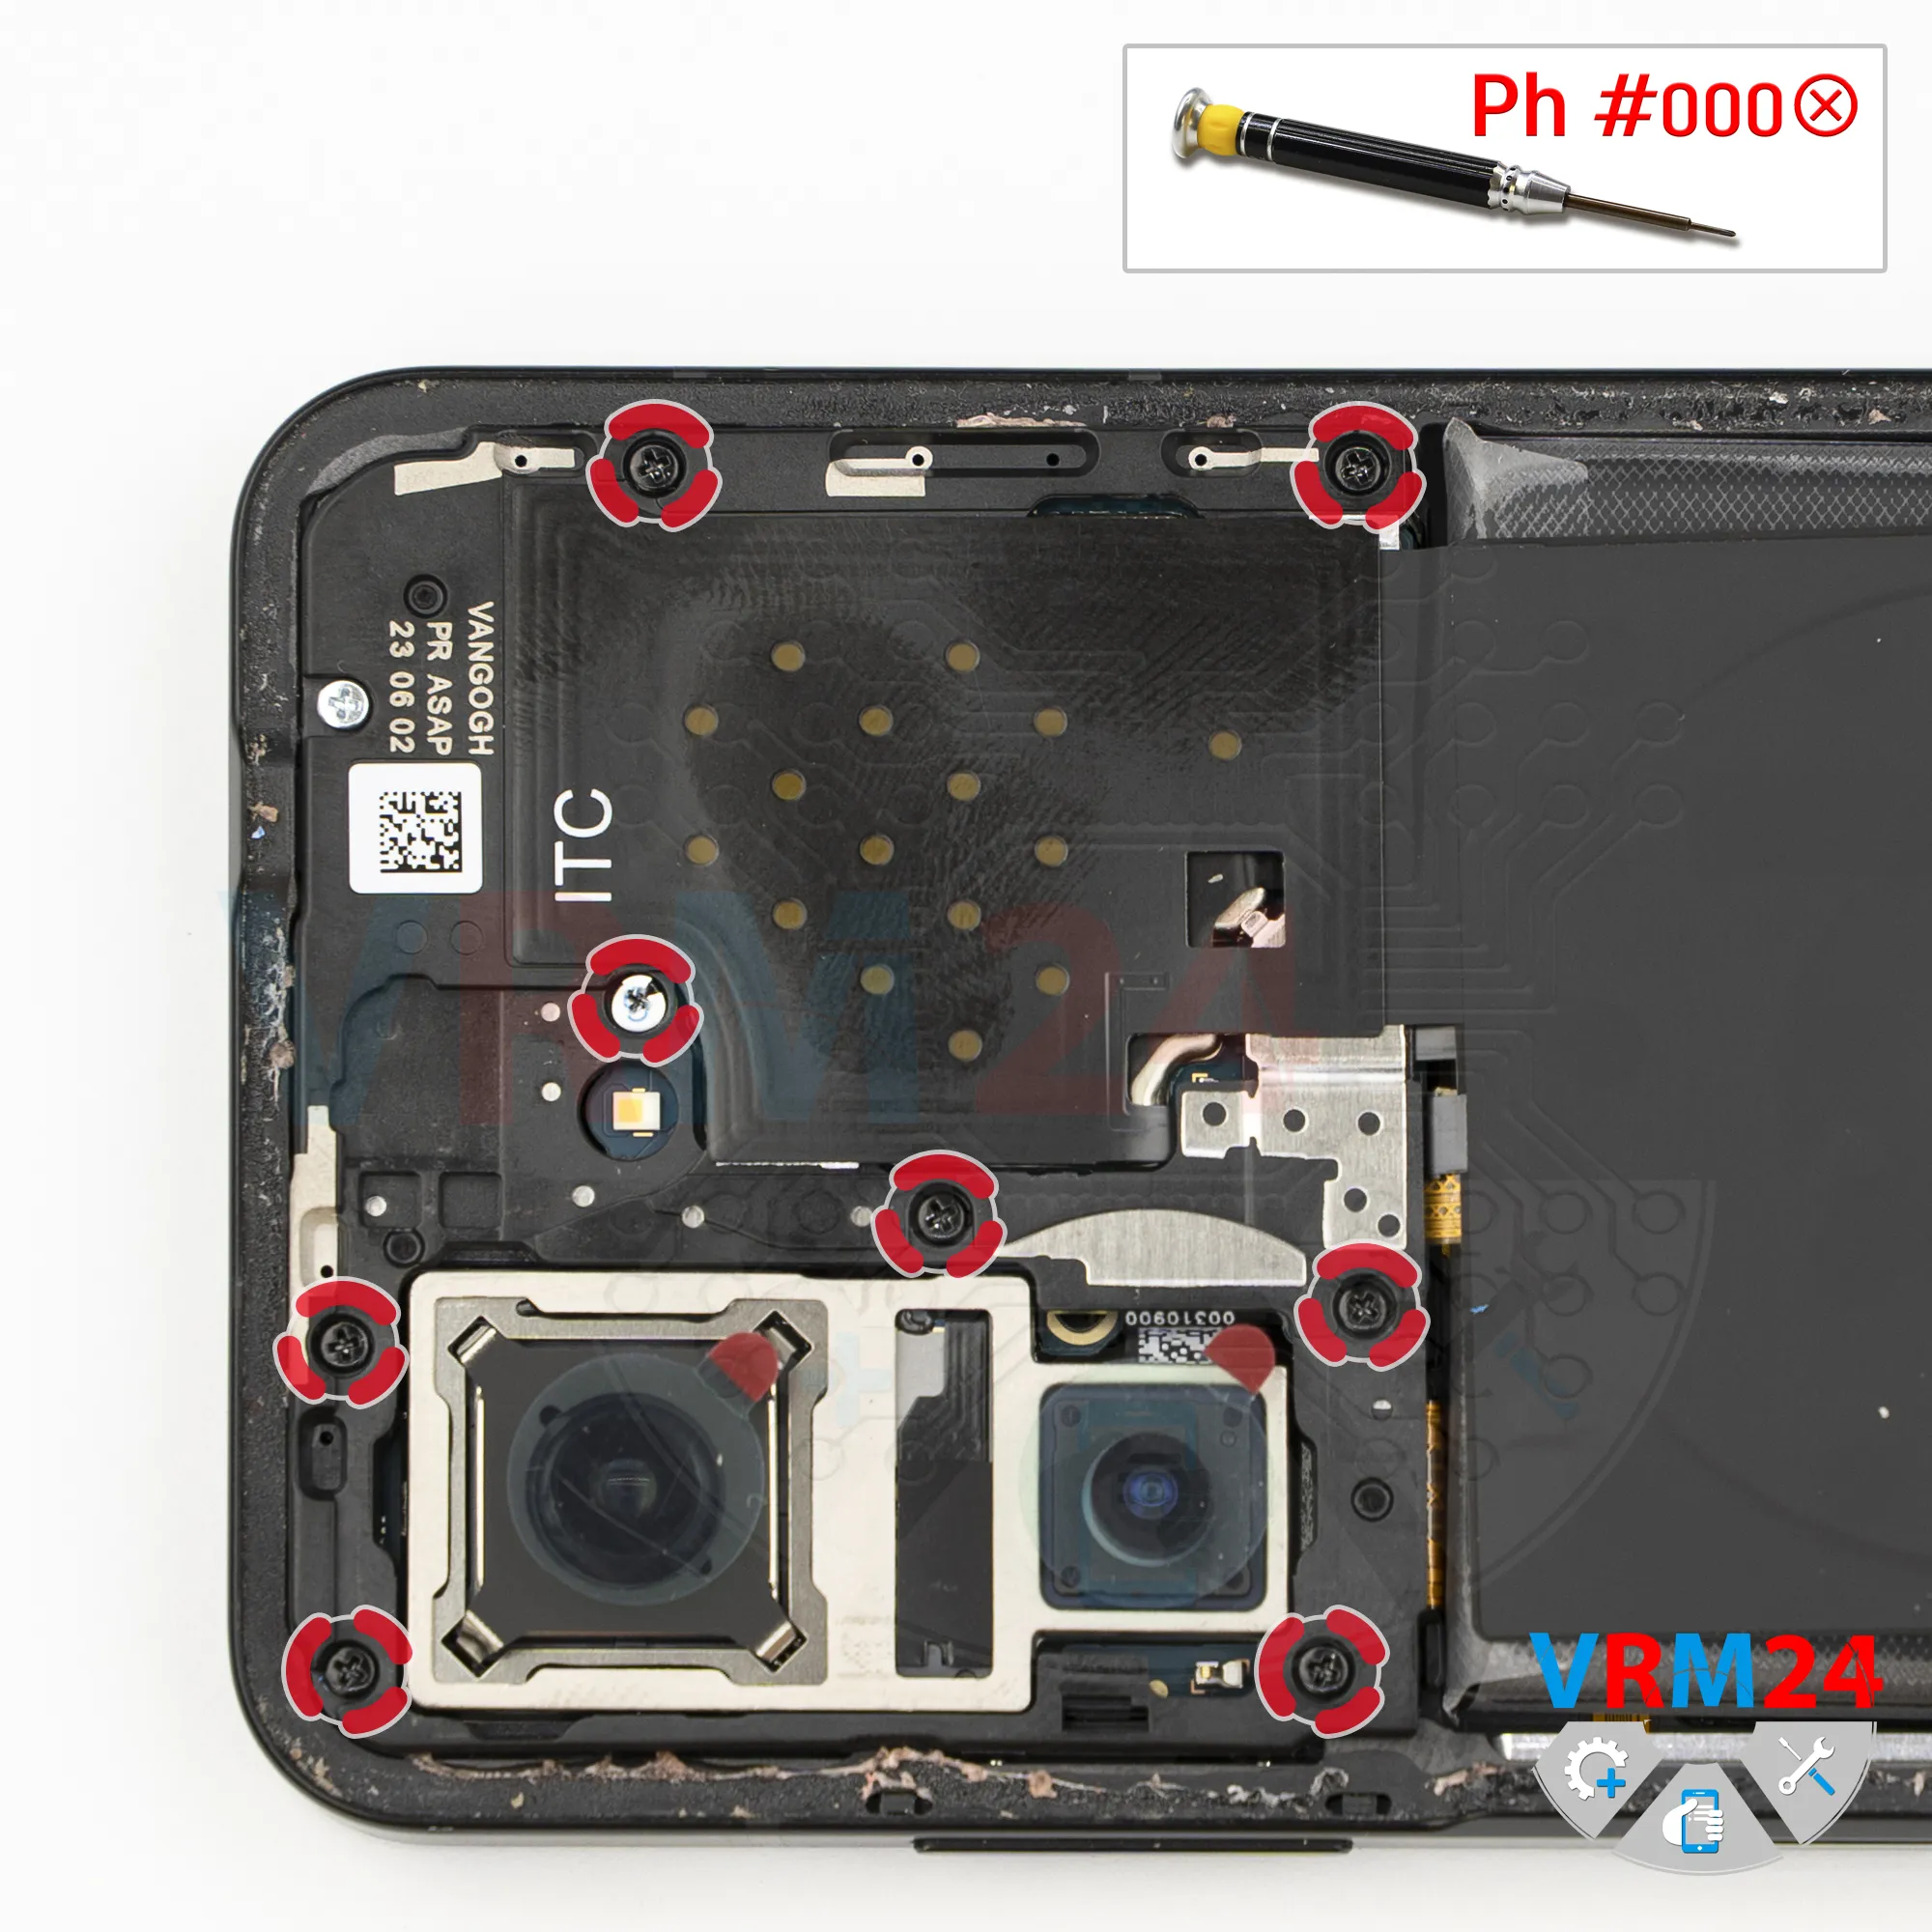
Unscrew the screws
Next, we move on to removing the screws in the upper section. For this, we use a 1.5 mm Phillips screwdriver or a Phillips #000.
If the screws are difficult to remove or pick up, you can use a magnetizer and tweezers to take them out.
Step 5.
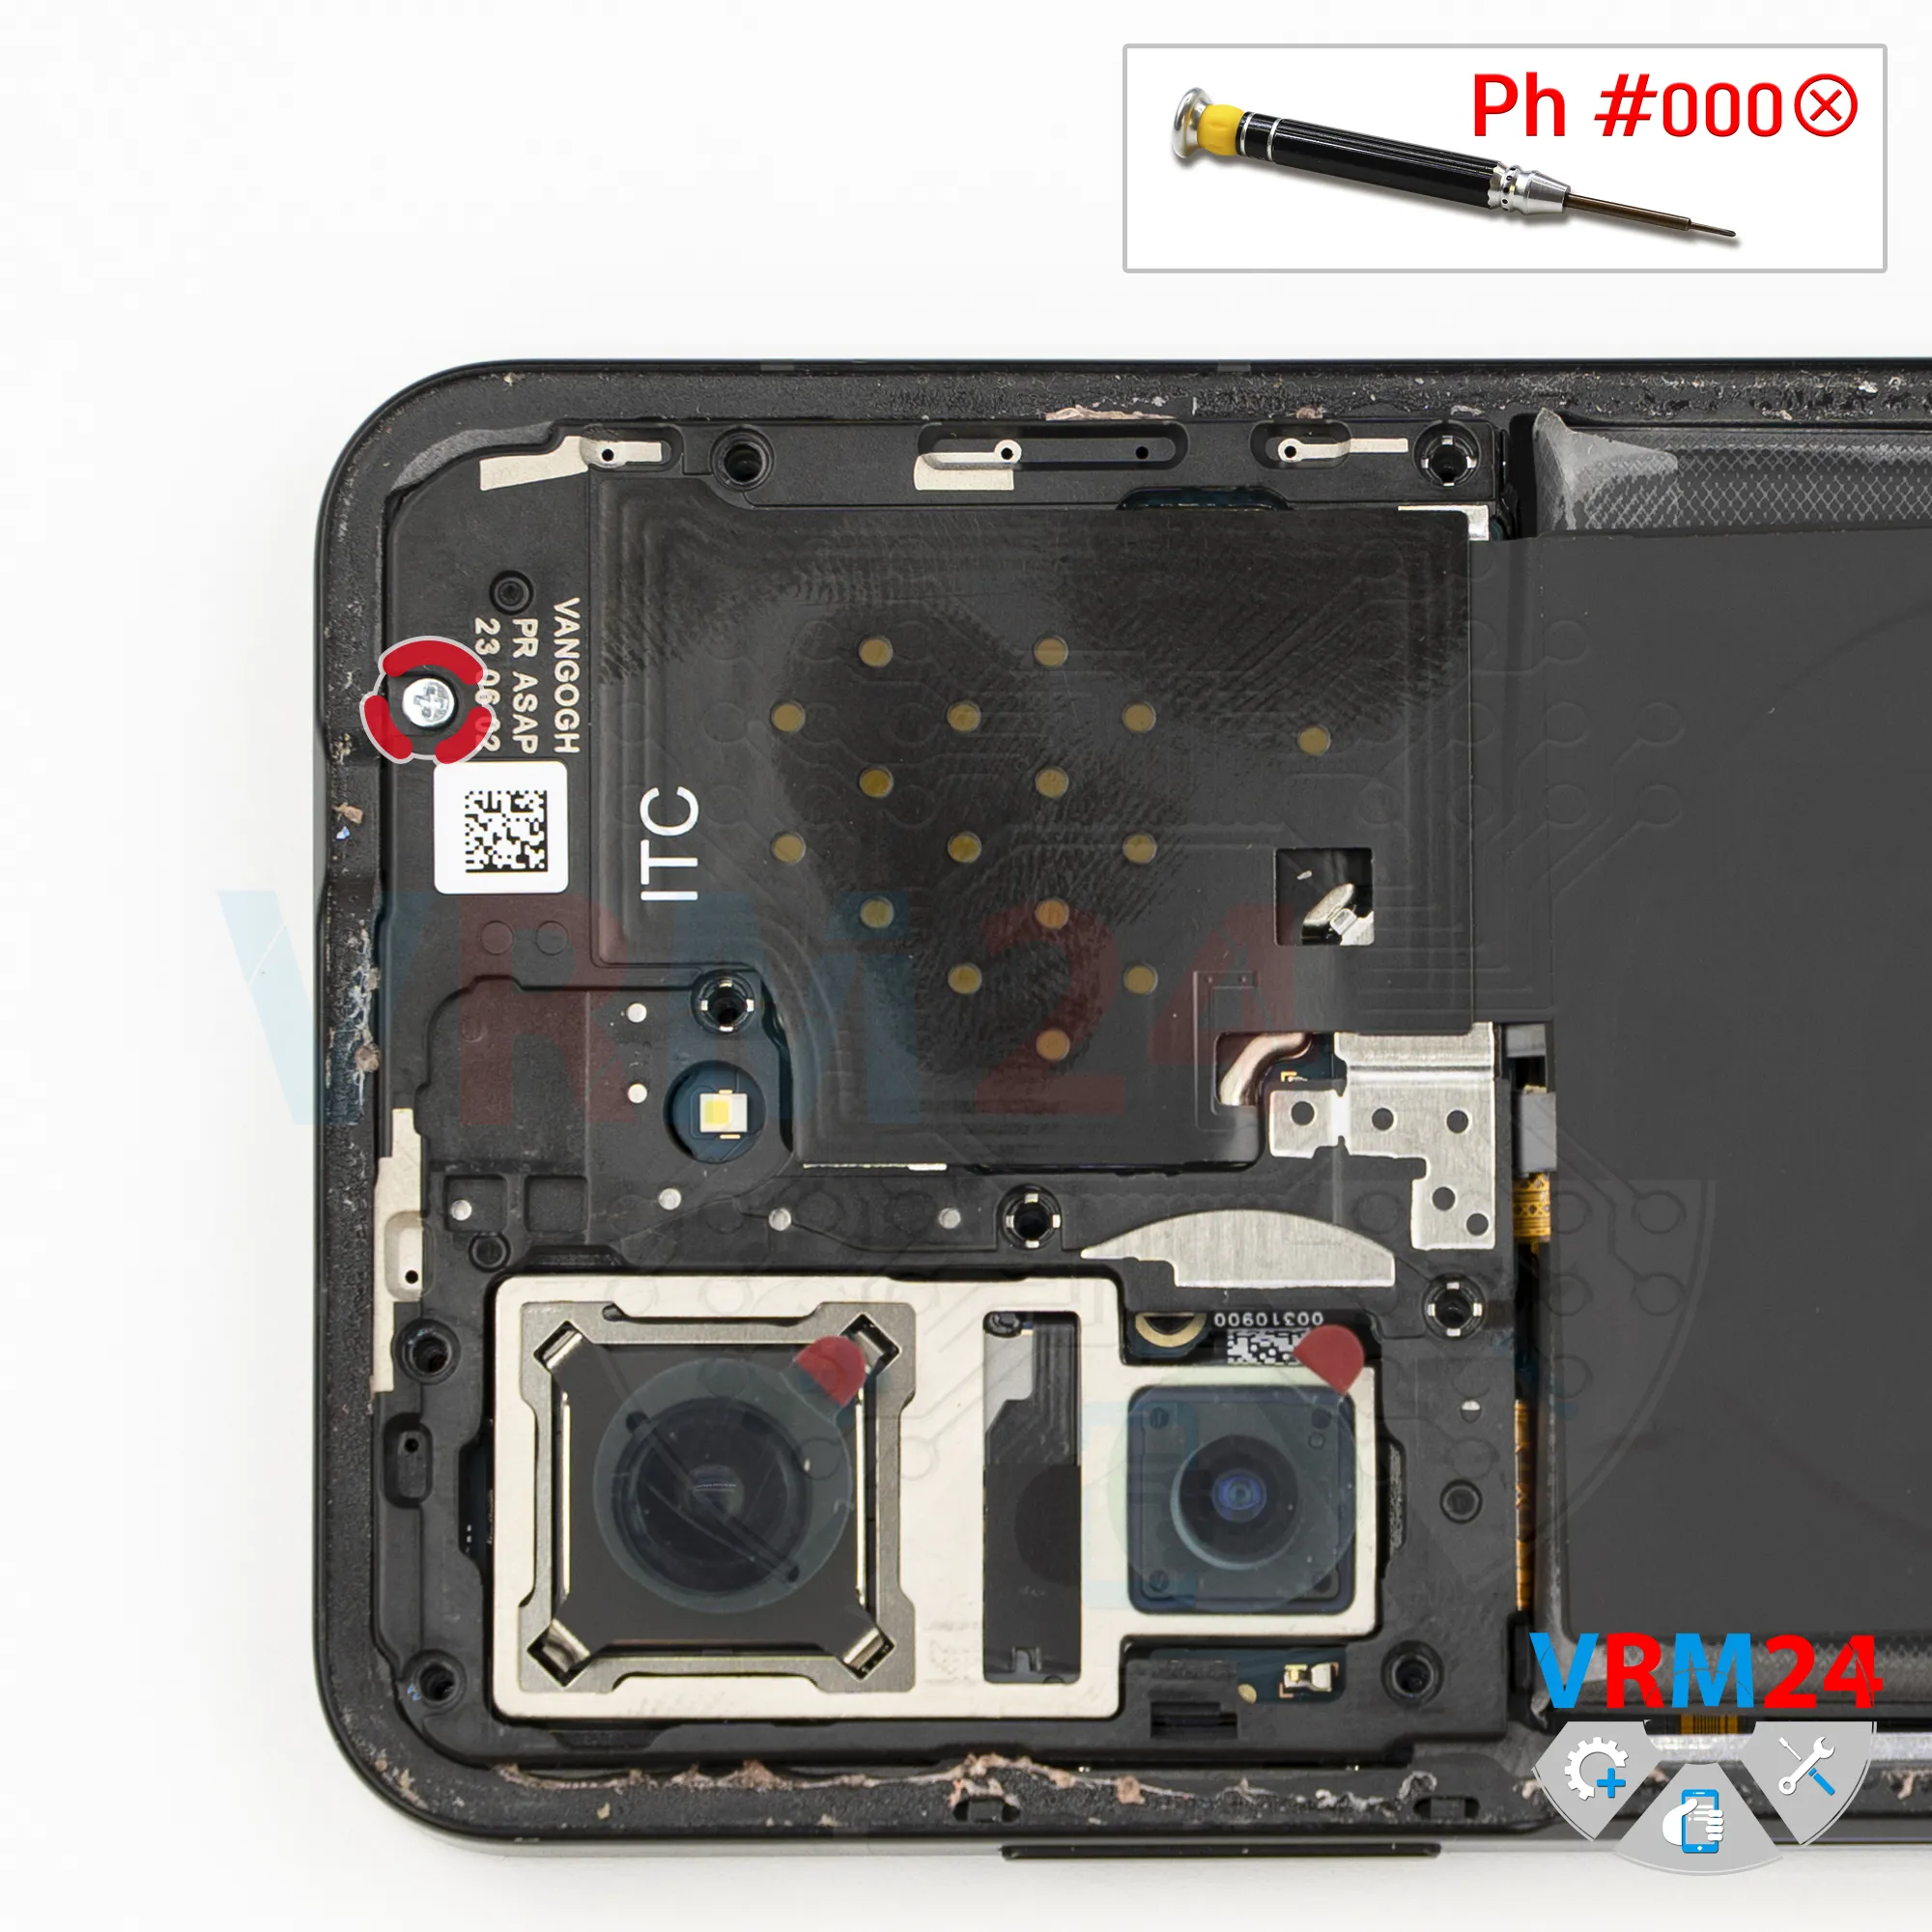
Unscrew one screw
Using a screwdriver Phillips 1.5 mm (PH #000), unscrew the one silver screw.
Step 6.
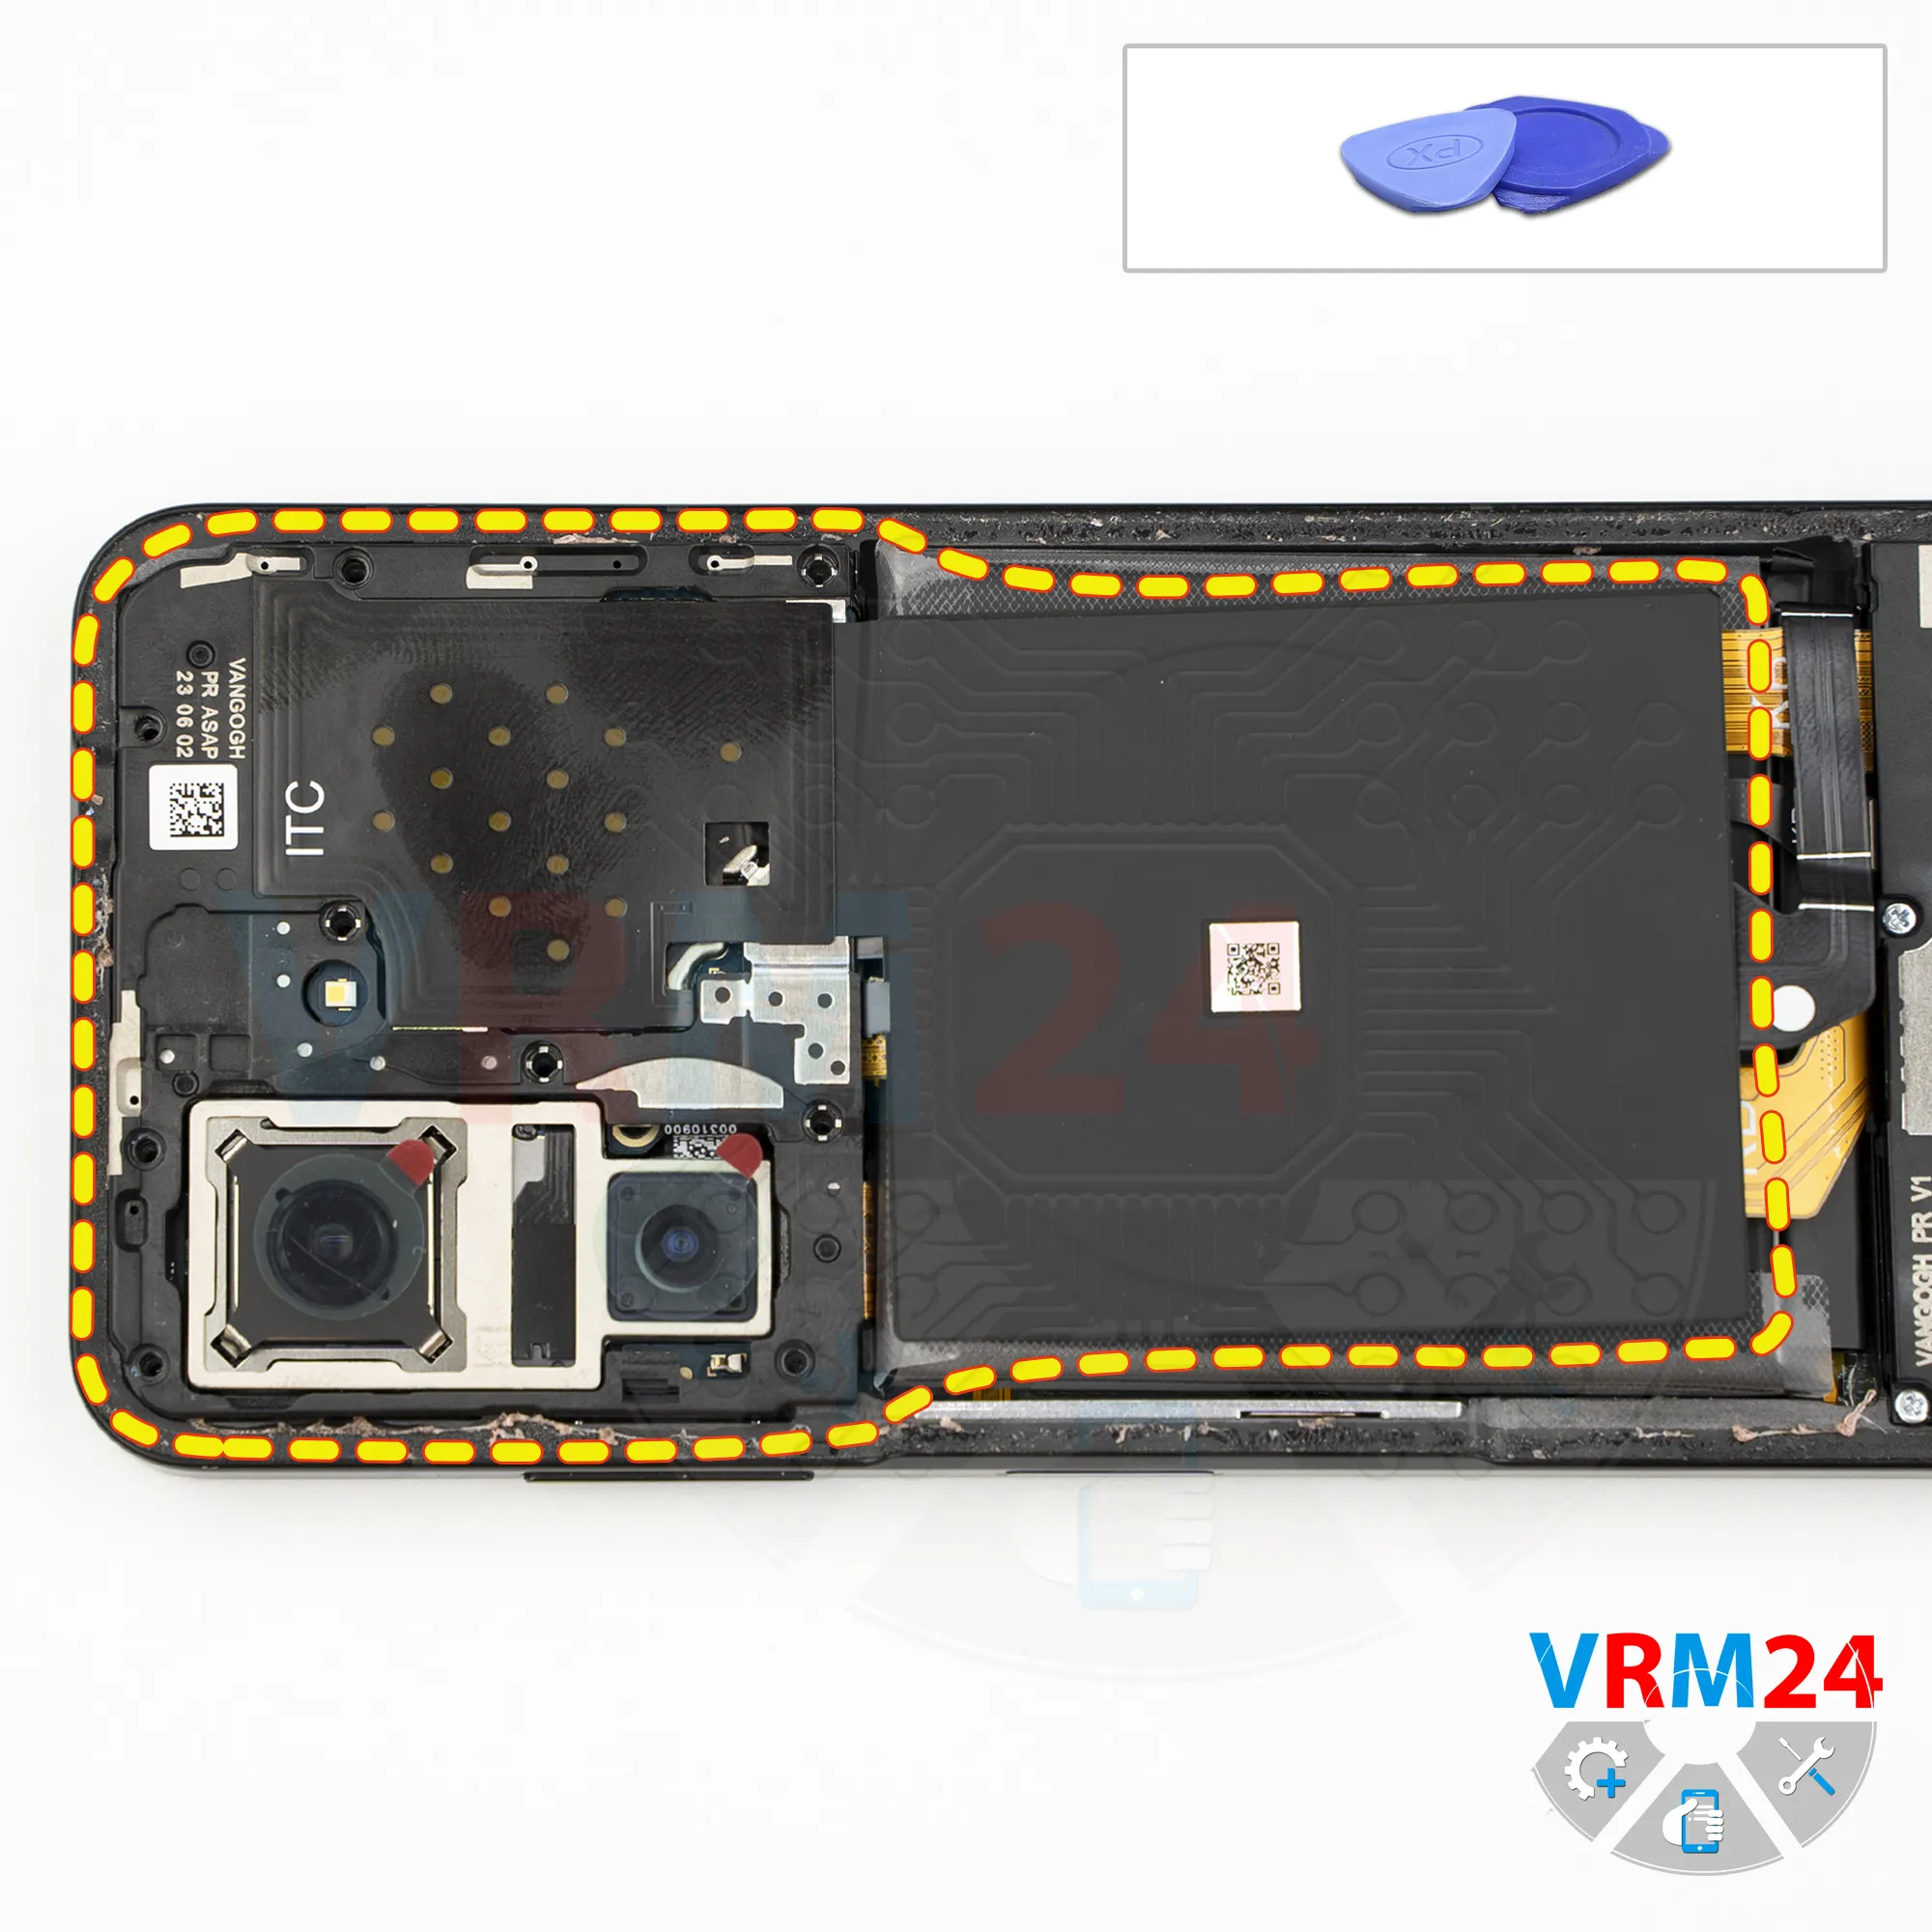
Open the covers
Now we can remove the upper cover. Use a non-metal tool, find a suitable spot to pry, gently lift, and detach the cover.
Why not use a metal tool? To avoid shorting anything on the motherboard.
Step 7.
Disconnect the battery connector
Next, using a non-metal tool, we need to disconnect the battery connector.
ℹ️ The Asus Zenfone 10 uses a C11P2102 rechargeable battery with a capacity of 4300 mAh.
Step 8.
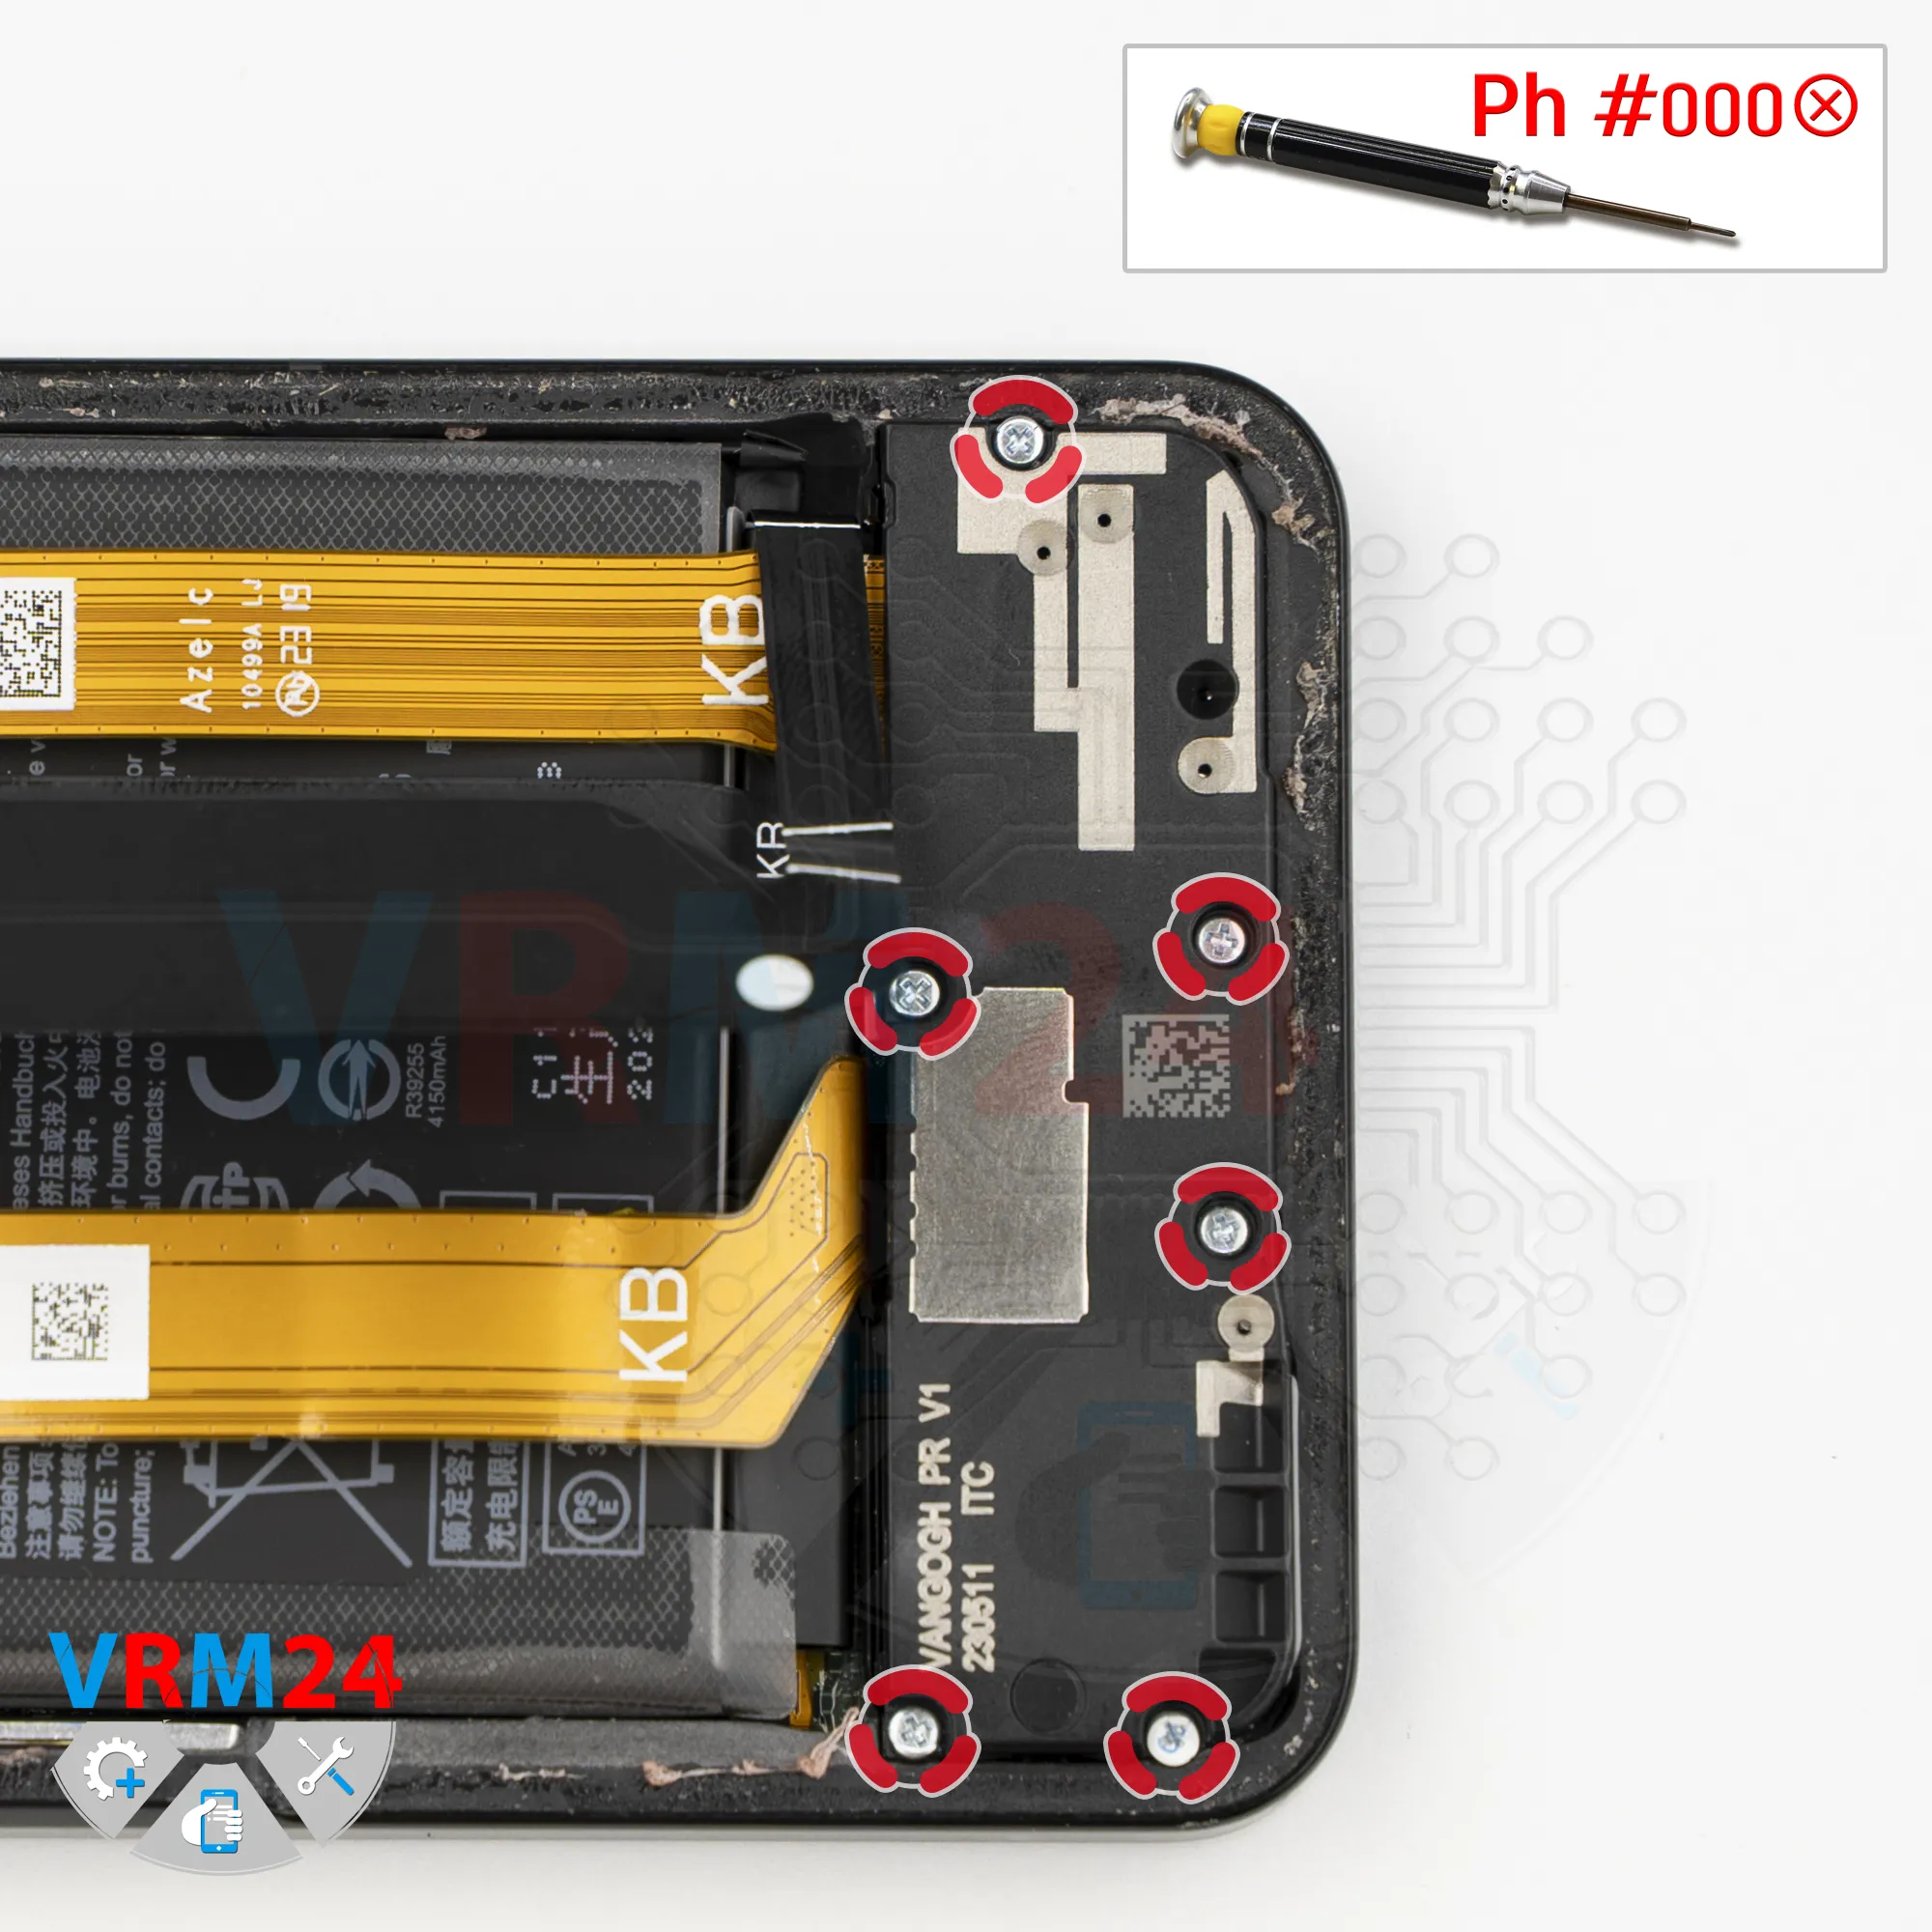
Unscrew the screws
Again, use a 1.5 mm Phillips screwdriver or a Phillips #000.
It’s best to keep these screws separate from the previous ones, since they differ in size and color.
Step 9.
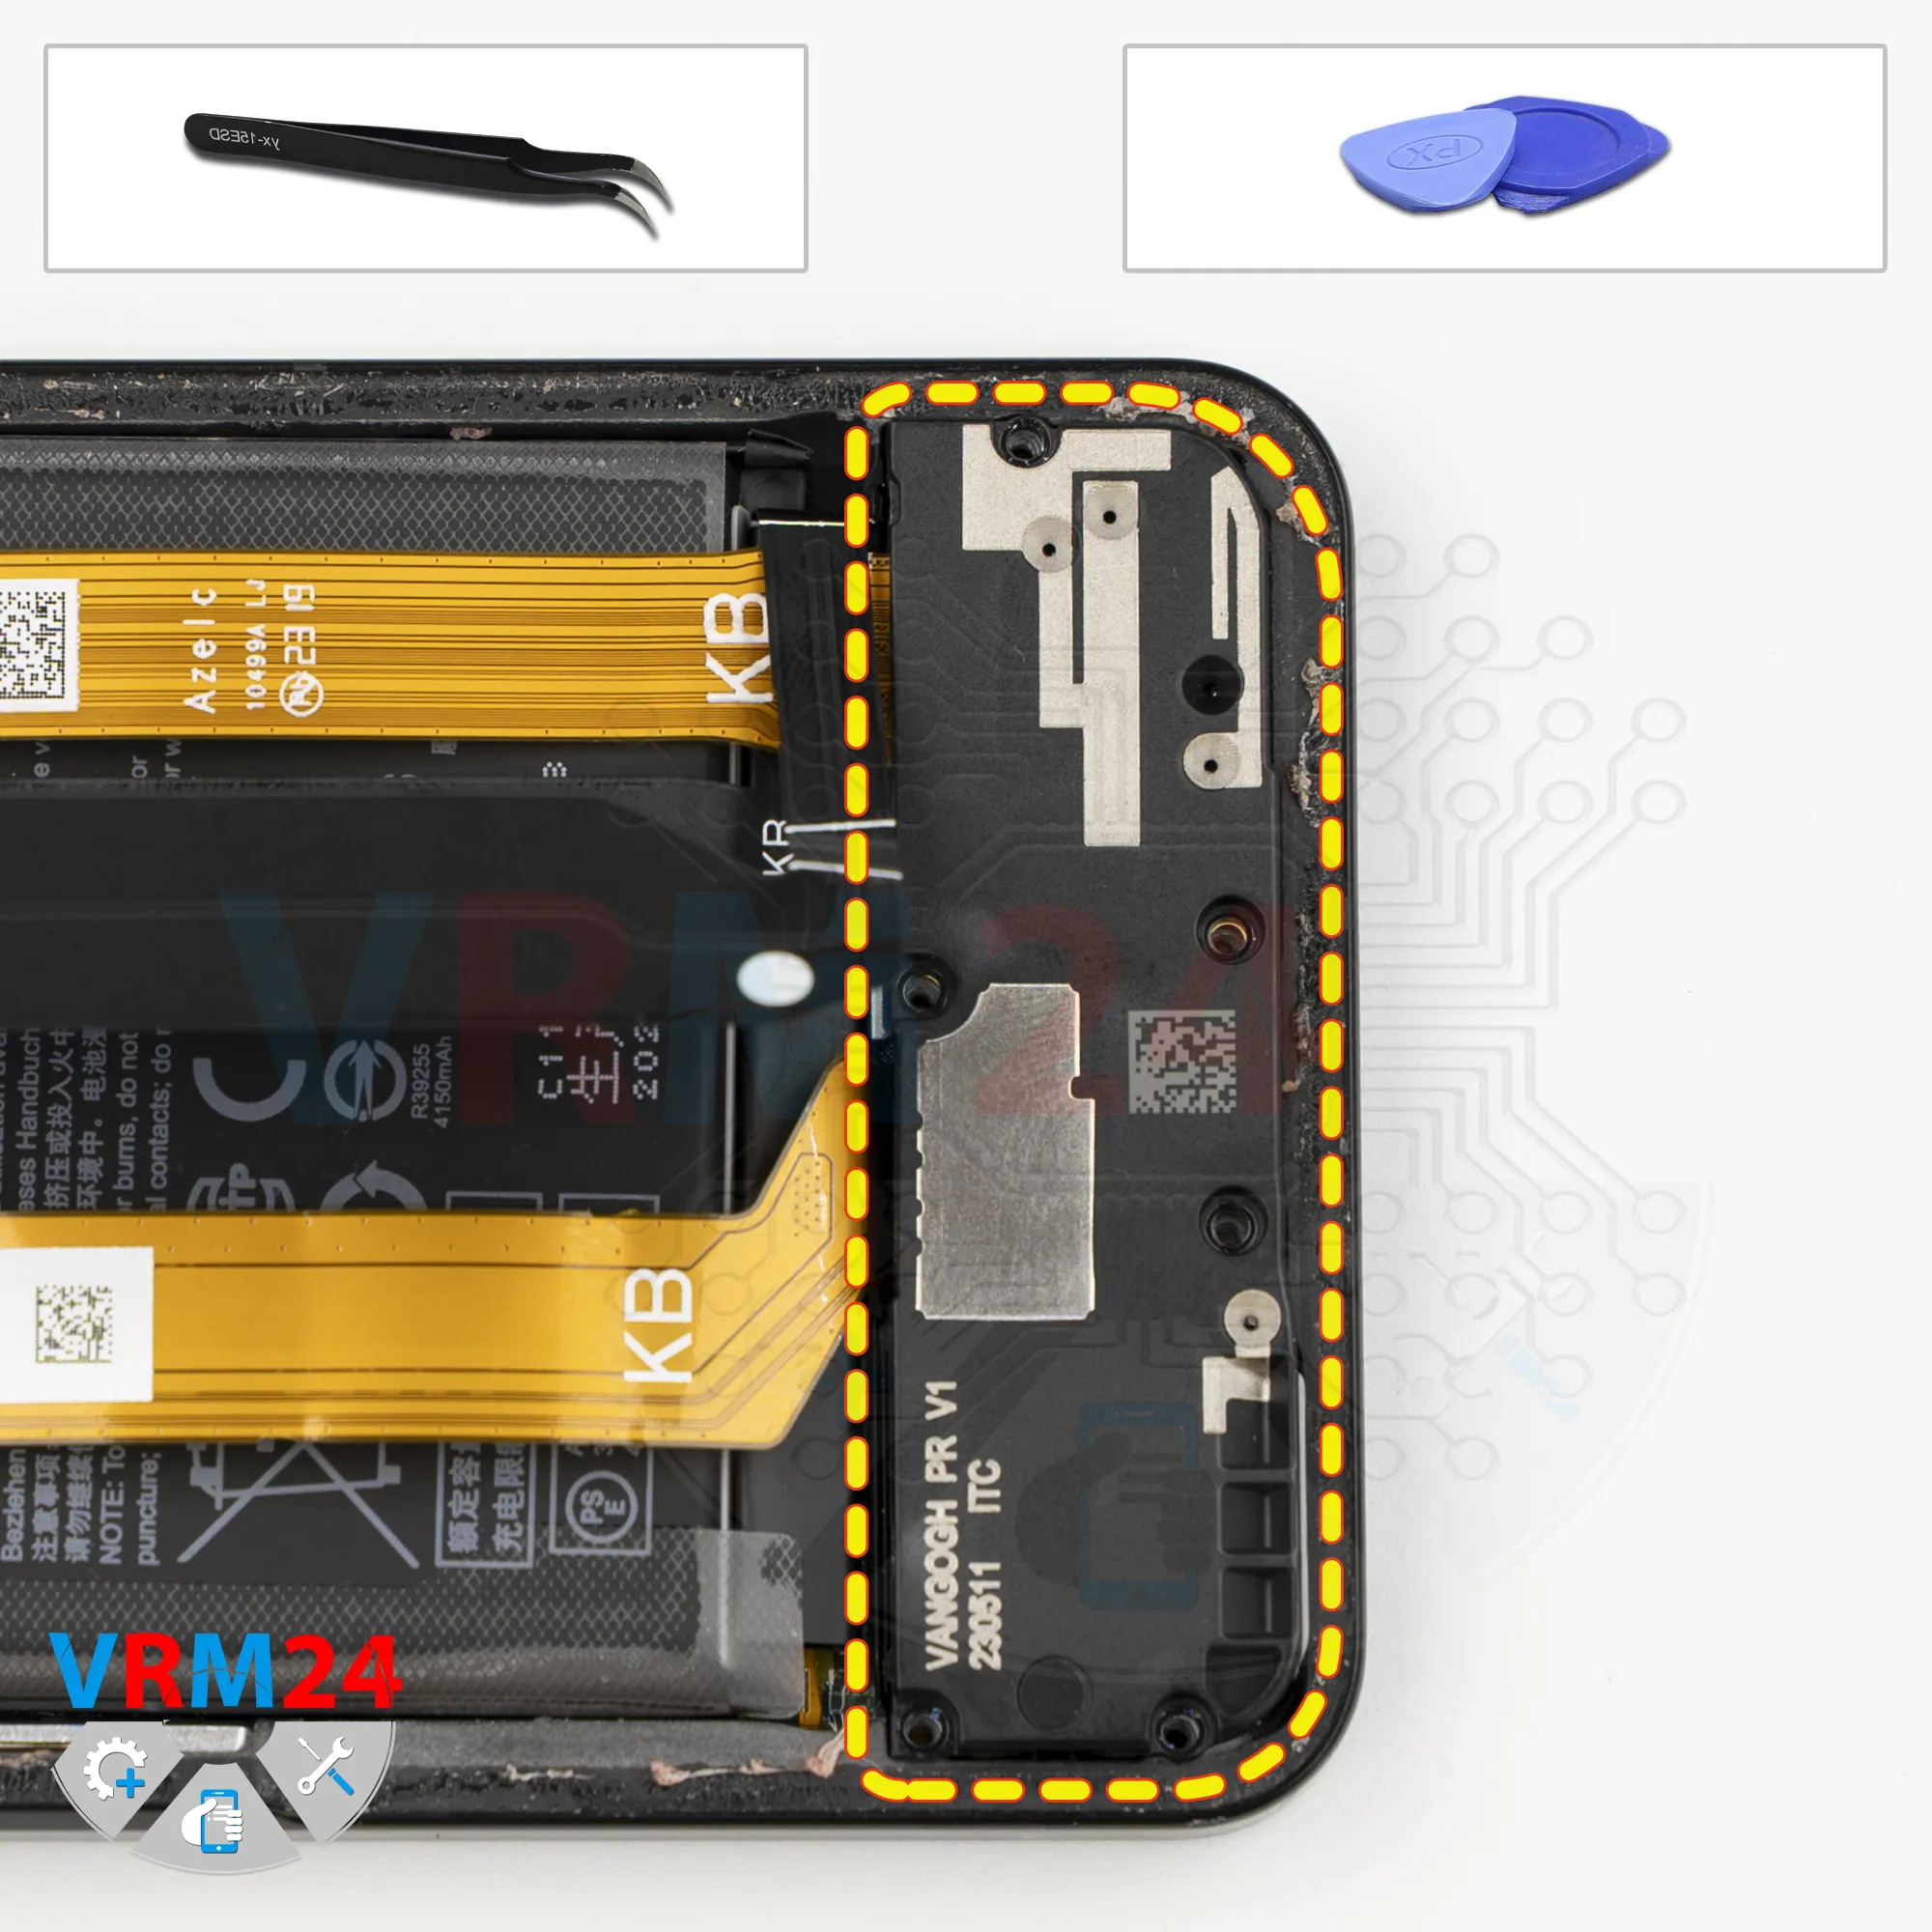
Remove the loudspeaker
Then remove the lower cover: carefully pry up the edge, lift it, and take it out. The loudspeaker is mounted on this cover.
Step 10.
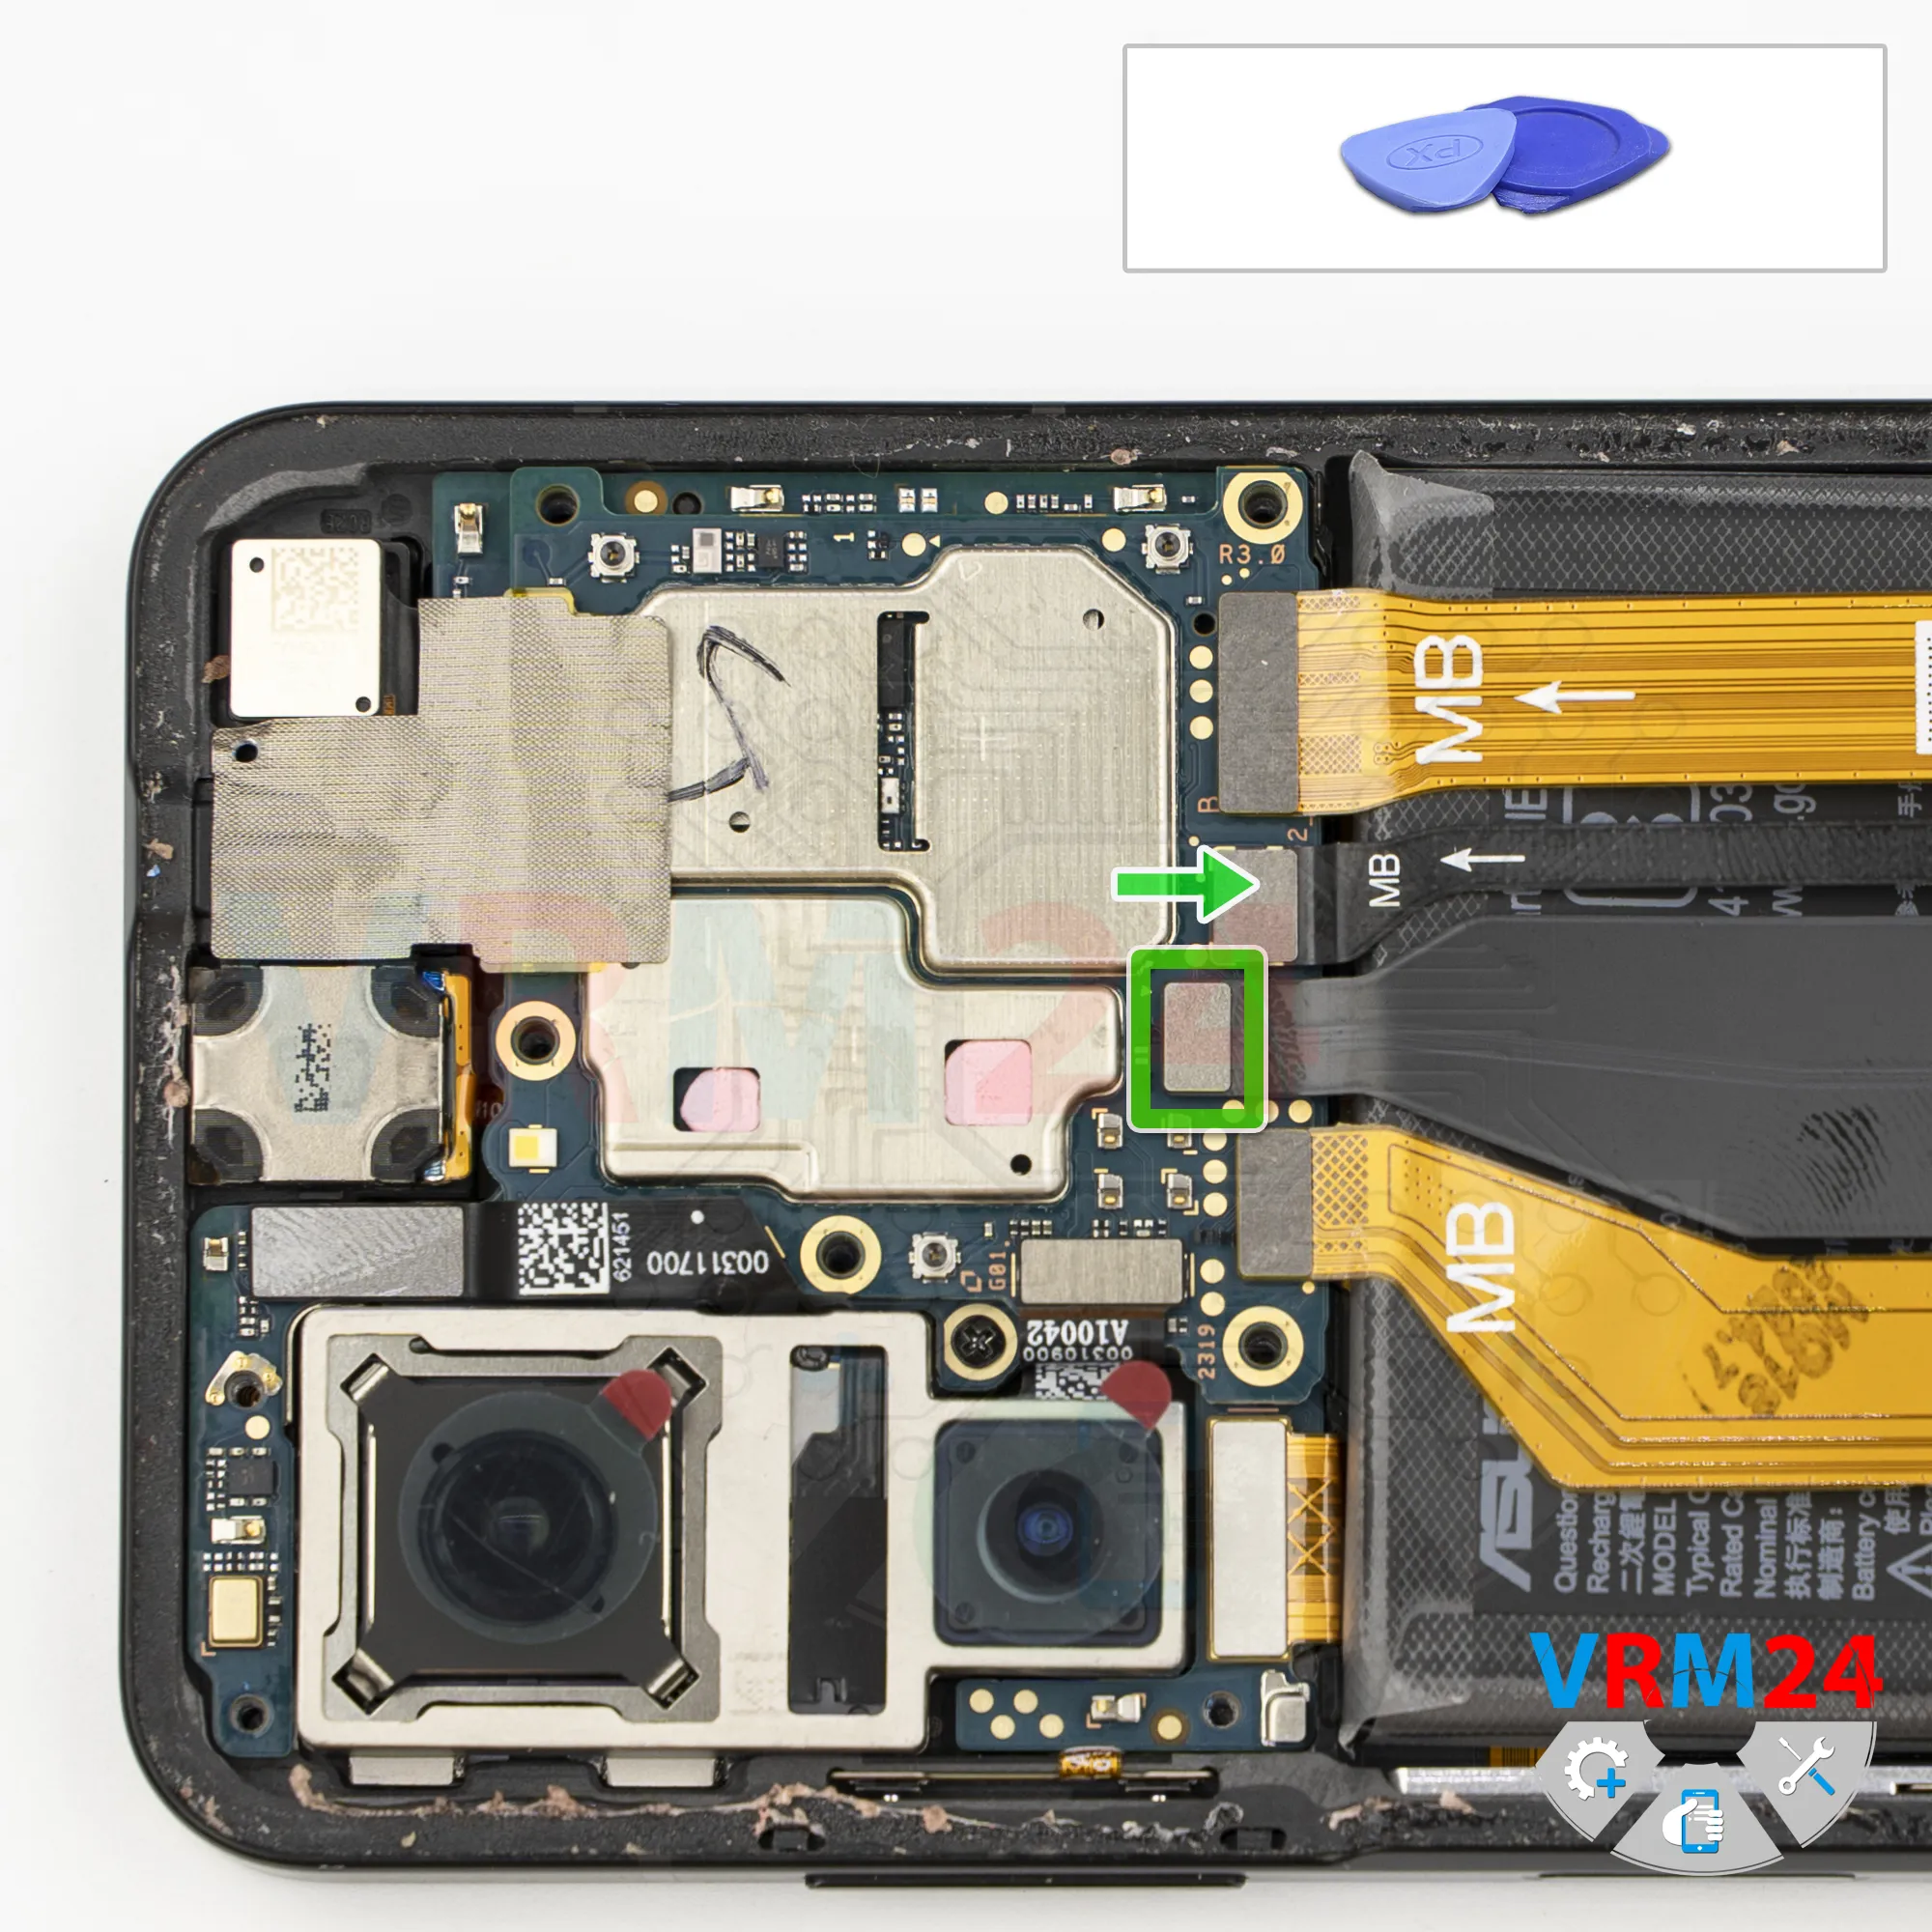
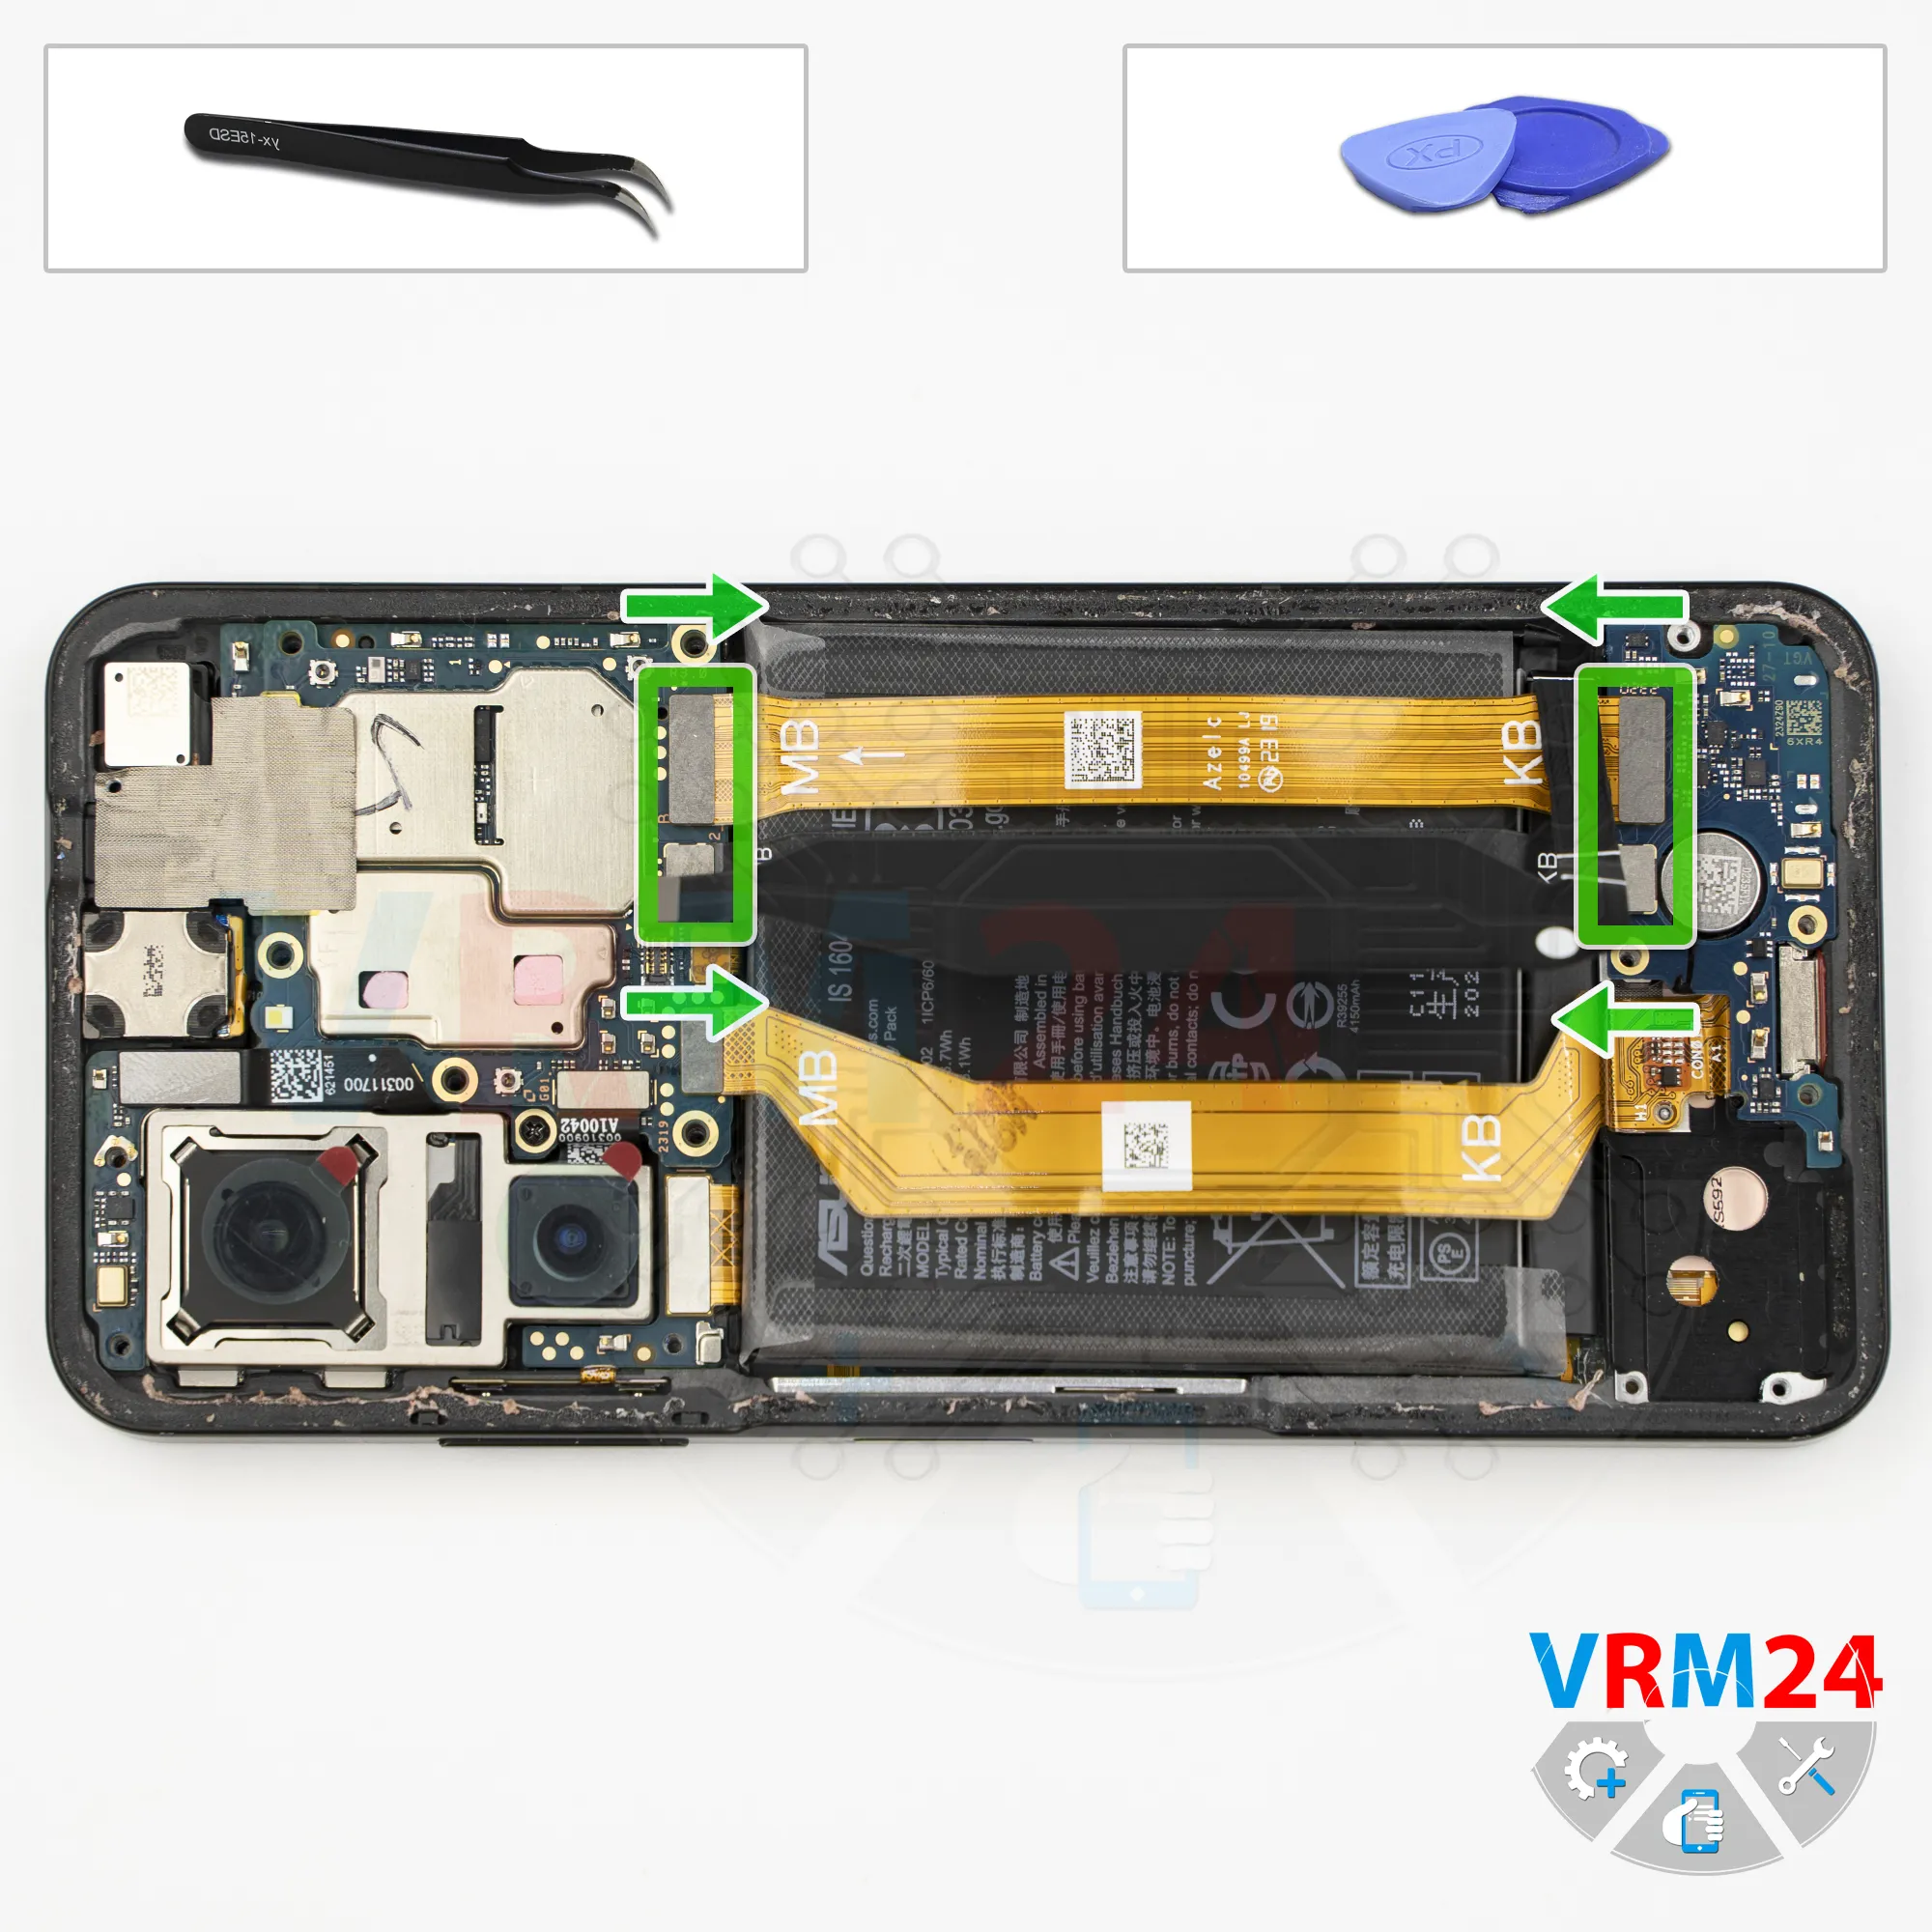
Remove the interconnect cables
After that, we can disconnect the interconnect flex cables.
Disconnect the connectors on the sub-board first, then disconnect the connectors on the mainboard.
Note that arrows on the flex cables indicate the direction toward the mainboard.
Step 11.
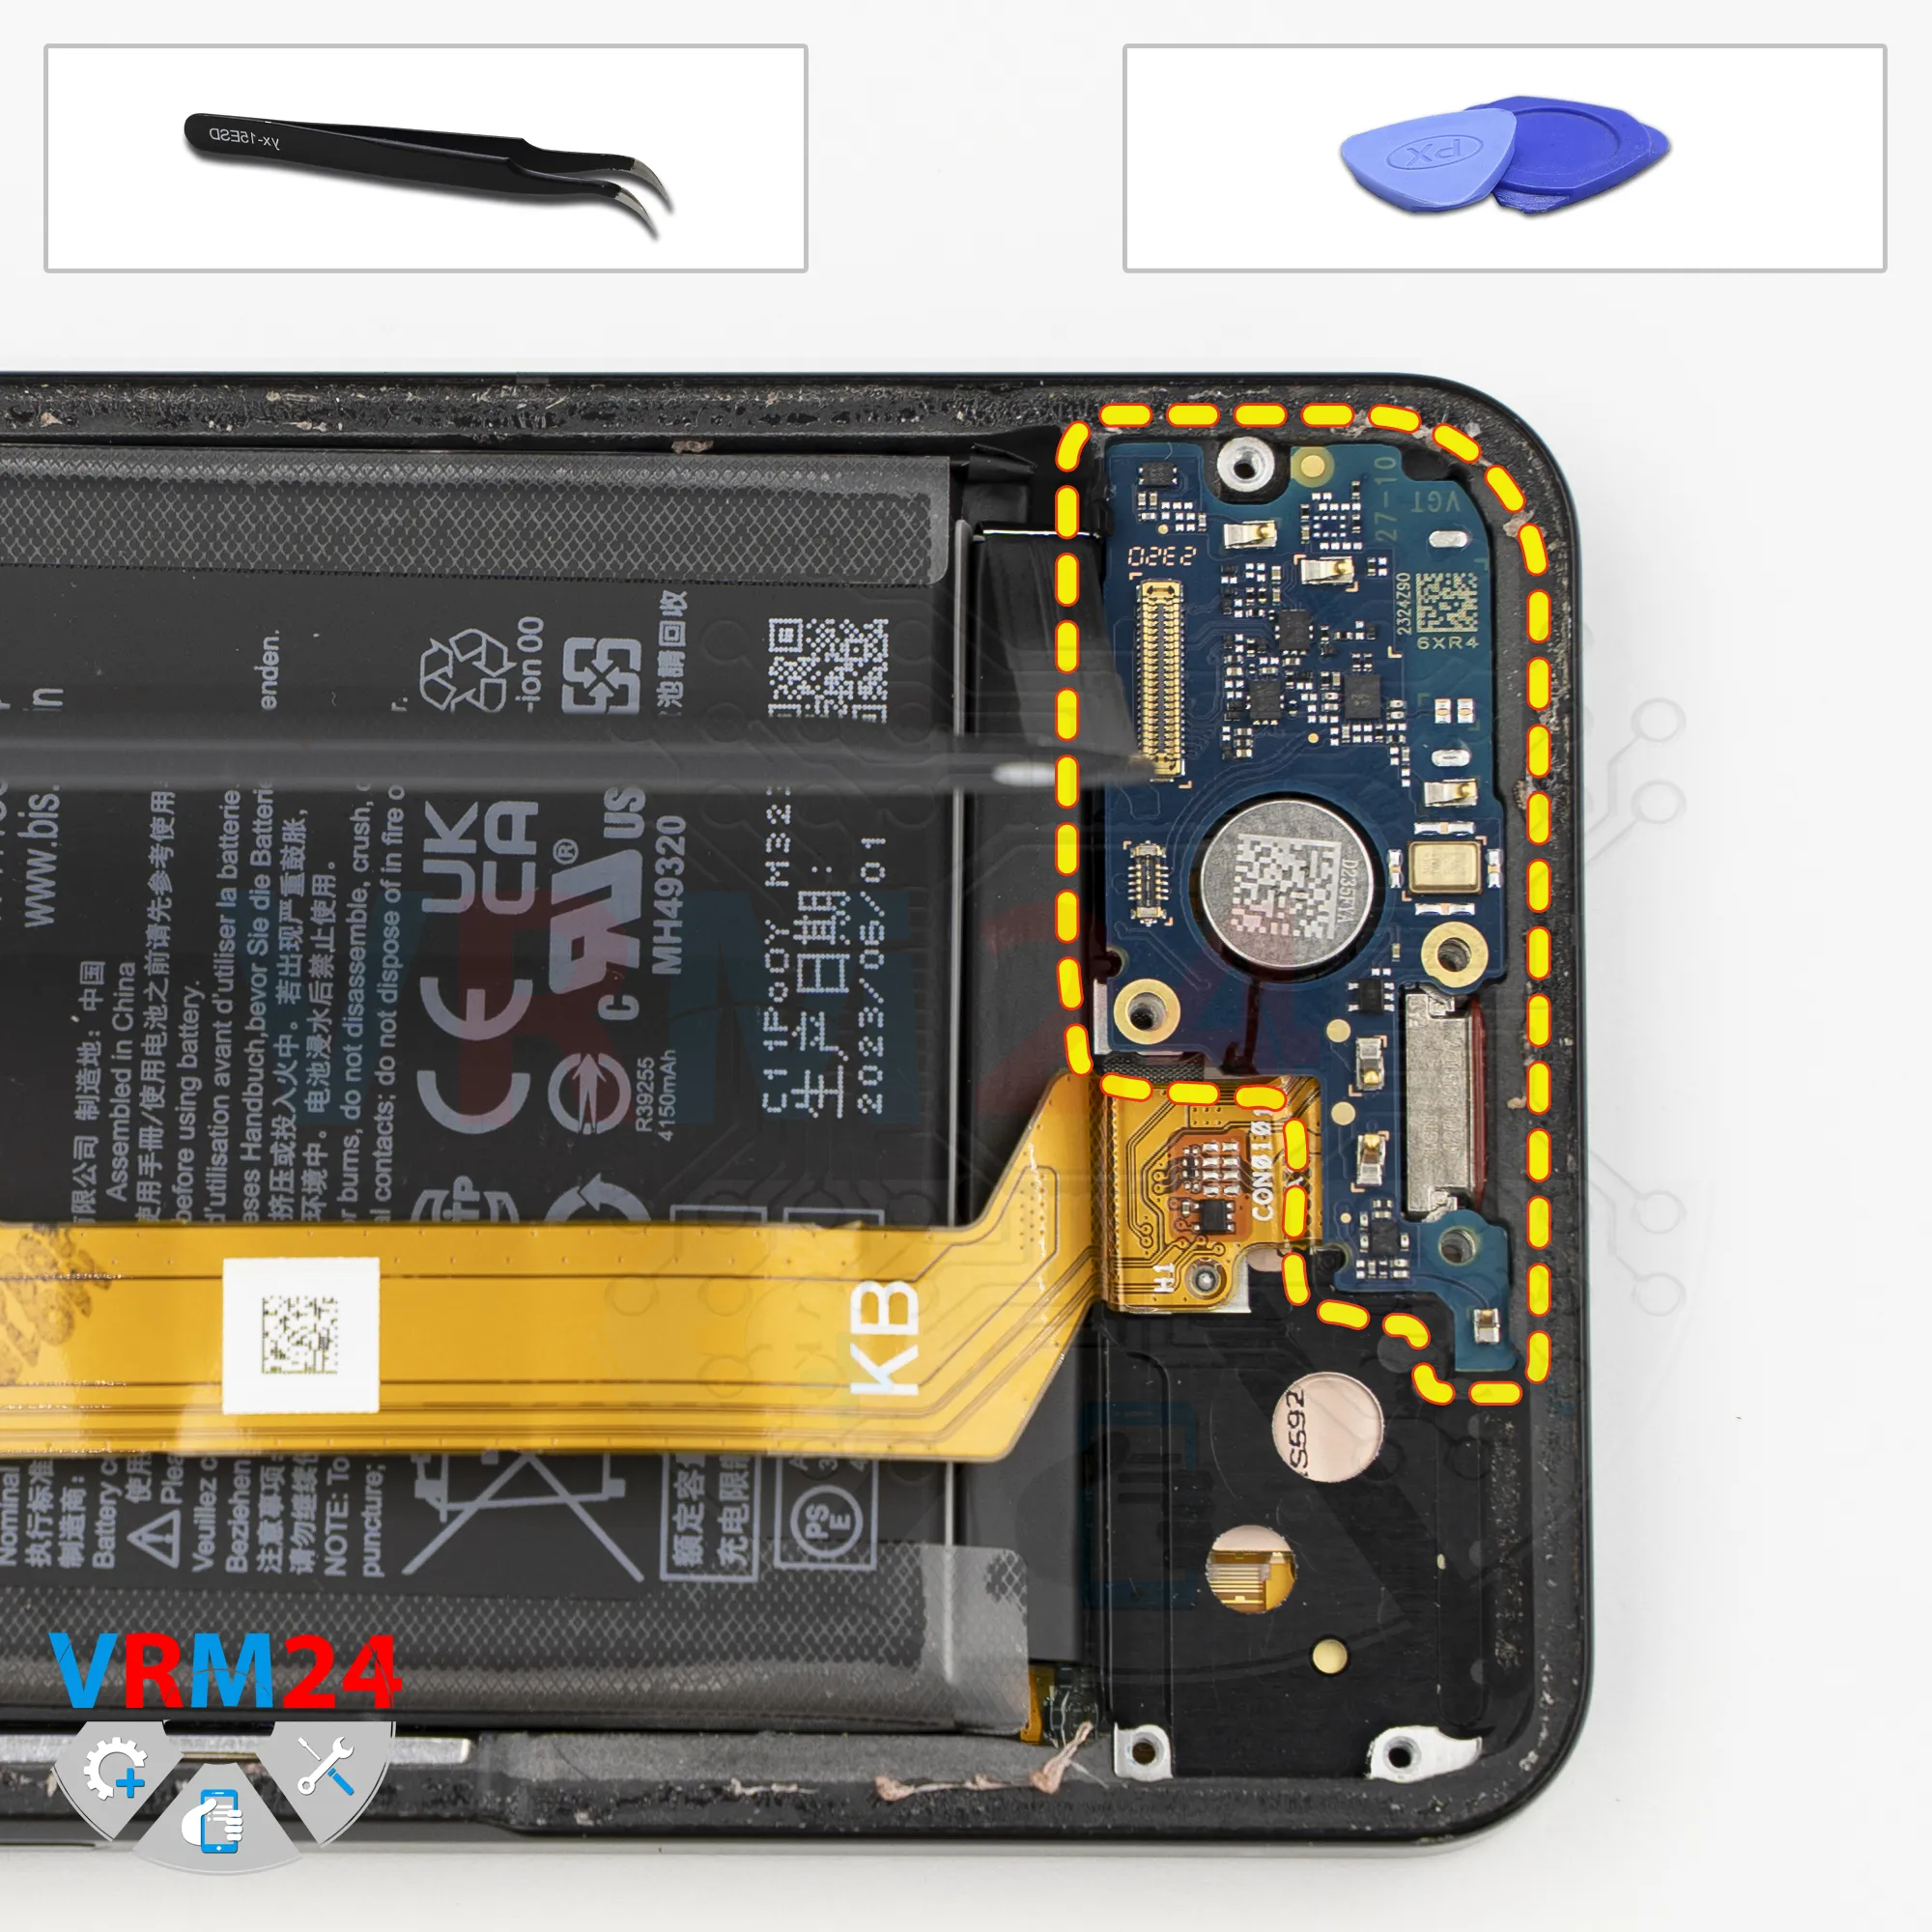
Remove the sub-board
Now we can remove the sub-board. Carefully pry it up, lift it out, and set it aside.
The sub-board contains the microphone, and the SIM card connector is located on the reverse side.
Step 12.
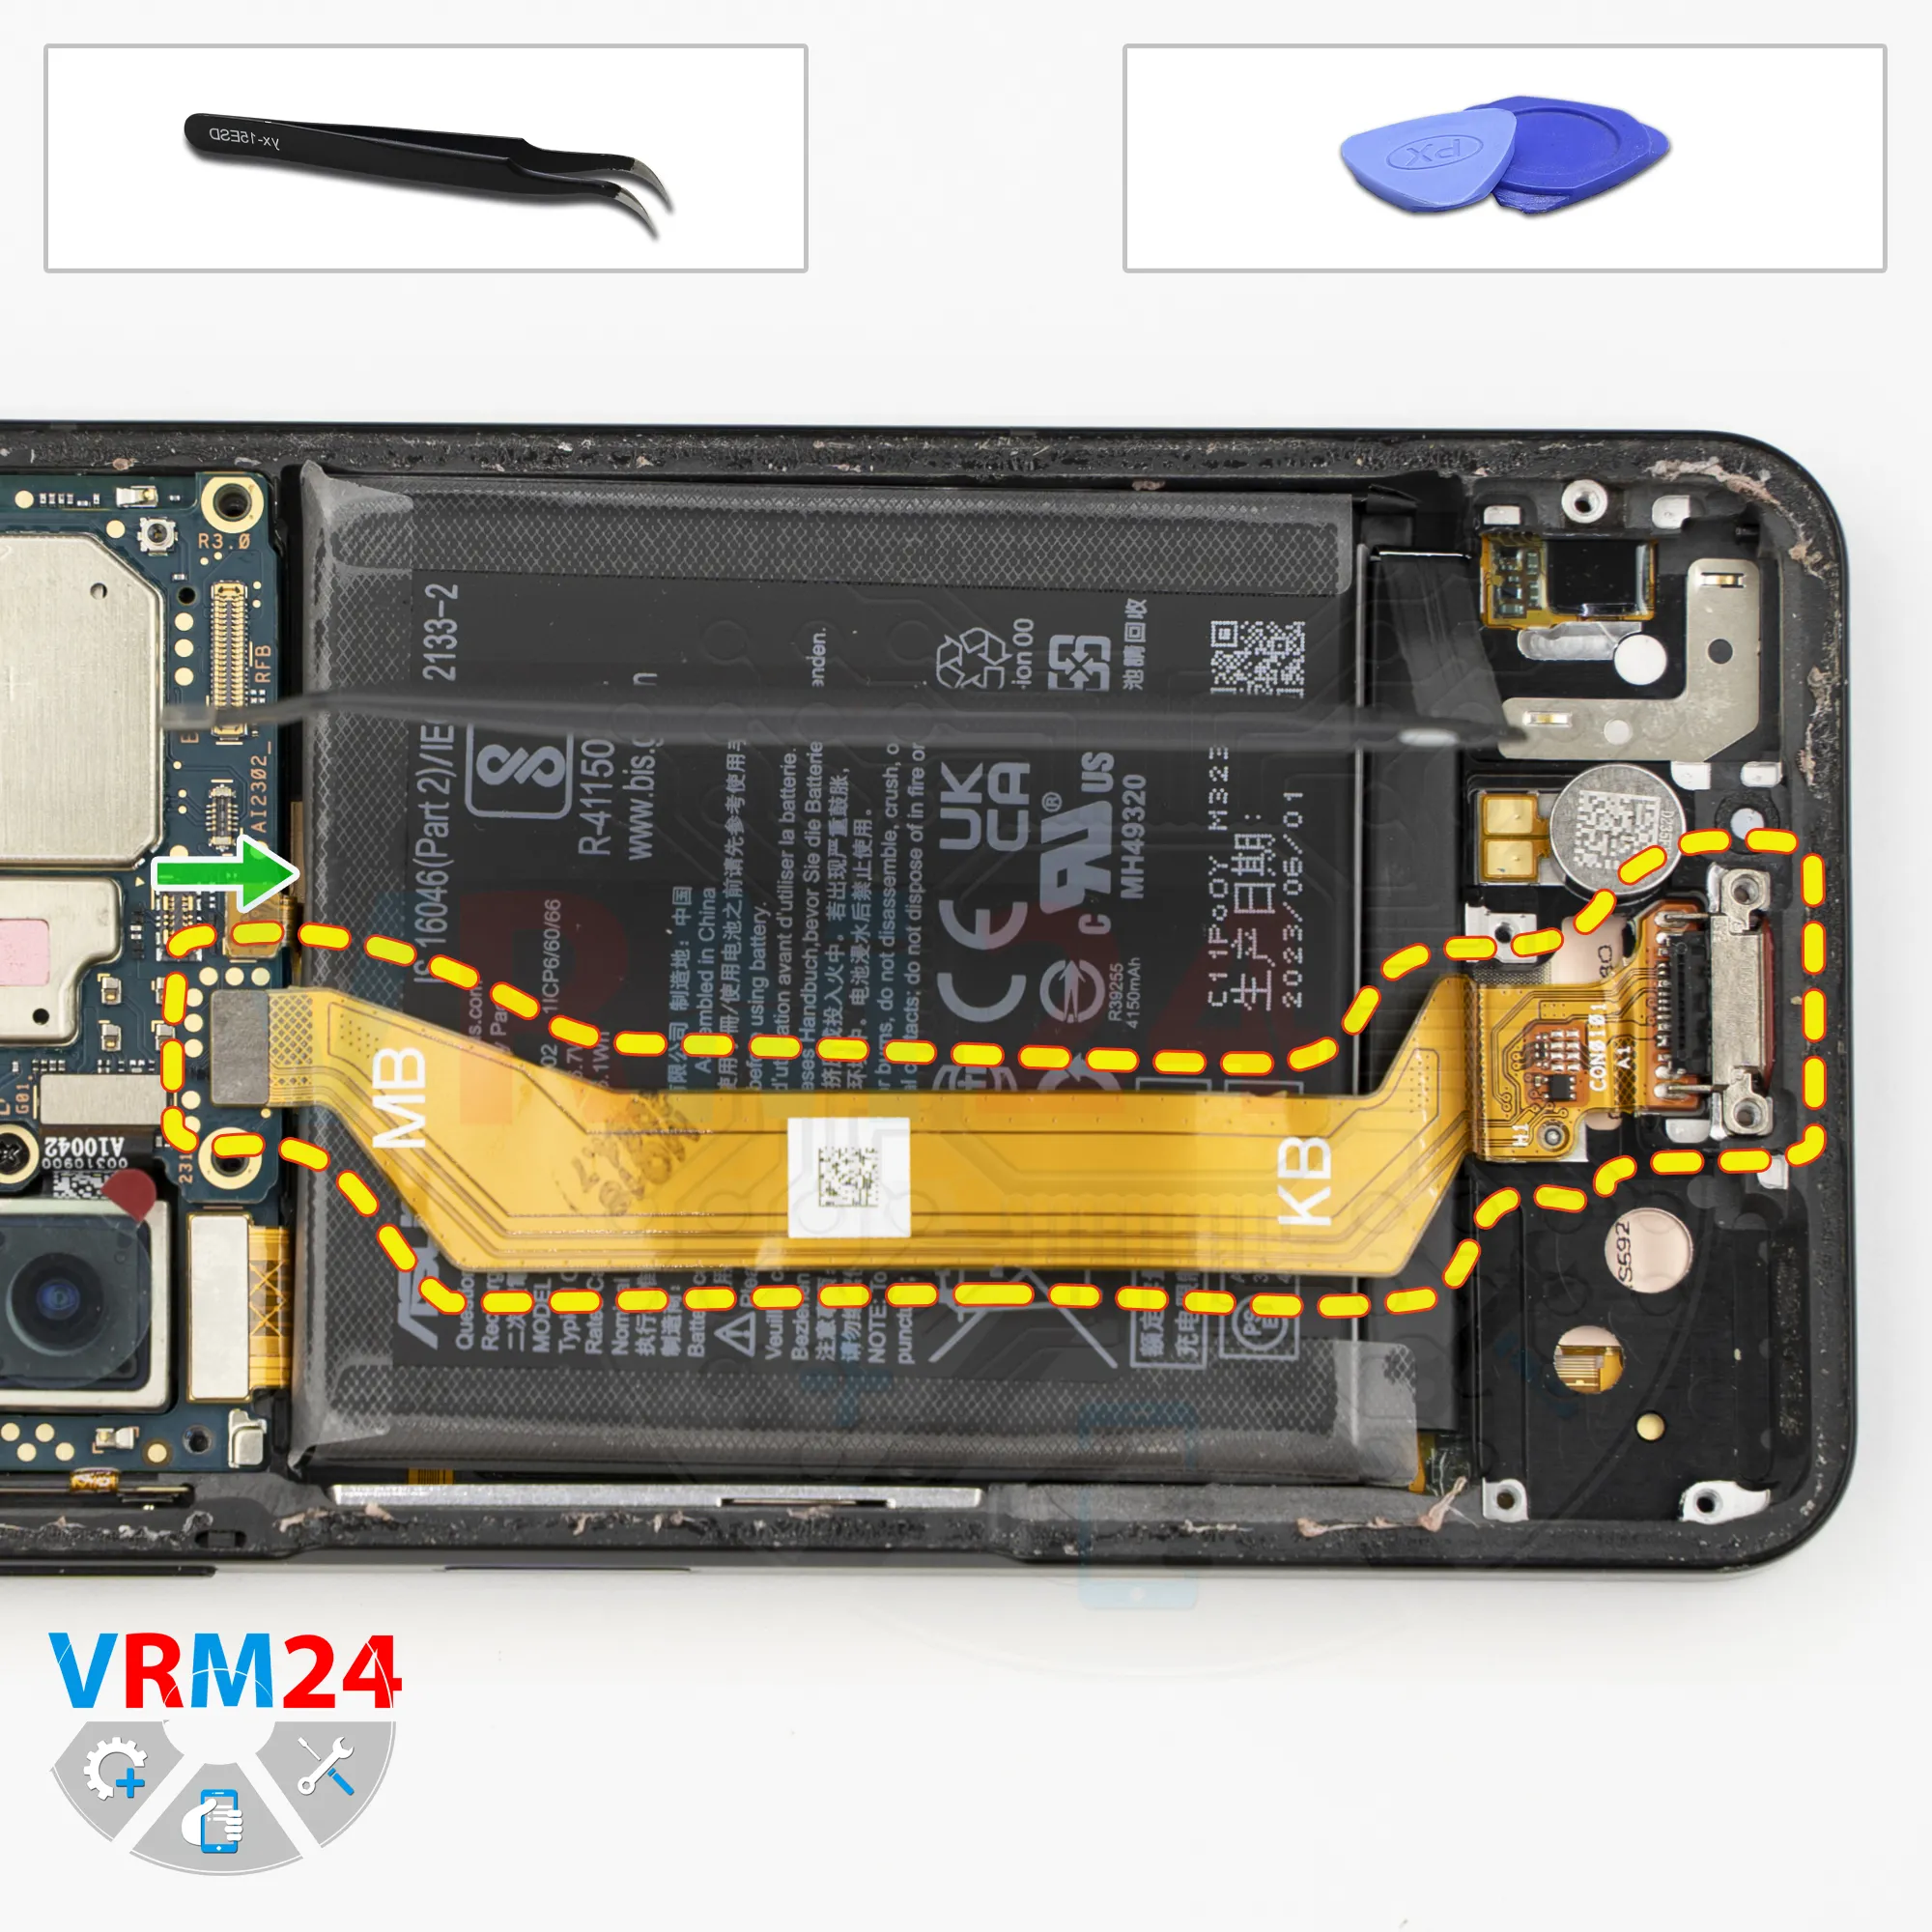
Remove the charging port
Now we can remove the charging port.
Carefully pry it up, lift it out, and set it aside.
It’s best not to apply too much pressure on the flex cable to avoid damaging the traces.
Step 13.
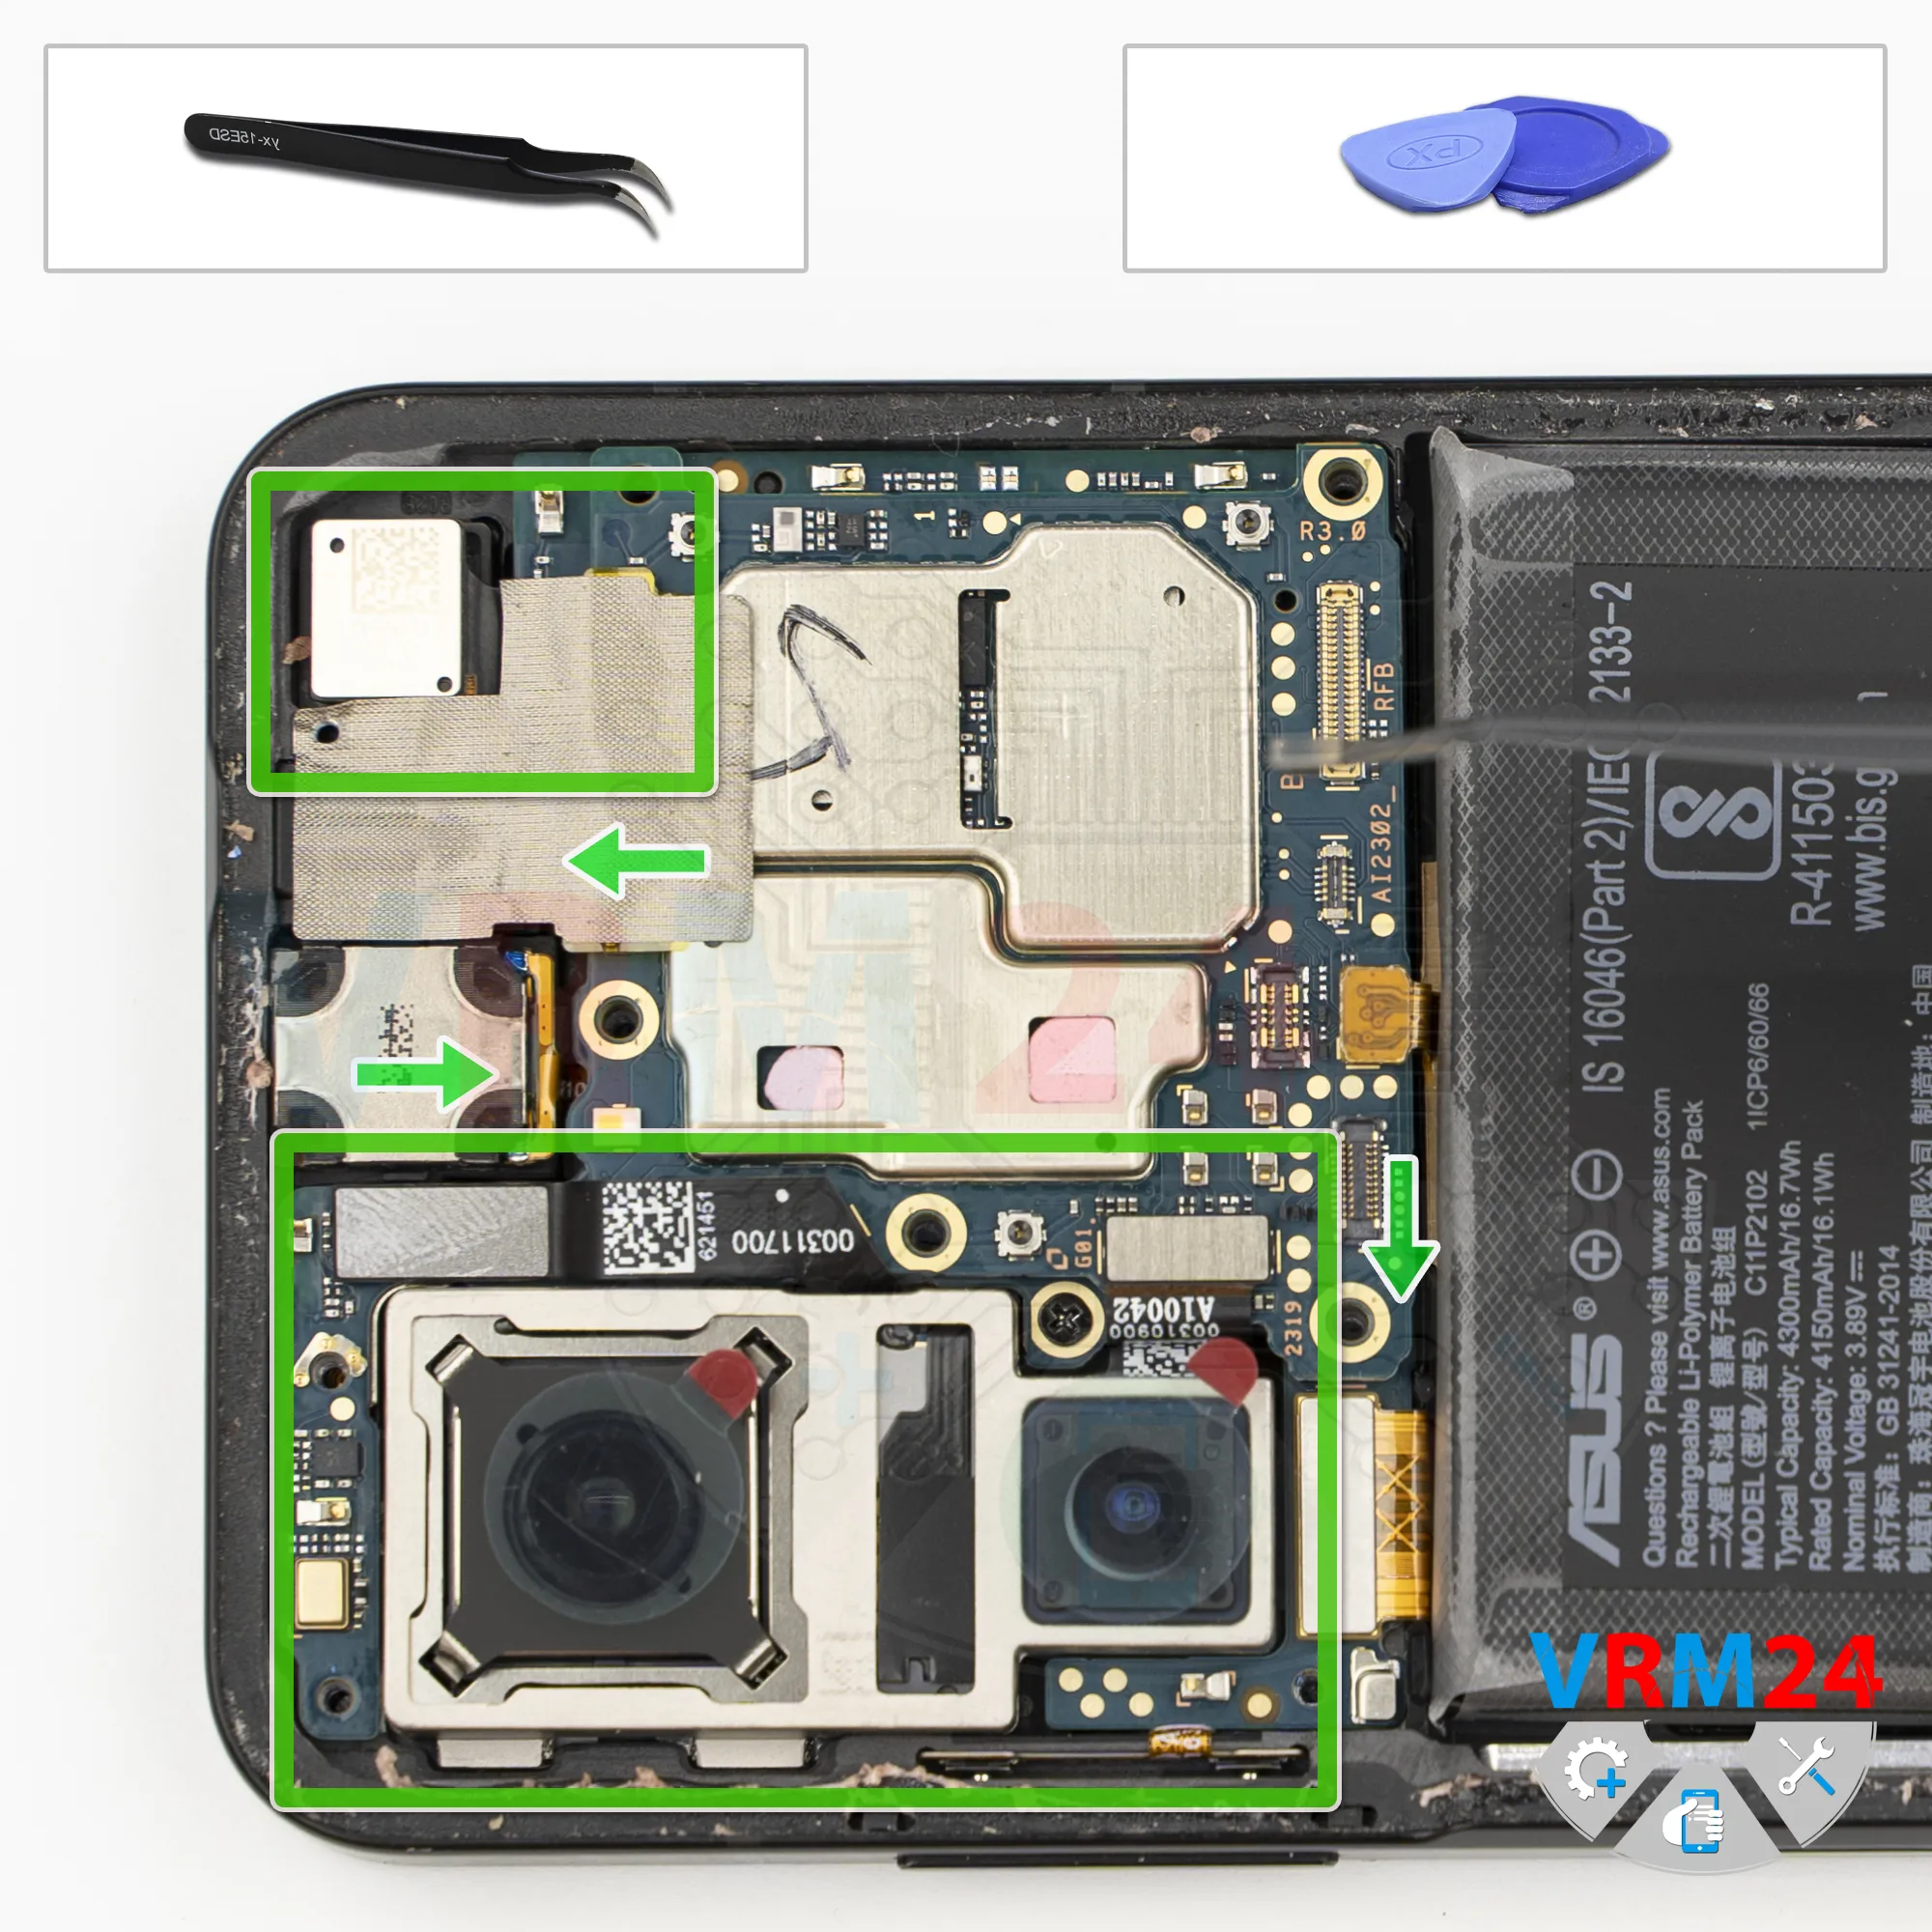
Remove the cameras
Next, we move to the top section. Here we can disconnect the camera assembly.
Carefully pry up the connectors and disconnect them.
We can now remove the dual rear camera module and set it aside.
Next, we need to peel off the protective heat-dissipation layer so it doesn’t interfere with removing the front camera.
It’s best to remove it carefully without damaging it, as we’ll need it during reassembly. Carefully peel it off.
Under the protective layer, we see a connector - disconnect it. At this point, we can remove the front camera.
It’s also best to cover the front camera lens with protective film to keep dust and debris off.
Step 14.
Disconnect the connectors
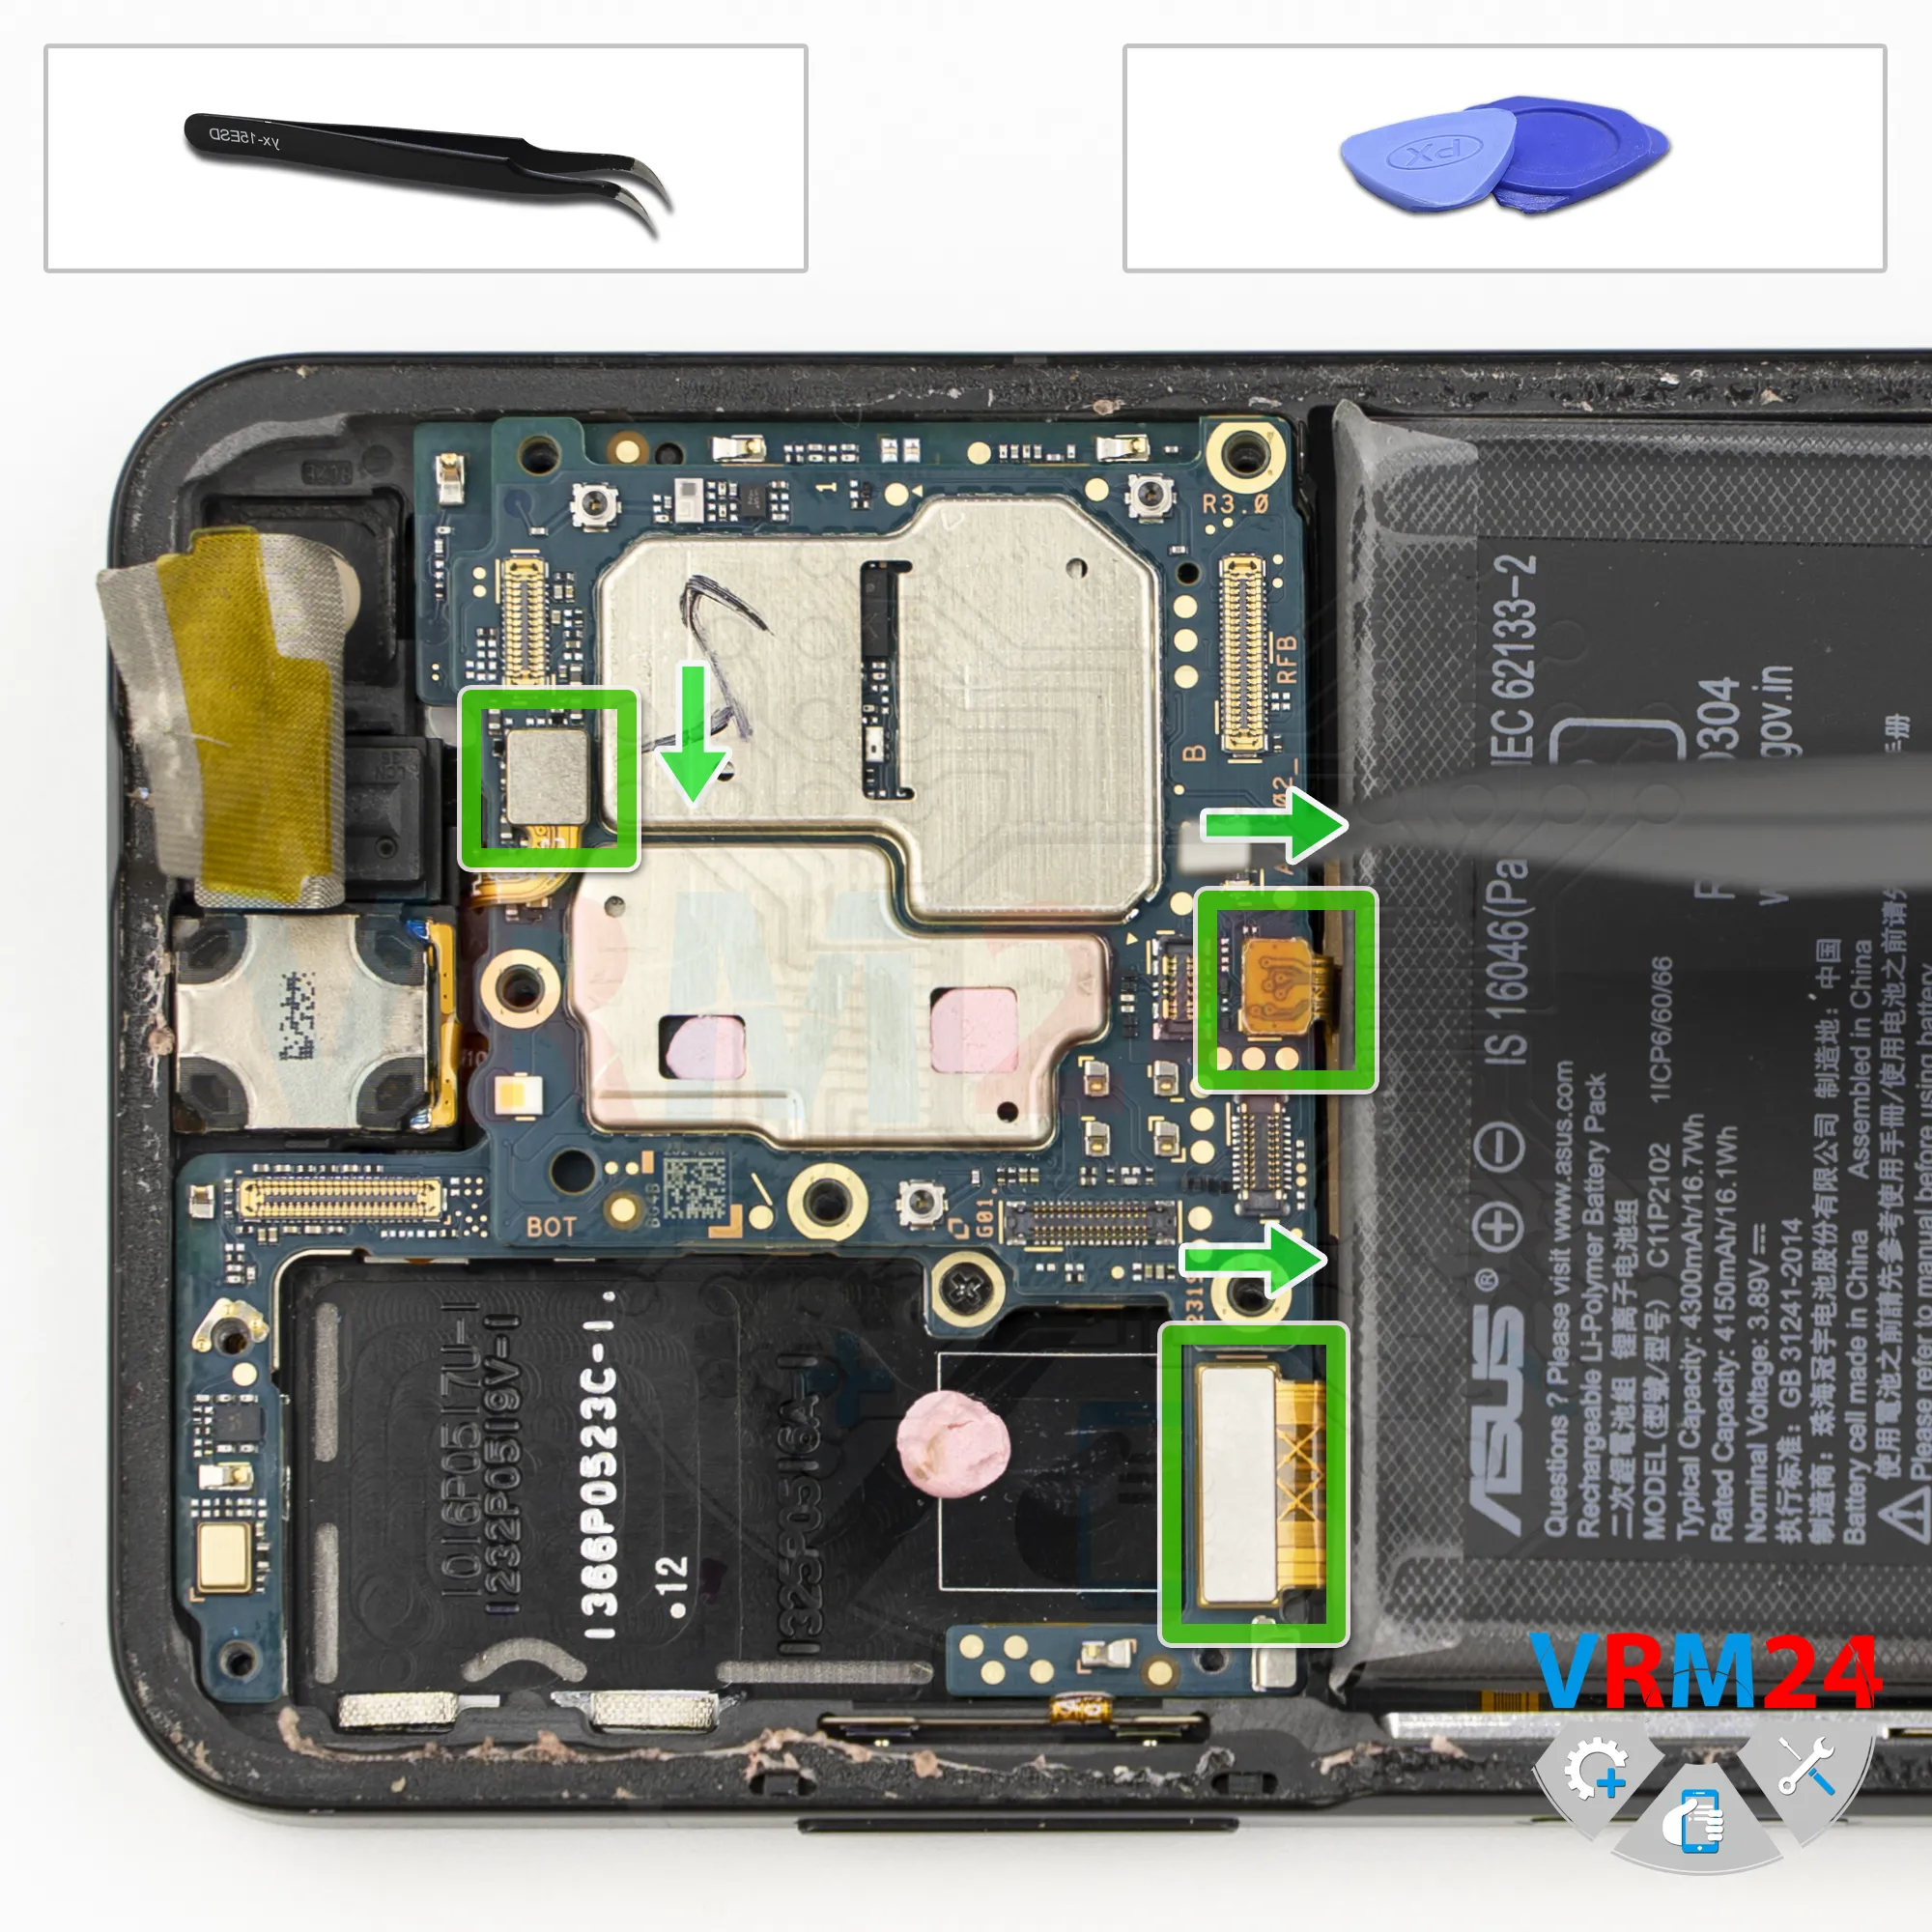
We should also disconnect the connector that most likely goes to the earpiece speaker.
Disconnect the flex cable connectors for the side buttons and the display.
Step 15.
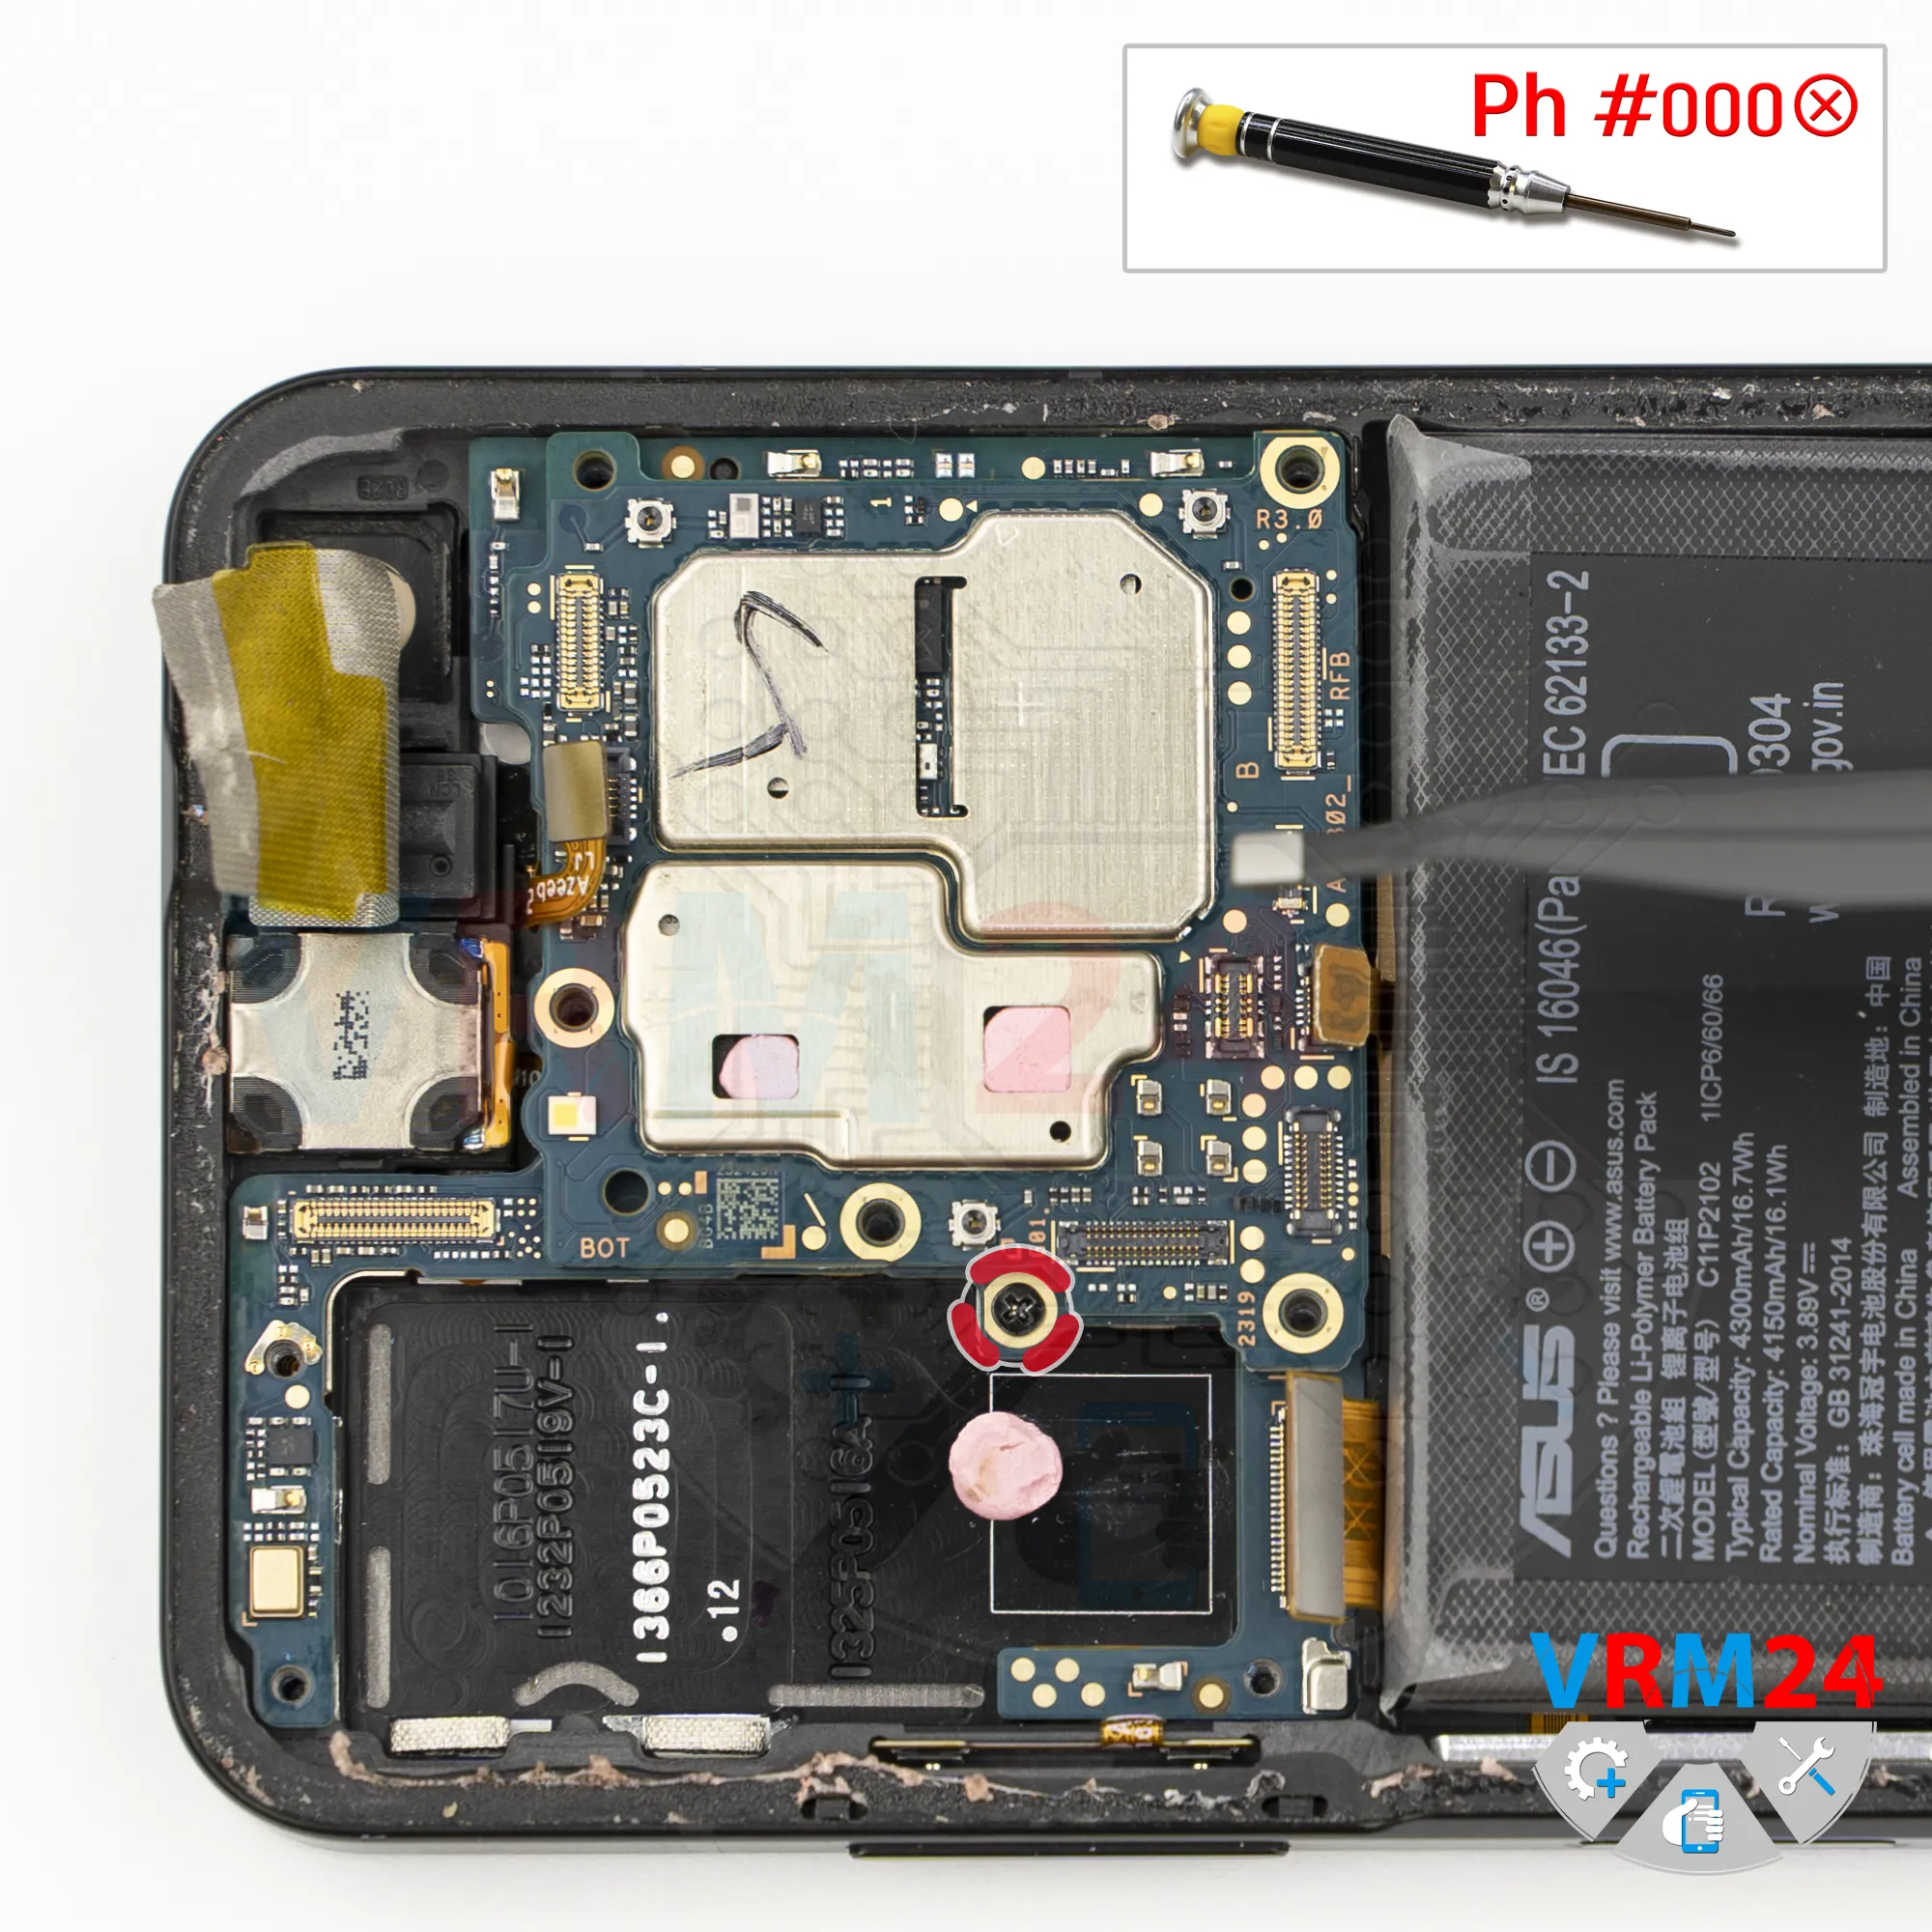
Unscrew one screw
We also need to remove one screw that secures the motherboard. It’s best to keep it separate from the others.
Step 16.
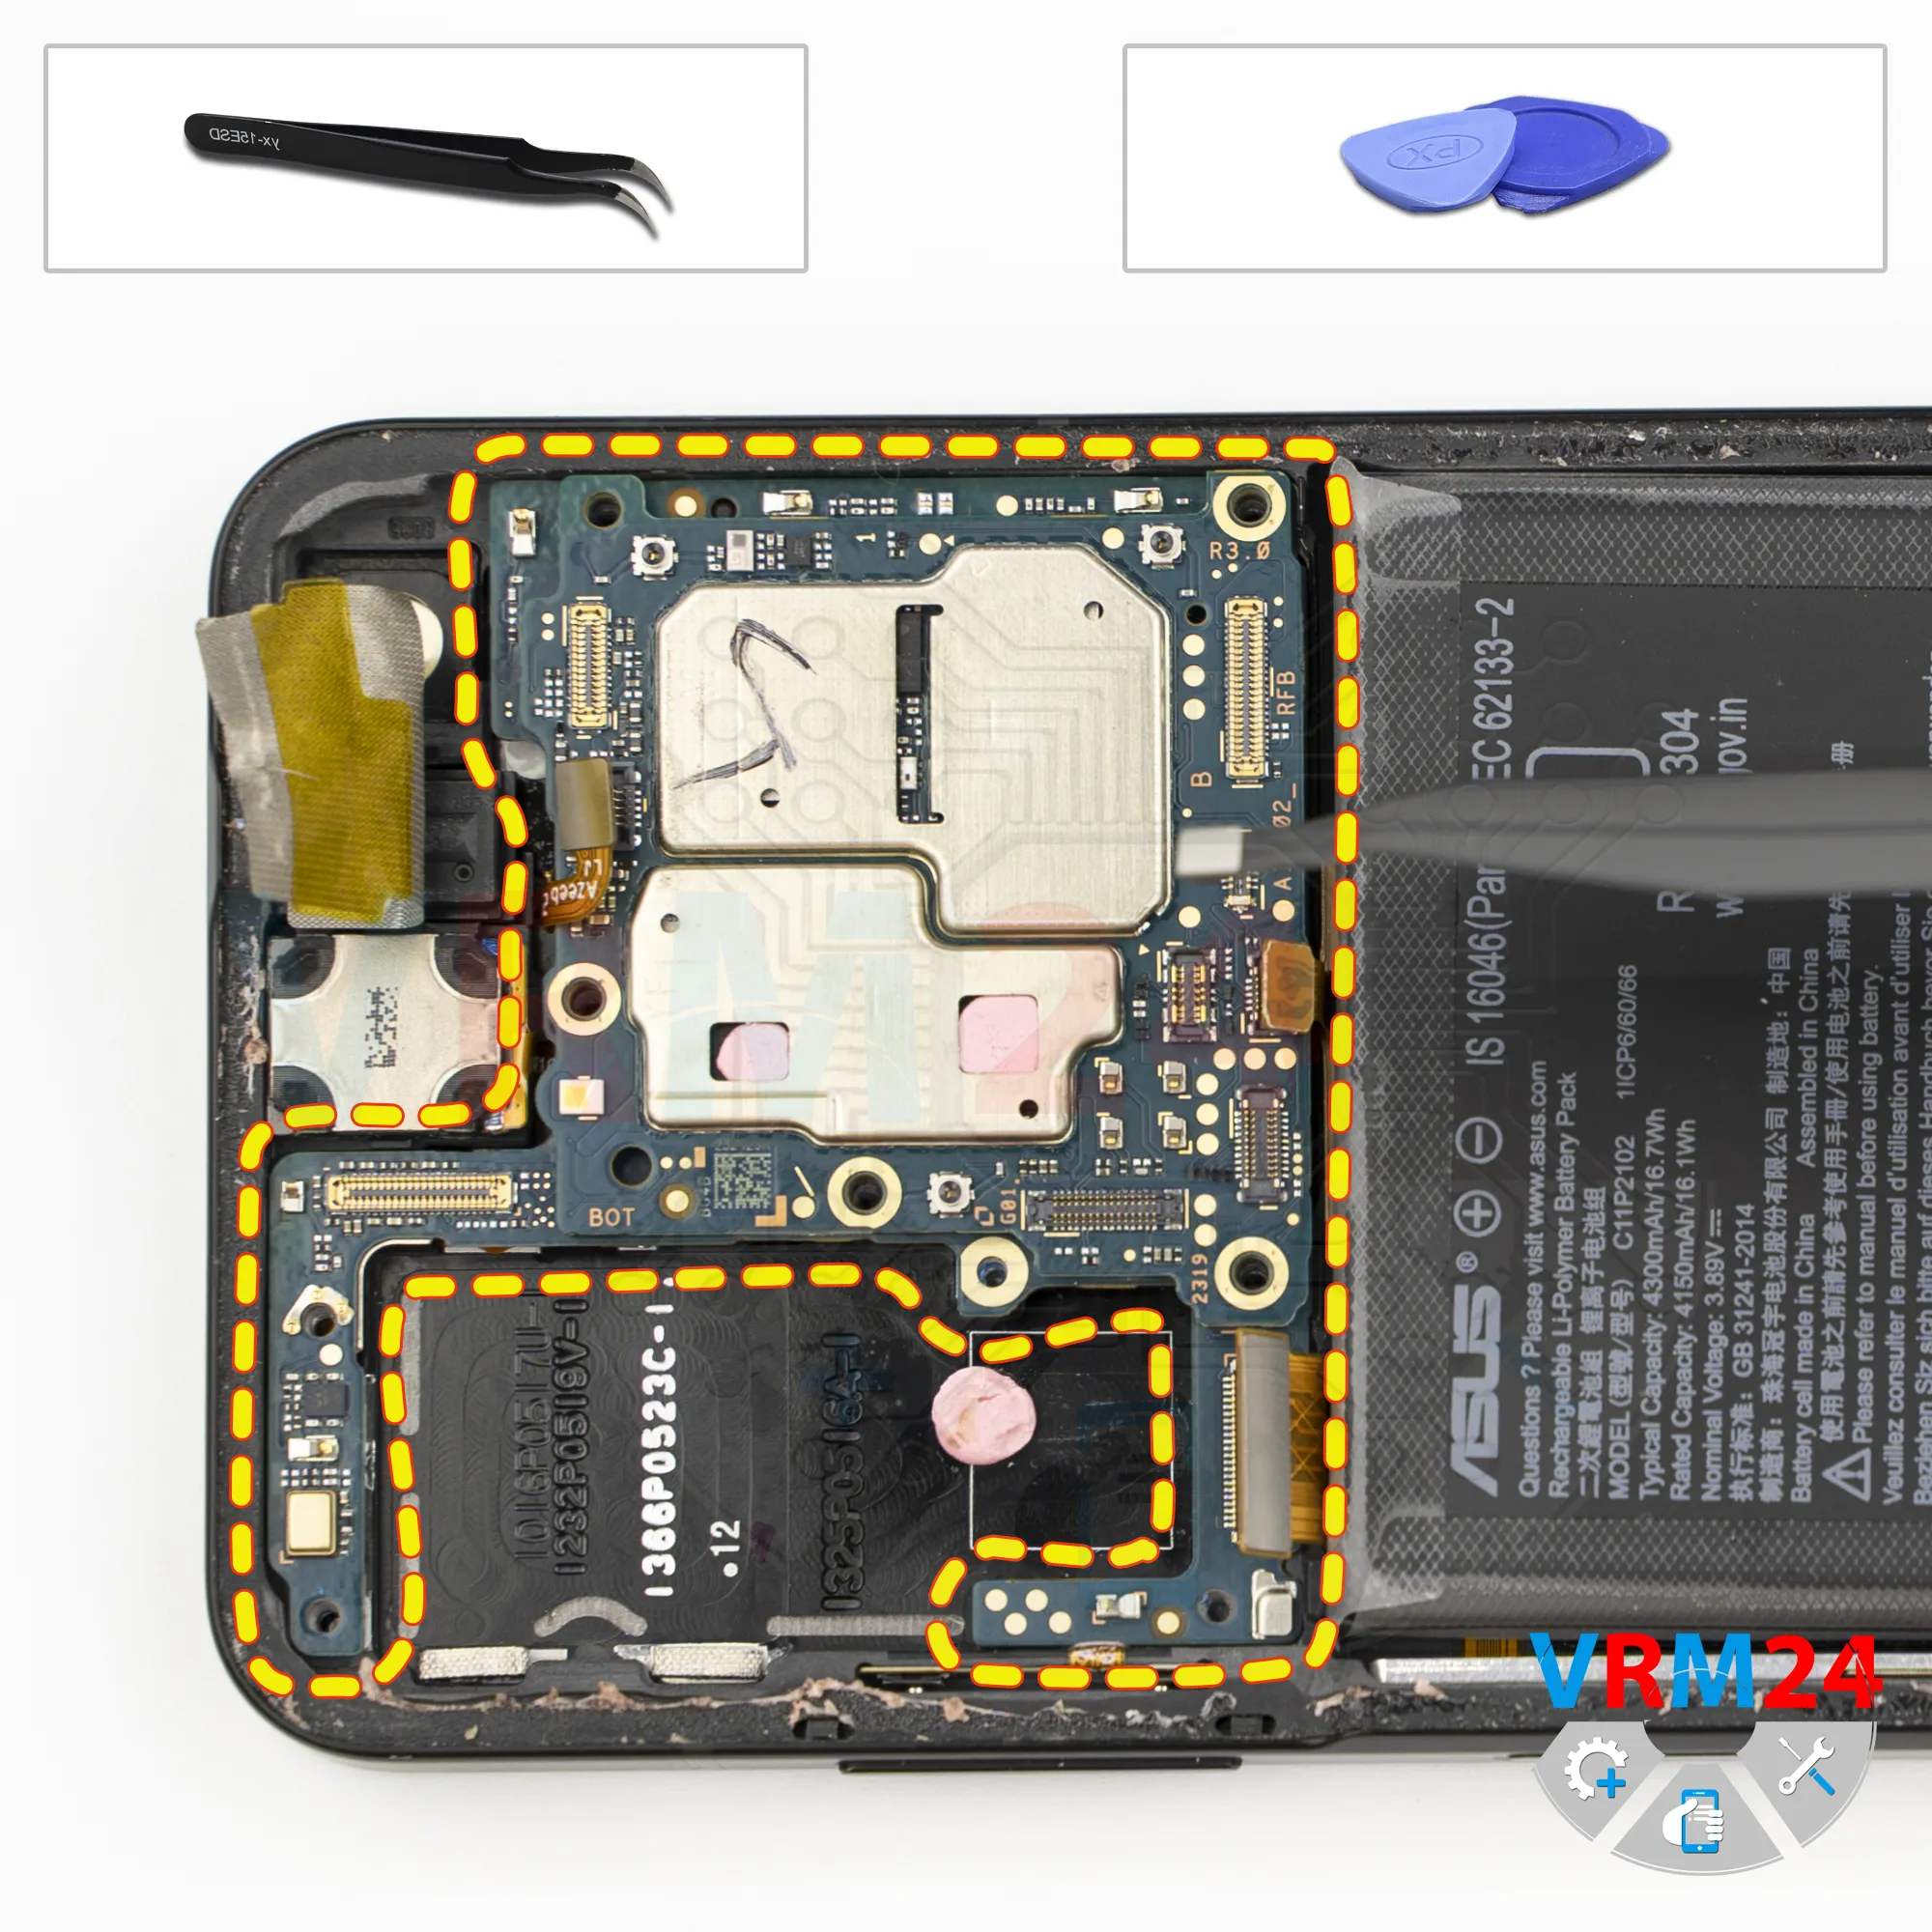
Remove the motherboard
Now nothing is preventing us from removing the motherboard.
Carefully pry it up, lift it out, and set it aside.
Step 17.
Remove the battery
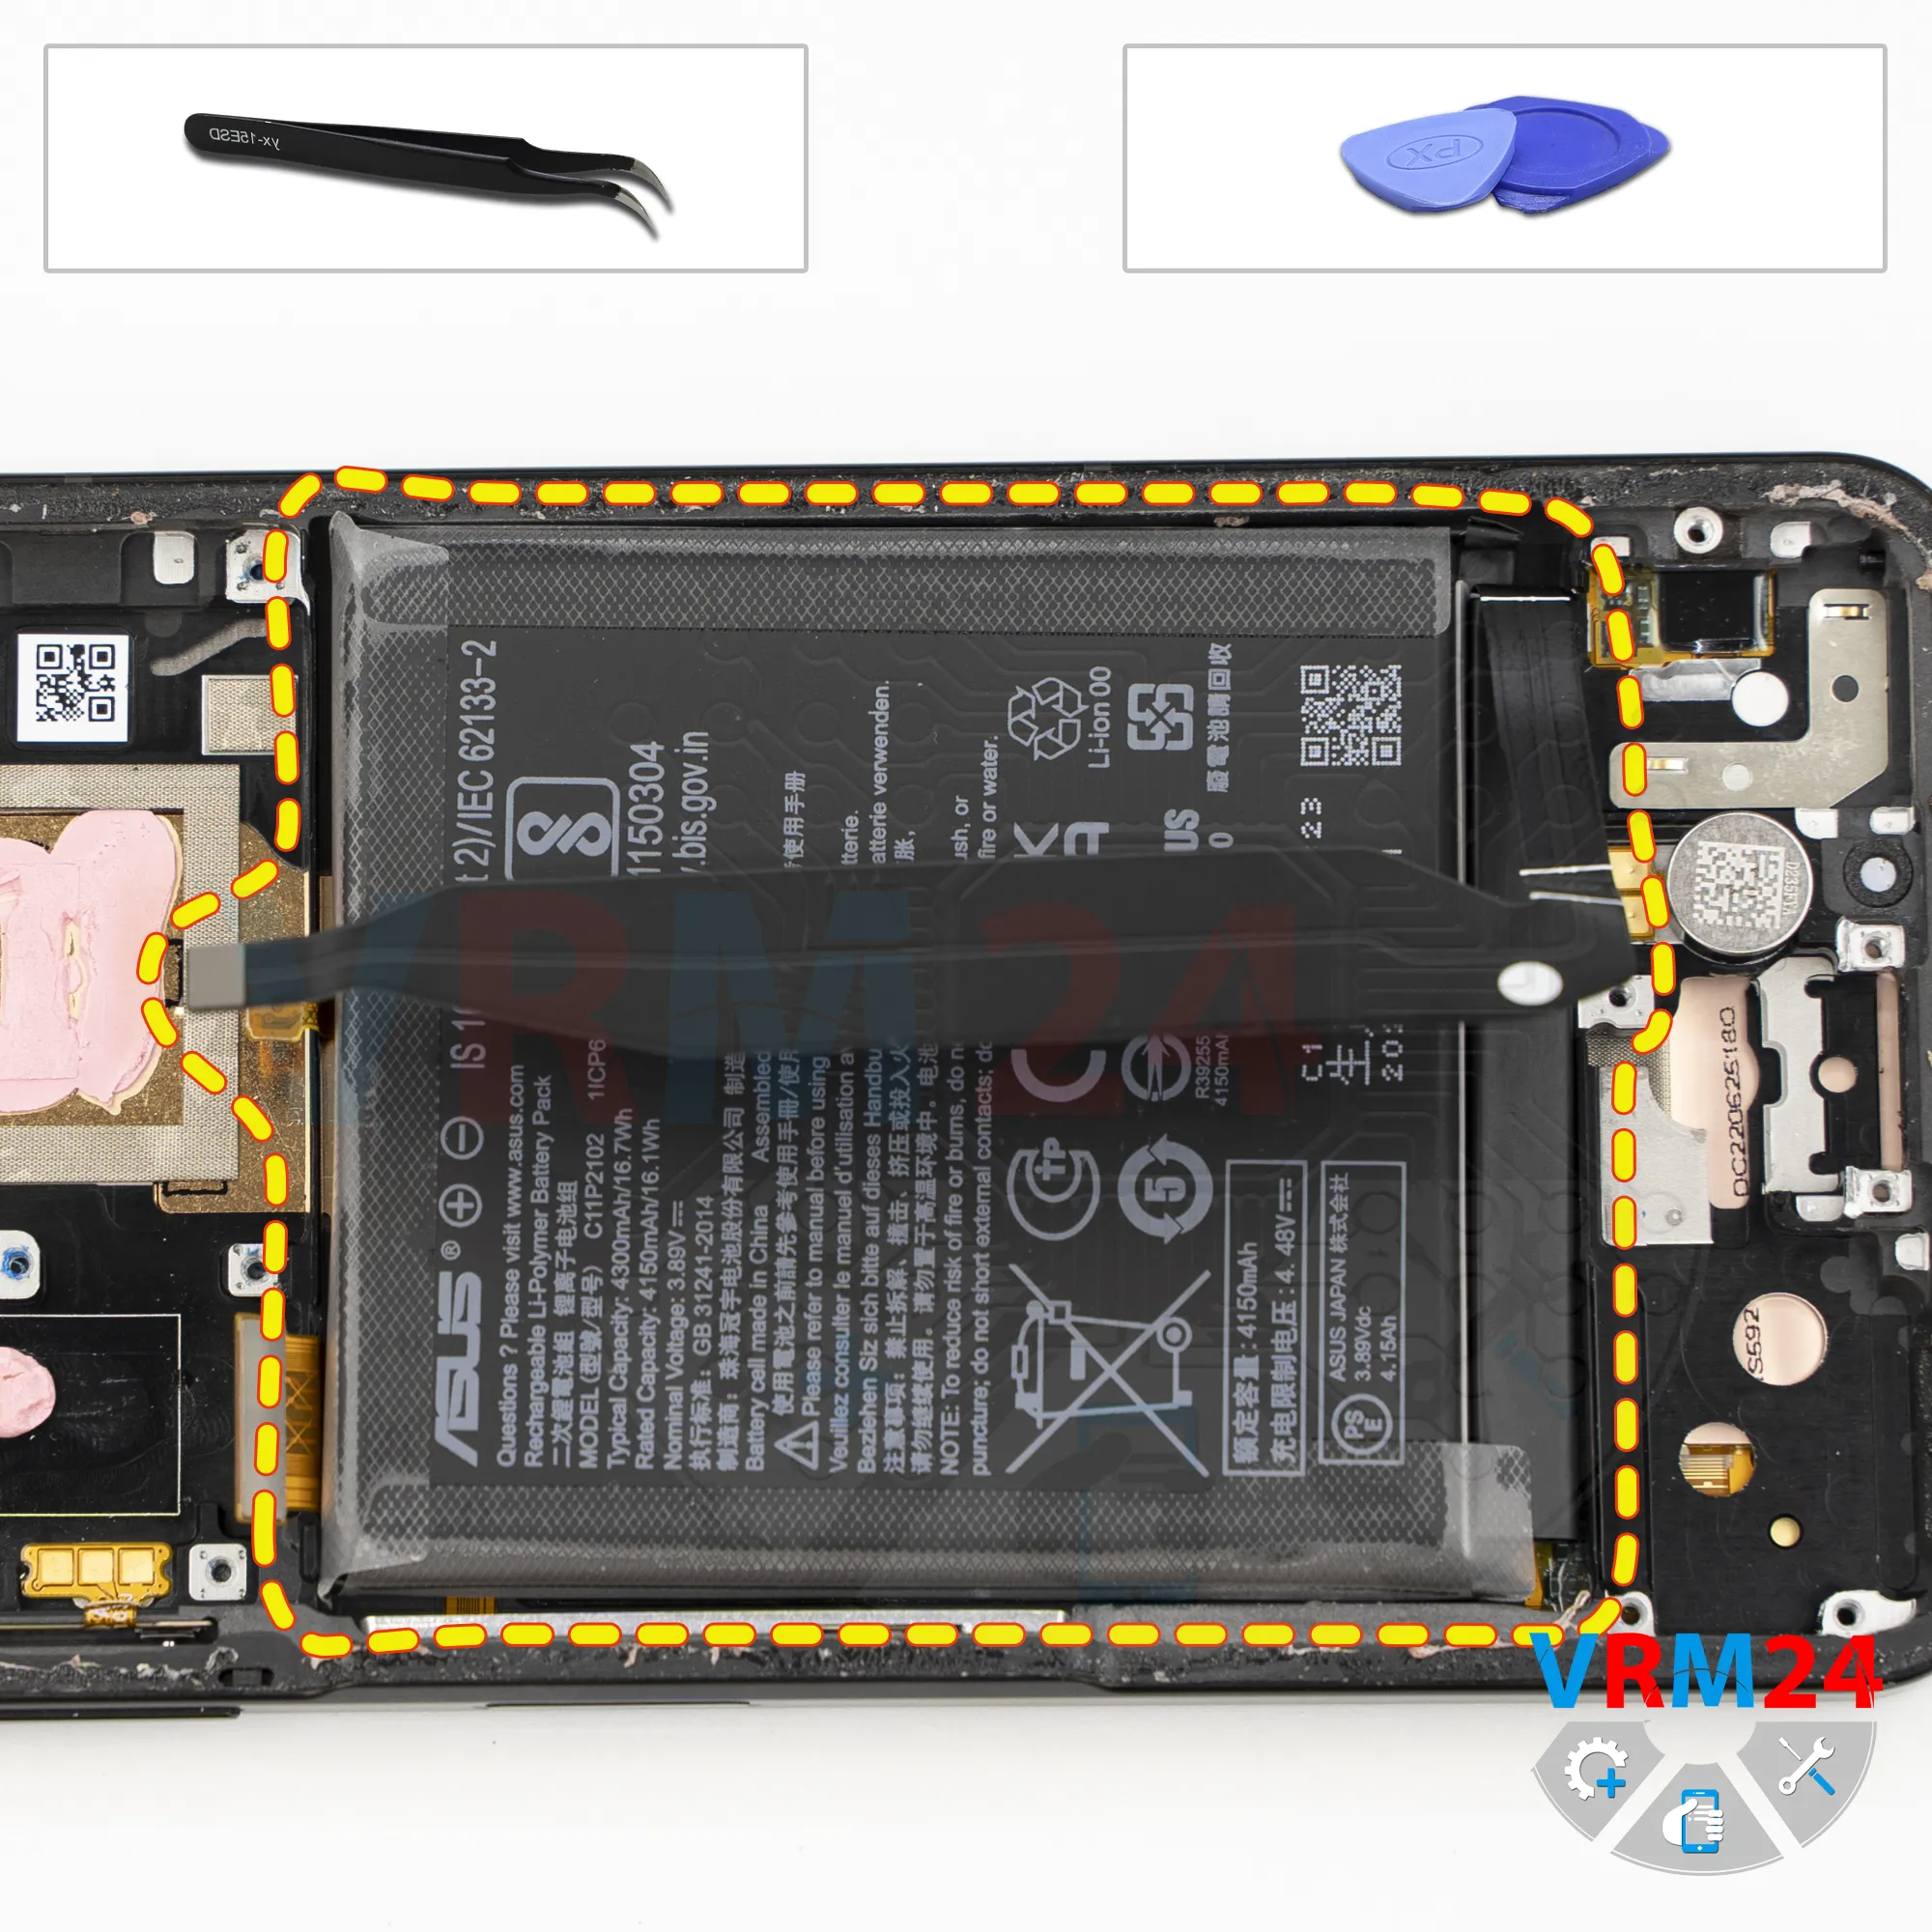
Now we can remove the battery.
Carefully pry it up and lift it. Do not use force to avoid damaging the battery shell.
Also, we don’t know what’s located underneath the battery - there may be flex cables there as well. Gently lift it.
At some point, it becomes clear that we can use a small lever with a plastic tool to carefully detach the battery.
Step 18.
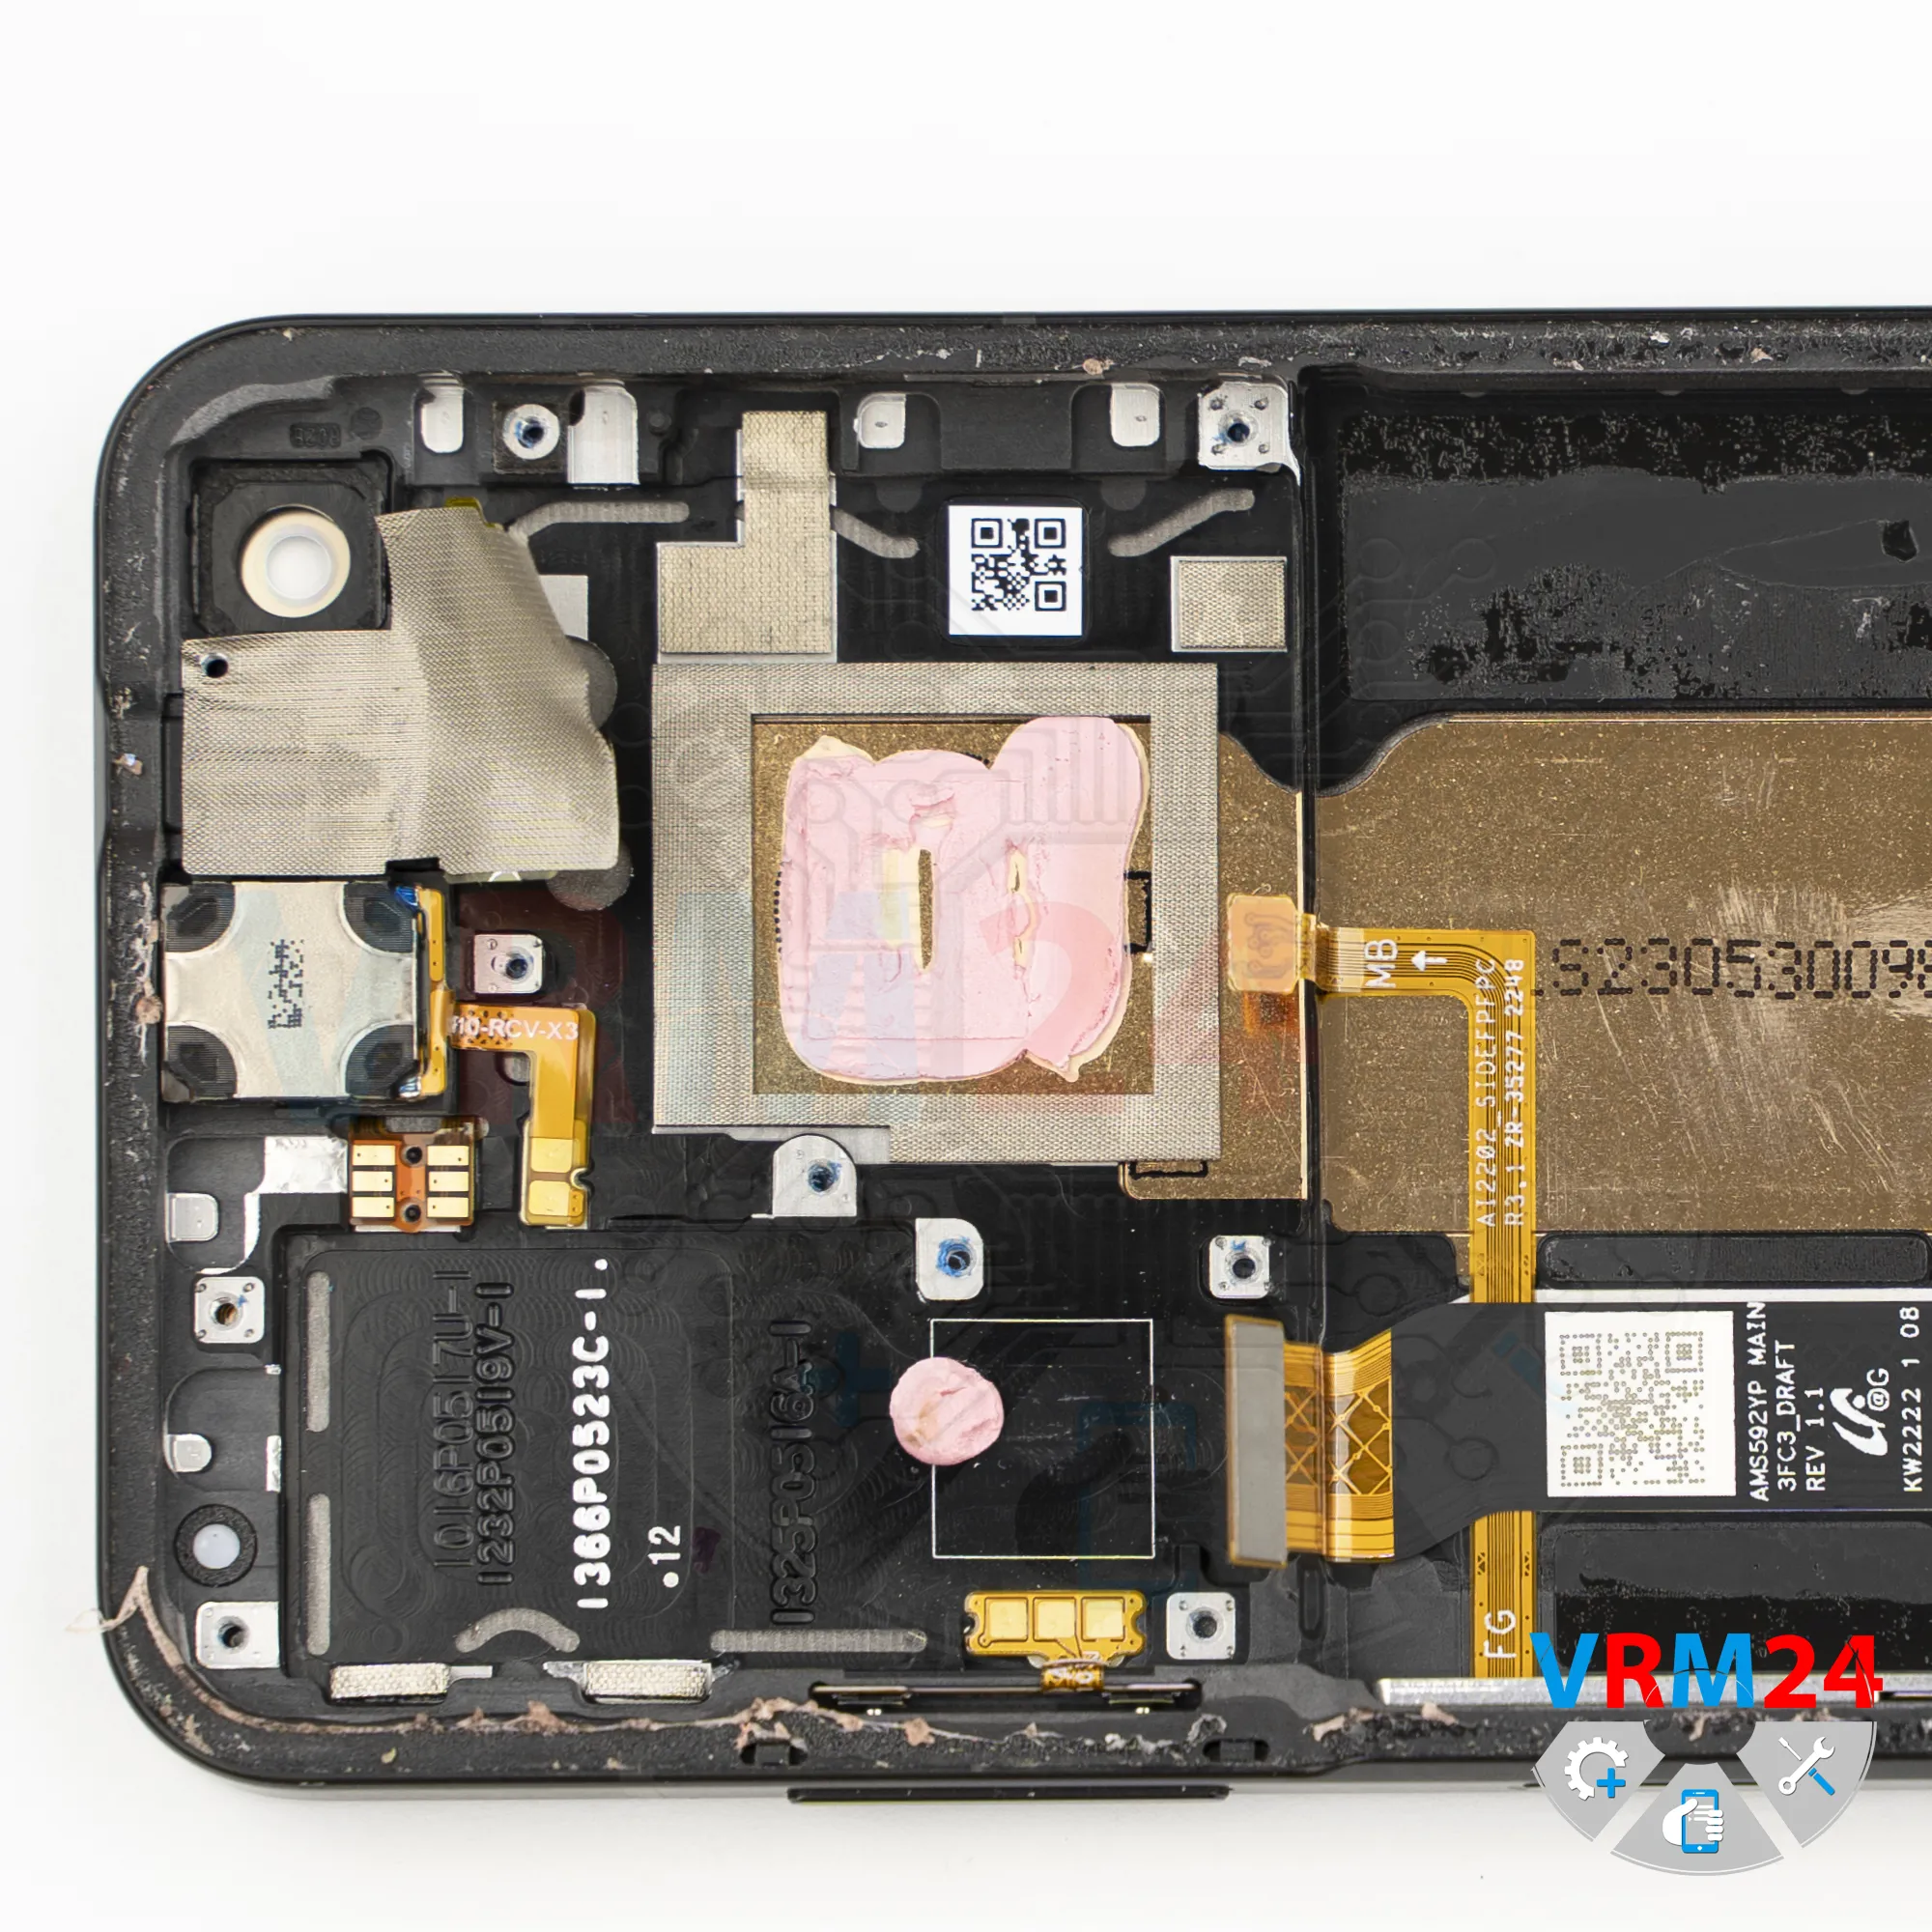
In the display frame remained
ℹ️ In the display frame remained: the earpiece speaker, vibration motor.

If you have a question, ask us, and we will try to answer in as much detail as possible. If this article was helpful for you, please rate it.

718
Views
0
Likes
—
Share
0
Questions
Related Instructions
Related Reviews

Related Blog
Top instructions
Check our
Top Asus instructions most liked by readers
New instructions
Check our
New Asus brand instructions on vrm24.com