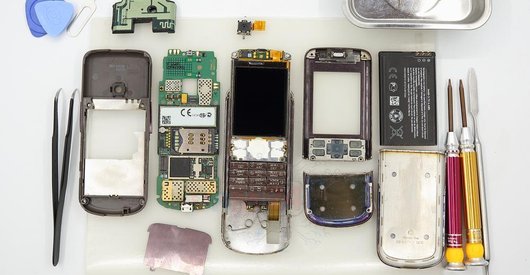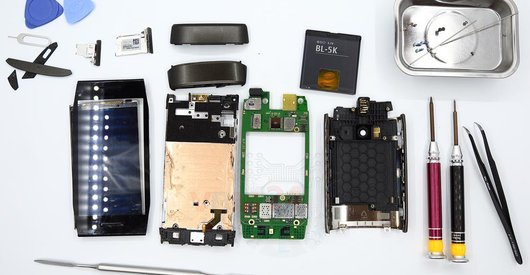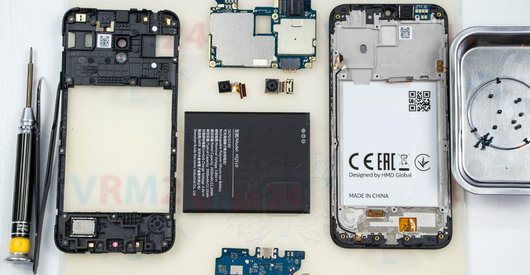


Recommended tools
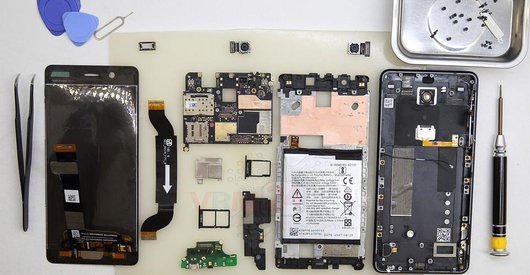
Opening tool / Spudger

Tweezers

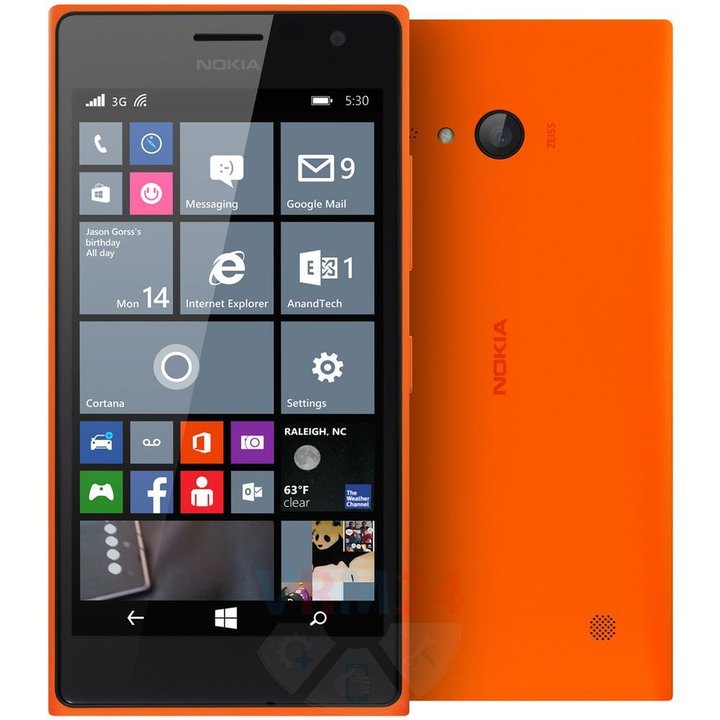
Disassembly/Repair of the mobile device Nokia Lumia 730 RM-1040 with each step description and the required set of tools.
4828
Views
1
Likes
—
Share
4
Questions

Step 1.
Open the back cover
Open the back cover.
Step 2.
Remove the battery
Lift and remove the battery.
Step 3.
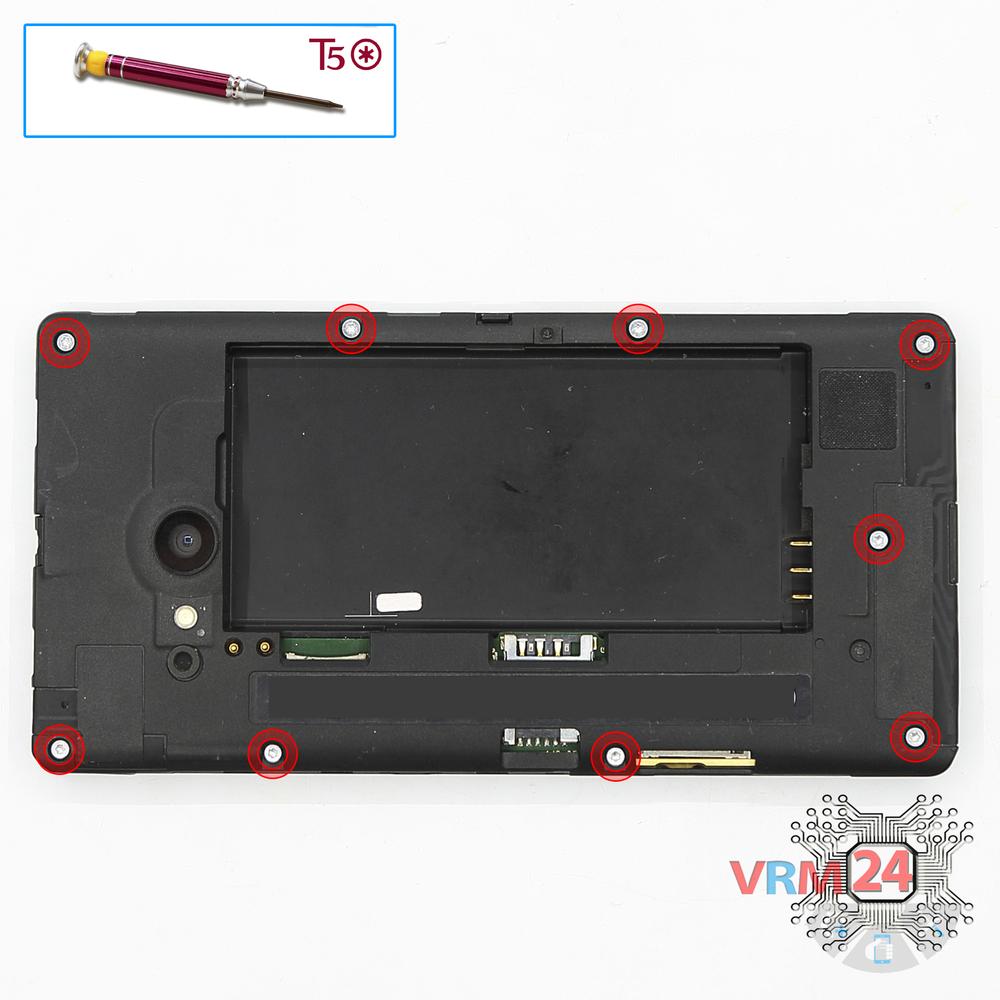
Unscrew the screws
Using a screwdriver (hex T5), unscrew 9 bolts in the frame of the phone.
Step 4.
Open the display module
Lift up the middle cover. Disconnect the display connector and remove the display module.
Step 5.
Remove the rear camera
Disconnect connector on the PCB and remove the main camera. Using a screwdriver (hex T5), unscrew 1 bolt in the PCB.
Step 6.
Disconnect the connector
Disconnect the connector on the PCB.
Step 7.
Remove the motherboard
Remove the PCB.
Step 8.
Remove the headphone port
Remove the cable with headphone jack/socket and vibration motor.
Step 9.
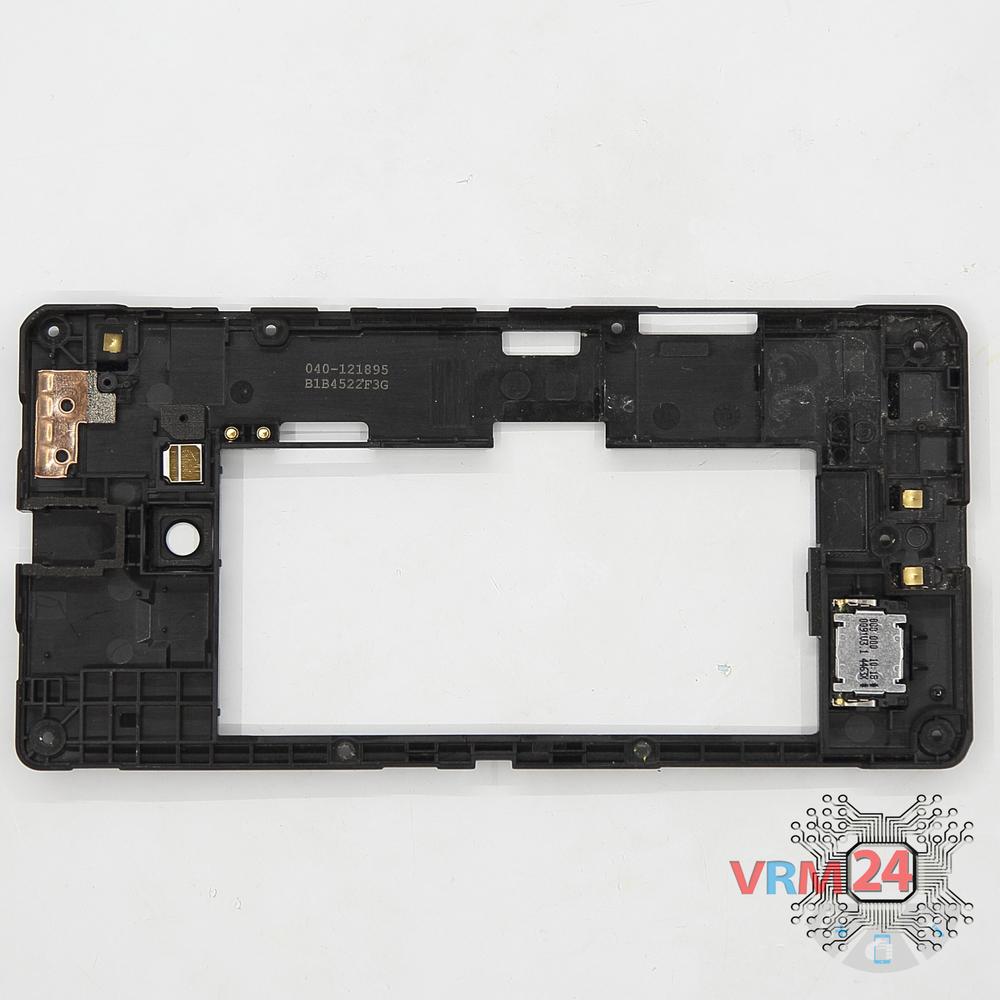
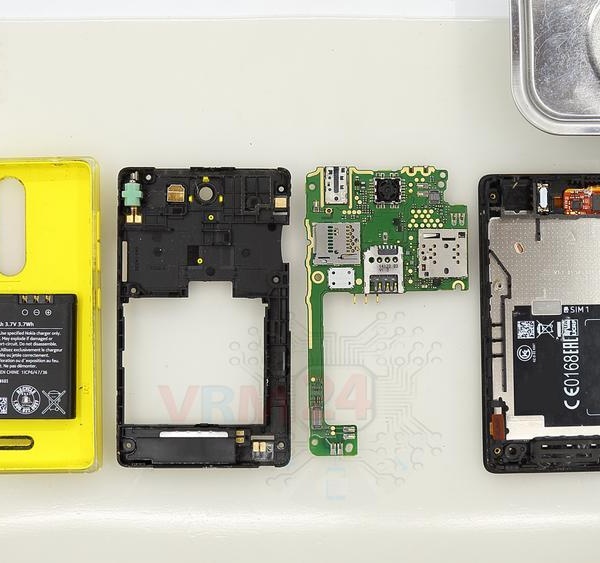
In the middle cover
Parts are in the middle frame.

If you have a question, ask us, and we will try to answer in as much detail as possible. If this article was helpful for you, please rate it.

4828
Views
1
Likes
—
Share
4
Questions
Related Instructions
Related Reviews
Related Blog
Popular Questions
S
Nokia 5 (2017) TA-1053
Hey, you seem to know you're way round phones pretty well. Do you happen to know where the Hall sensors (for the compass) are in this phone? I need t…
Skerwin19
M
Nokia 5 (2017) TA-1053
Good afternoon. When I opened the SIM card tray with a needle, it broke off inside. Now the tray does not open. Can I fix this by disassembling it in…
Mona_L
P
Nokia 7 Plus TA-1046
What sort of plastic sheet did you use to take the screen off?
pockethook12
J
Nokia 5 (2017) TA-1053
Is there any difference between HE321 and HE336 batteries? Are both compatible with N5 DS TA-1044?
josefrancklin8
Nokia 7.1 TA-1095
Hi sir, Do you happen to know how is the ear speaker on a Nokia 7.1 TA 1095 connected? i see this rectancle component but there are no cables and …
ronnieTop instructions
Check our
Top Nokia instructions most liked by readers
New instructions
Check our
New Nokia brand instructions on vrm24.com