Recommended tools
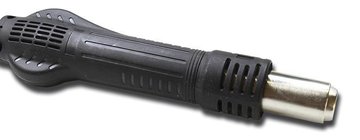
Heat gun
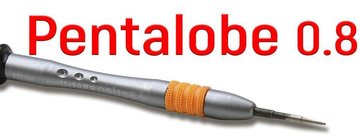
Screwdriver Five-point P0.8 mm
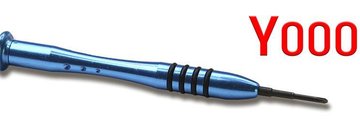
Screwdriver Tri-point Y000
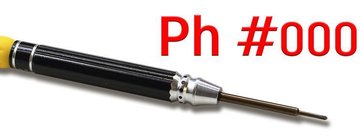
Screwdriver Phillips #000
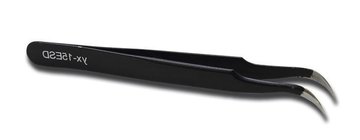
Tweezers
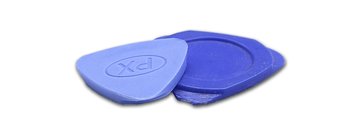
Non-metallic tool
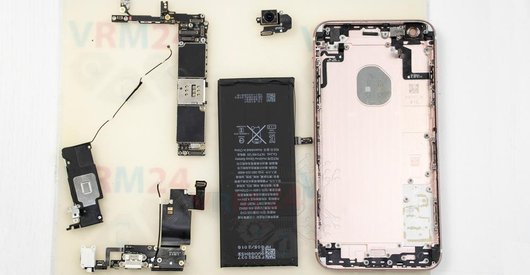
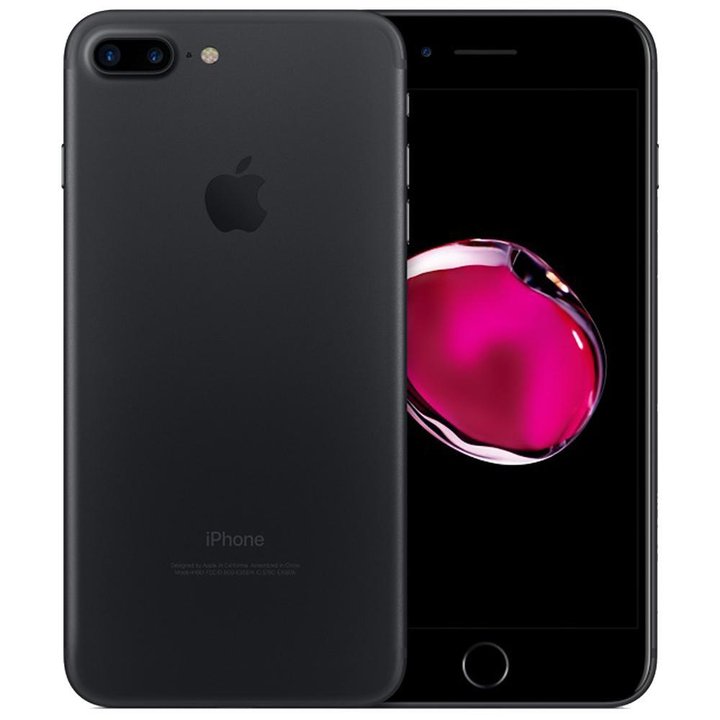
Disassembly/Repair of the mobile device Apple iPhone 7 Plus (iPhone 7 Plus A1784, A1660, A1661, A1778) with each step description and the required set of tools.
59233
Views
131
Likes
—
Share
17
Questions

Step 1.
Remove the tray
Use the ejection tool (aka Needle) or Paperclip. Push the tip all the way into the hole until the tray ejects, and then pull the tray of SIM card out.
⚠️ Pay attention! The tool must be inserted into a hole on the edge of the phone's housing. Do not press too hard. It may break the tray eject mechanism.
Step 2.
Unscrew the screws
Using a screwdriver (precision star-shaped 0.8 mm aka Pentalobe), unscrew/drive 2 screws out at the end of the phone.
Step 3.
Open the display module
Carefully lift the display module up. The display is one of the most important parts of a smartphone.
If something goes wrong, don't try to open the display by force !
Instead, please watch our video about it under this instruction or ask us your question about it.
Step 4.
Unscrew the screws
Using a screwdriver Tri-Wing Y000 2.0mm, unscrew four screws and remove the bracket holding the connectors.
Step 5.
Disconnect the battery connector
Disconnect the battery connector as soon as possible. It is better to use a non-metal or plastic tool to avoid any damage.
ℹ️ The iPhone 7 Plus model has a battery TIS 2217-2548 with 2900 mAh capacity (aka rechargeable battery).
⚠️ It is highly recommended to disconnect the connector to avoid possible short circuits during disassembly.
Step 6.
Unscrew the screws
Using a screwdriver Tri-Wing Y000 2.0mm, unscrew three screws and remove the bracket holding the connectors.
Step 7.
Disconnect the connectors
Disconnect the connectors of the display module, Home button with 3d touch, front camera, earpiece speaker and remove the display module.
Step 8.
Remove the battery
Pull the battery adhesive tab away from the battery, slowly. Pull steadily, maintaining constant tension on the strip until it slips out.
⚠️ Please, try to keep the strips flat or tangle it during this procedure. They may stick together and break instead of pulling out cleanly.
Also, if the adhesive tabs have dried. They will break instantly when you try to pull them away, and to remove the battery we have to use isopropyl alcohol and a plastic film.
Step 9.
Unscrew the screws
Using a screwdriver Phillips 1.5 mm PH #000, unscrew the two screws and remove the bracket.
Step 10.
Disconnect the connector
Disconnect the connector of the TapTic engine (aka vibration motor).
Step 11.
Unscrew the screws
Using a screwdriver Phillips 1.5 mm PH #000, unscrew three screws and remove the TapTic engine (aka vibration motor).
Step 12.
Unscrew the screws
Using a screwdriver Phillips 1.5 mm PH #000, unscrew two screws and remove the bracket (holding the cameras).
Step 13.
Remove the cameras
Disconnect the connectors on the motherboard and remove the assembly of two rear cameras.
Step 14.
Unscrew the screws
Using a screwdriver Phillips 1.5 mm PH #000, unscrew two screws and remove the bracket holding the connectors.
Step 15.
Unscrew the screws
Using a screwdriver Phillips 1.5 mm PH #000, unscrew four screws and remove the Wi-Fi antenna.
Step 16.
Unscrew the screws
Using a screwdriver Phillips 1.5 mm PH #000, unscrew two screws.
Step 17.
Unscrew one screw
Using a screwdriver Phillips 1.5 mm PH #000, unscrew one screw and remove the antenna unit.
Step 18.
Disconnect the connectors
Disconnect the connectors of two coaxial cables.
Step 19.
Unscrew the screws
Using a screwdriver Phillips 1.5 mm PH #000, unscrew five screws.
Step 20.
Remove the loudspeaker
Pry over the edge and remove the loudspeaker.
Step 21.
Unscrew the screws
Using a screwdriver Phillips 1.5 mm PH #000, unscrew six screws.
Step 22.
Disconnect the connectors
Pry up the connectors.
Step 23.
Remove the motherboard
Carefully remove the printed circuit board. There is no need to use a lever or try to reach the circuit board by force. Make sure that nothing is getting in the way or holding the circuit board.
The motherboard, also, may be attached with attachments like latches or hooks, be careful.
⚠️ Do not bend the circuit board when removing it or push tools under it. Unbeknownst to yourself, you can damage components or cables from the inside.
Step 24.
Unscrew the screws
Using a screwdriver Phillips 1.5 mm PH #000, unscrew six screws securing lightning \ charging port.
Step 25.
Remove the charging port
Peel off the cable with the lightning port, speaker contact pads, and two microphones.
Step 26.
In the housing remained
ℹ️ In the housing remained:

If you have a question, ask us, and we will try to answer in as much detail as possible. If this article was helpful for you, please rate it.

59233
Views
131
Likes
—
Share
17
Questions
Related Instructions
Related Reviews
Related Blog
Popular Questions
T
Apple iPhone 7 Plus
What is the difference between these devices??
Turreted2
H
Apple iPhone 7 Plus
Amount of heat applied? Greetings
heberto rosillo3
Apple iPhone 6S
What cheap screwdriver kit do you recommend? Budget €20
matteo
T
Apple Watch Series 3
Can u get rid of activation lock by opening the watch
Tony10
P
Apple iPhone 4
How about disassembling the veriizon iphone a1349? It has no sim card but the battery has to be replaced at some point. BTW Verizon sucks bigtime. t…
Paleo Man6Top instructions
Check our
Top Apple instructions most liked by readers
New instructions
Check our
New Apple brand instructions on vrm24.com