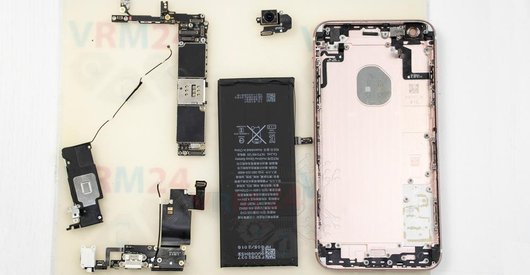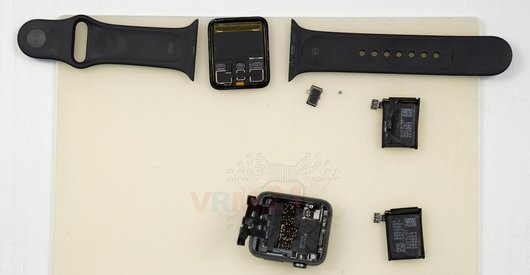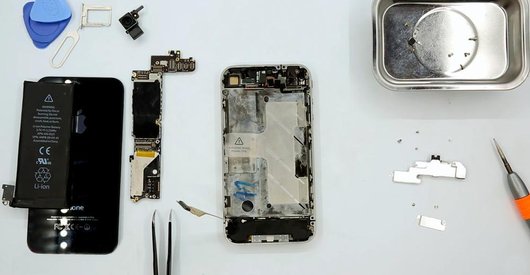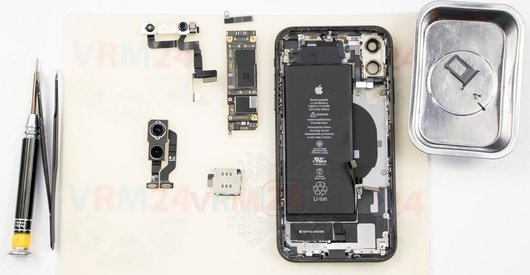
Recommended tools
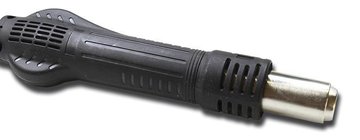
Heat gun
Screwdriver Five-point P0.8 mm

Screwdriver Tri-point Y00

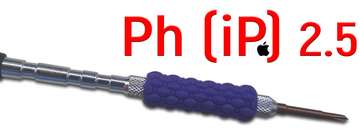
Screwdriver Phillips iPhone
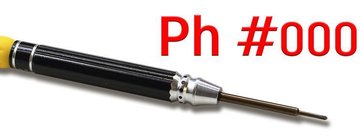
Screwdriver Phillips #000
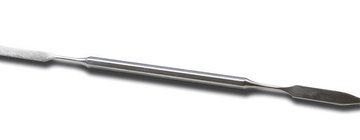
Opening tool / Spudger
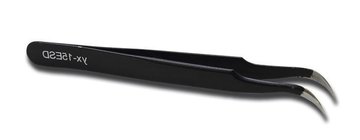
Tweezers
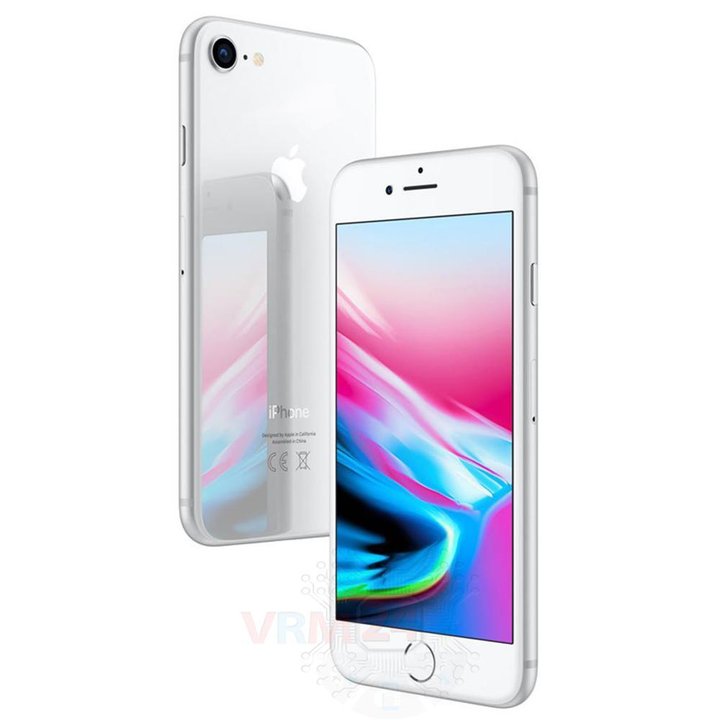
Disassembly/Repair of the mobile device Apple iPhone 8 (iPhone 8 A1863, A1905, A1906) with each step description and the required set of tools.
29465
Views
5
Likes
—
Share
10
Questions

Step 1.
Remove the tray
Using the key tool, open the SIM card tray and remove it.
⚠ Warning!
Do not push too hard this may cause damage.
Step 2.
Unscrew the screws
Using a screwdriver (Star Shape 0.8mm Pentalobe), unscrew 2 screws at the end of the phone.
Step 3.
Open the display module
Open the display module.
Step 4.
Remove the bracket
Using a screwdriver (Phillips 1.5 mm PH000), unscrew 4 screws, and remove the bracket holding the connectors.
Step 5.
Remove the bracket
Using a screwdriver (Phillips 1.5 mm PH000), unscrew 3 screws, and remove the bracket holding the connectors.
Step 6.
Open the display module
Pry up the connectors and remove the display module.
Step 7.
Remove the bracket
Using a screwdriver (Phillips 1.5 mm PH000) and (Phillips 2.5 mm iPhone) unscrew 2 screws, and remove the bracket holding the connectors.
Step 8.
Remove the rear camera
Disconnect the connector on PCB, and remove the main camera.
Step 9.
Remove the antenna
Using a screwdriver (Phillips 1.5 mm PH000), unscrew 4 screws, and remove wi-fi antenna.
Step 10.
Remove the antenna
Using a screwdriver (Phillips 1.5 mm PH000), unscrew 2 screws, and remove NFC antenna.
Step 11.
Remove the bracket
Using a screwdriver (Phillips 1.5 mm PH000), unscrew 2 screws and remove the bracket.
Step 12.
Disconnect the battery connector
Disconnect the battery connector.
⚠ Warning!
We strongly recommend disconnecting the connector to avoid a possible short circuit during disassembly.
Step 13.
Remove the antenna
Using a screwdriver (Phillips 1.5 mm PH000), unscrew 2 screws and remove the NFC antenna.
Step 14.
Disconnect the connectors
Disconnect connectors on the PCB.
Step 15.
Unscrew the screws
Using a screwdriver (Phillips 2.5 mm iPhone) and screwdriver (Phillips 1.5 mm PH000), unscrew 2 screws in the PCB.
Step 16.
Remove the motherboard
Remove the PCB.
Step 17.
Remove the bracket
Using a screwdriver (Phillips 1.5 mm PH000) and screwdriver (Tri-Wing Y00 Precision Screwdriver 2.0mm), unscrew 3 screws and remove the bracket.
Step 18.
Remove the loudspeaker
Pry up the connector and using a screwdriver (Phillips 1.5 mm PH000), unscrew 2 screws, and remove the loudspeaker.
Step 19.
Remove the vibration motor
Using a screwdriver (Phillips 2.5 mm iPhone) and screwdriver (Phillips 1.5 mm PH000), unscrew 2 screws and remove the TapTic Engine (vibration motor).
Step 20.
Remove the bracket
Using a screwdriver (Phillips 1.5 mm PH000), unscrew 2 screws and remove the bracket.
Step 21.
Unscrew the screws
Using a screwdriver (Phillips 1.5 mm PH000), unscrew 5 screws.
Step 22.
Remove the charging port
Remove the cable with a lightning port.
Step 23.
In the housing remained
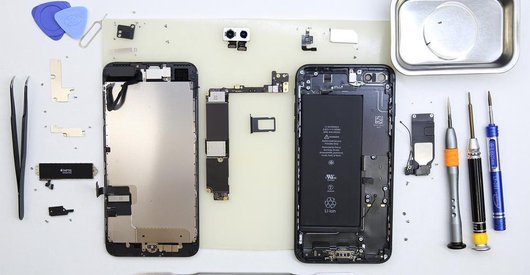
Parts are in the housing.

If you have a question, ask us, and we will try to answer in as much detail as possible. If this article was helpful for you, please rate it.

29465
Views
5
Likes
—
Share
10
Questions
Related Instructions
Related Reviews
Related Blog

Popular Questions
S
Apple iPhone 8
You are doing great job with this channel, but collab with Ifixit in the future, take that as an advice.
Stefan Gherman20
Apple iPhone 12
Hello could someone please provide a detailed disassembly of iPhone 12 and also a video or steps of the reassembly as I have a bare bone housing I’m …
xavier
Apple iPhone XR
What is the name of this component?
mike0
Apple iPhone 5
How to repair iPhone 5 rebooting
david
Apple iPhone 12 mini
Is there any difference between iphone 12 mini models A2176 A2398 A2399 A2400 … i have to replace my screen of iphone 12 mini
shivangTop instructions
Check our
Top Apple instructions most liked by readers
New instructions
Check our
New Apple brand instructions on vrm24.com